How to install and run Android x86 on VirtualBox
Last updated on October 14, 2020 by Dan Nanni
While the Android OS was originally developed for ARM processor architecture, there exists an Android port for x86 hardware platform, which is called Android-x86. You can run Android-x86 as a virtual machine (VM) using any x86-based hypervisor or QEMU hardware emulator.
In this post, I will show you how to install and run the latest Android-x86 4.2 on VirtualBox.
First, download the latest Android ISO image (e.g., Android-x86 4.2).
$ wget https://android-x86.googlecode.com/files/android-x86-4.2-20130228.iso
Create a new VM by using VM creation wizard on VirtualBox. Use the following configuration for the VM:
- OS Type: Linux
- OS Version: 2.6
- Memory: 512MB
- Hard drive type: VDI
- Hard drive storage: dynamically allocated
- Hard drive size: 3GB
- Network: NAT
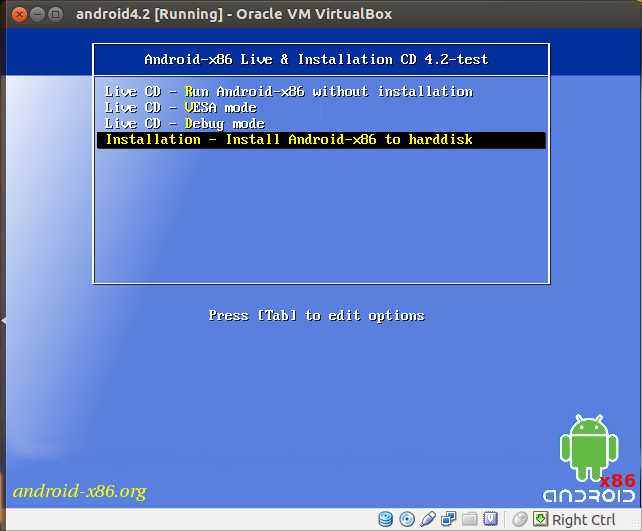
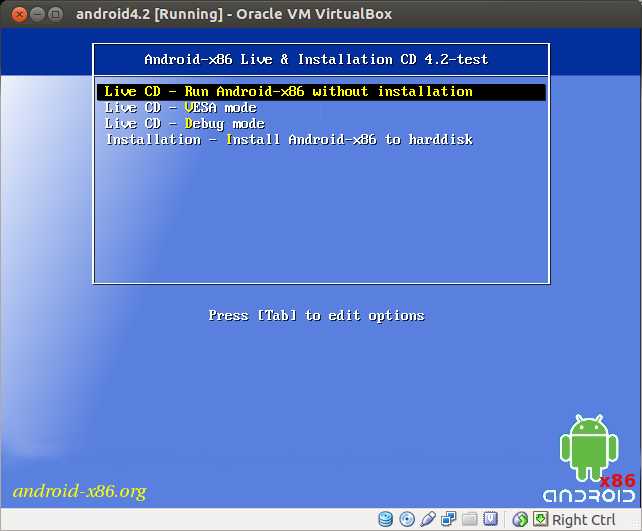
Once you power on the VM, you will see Android-x86 live and installation GUI as follows. Choose Install Android-x86 to harddisk option at the bottom.
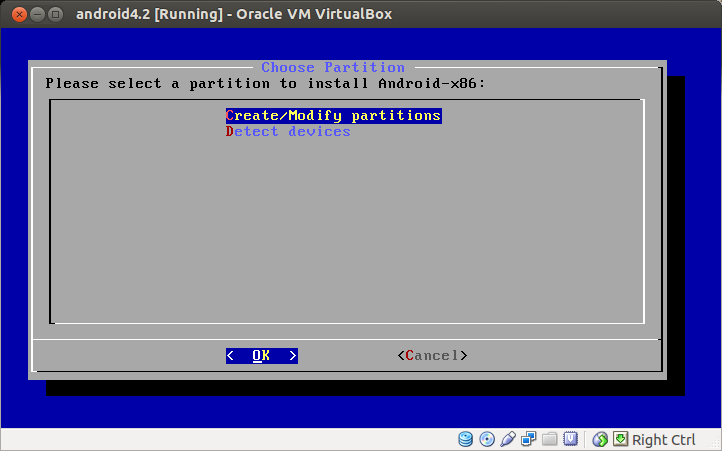
Create a new partition for the VM by choosing Create/Modify partitions.
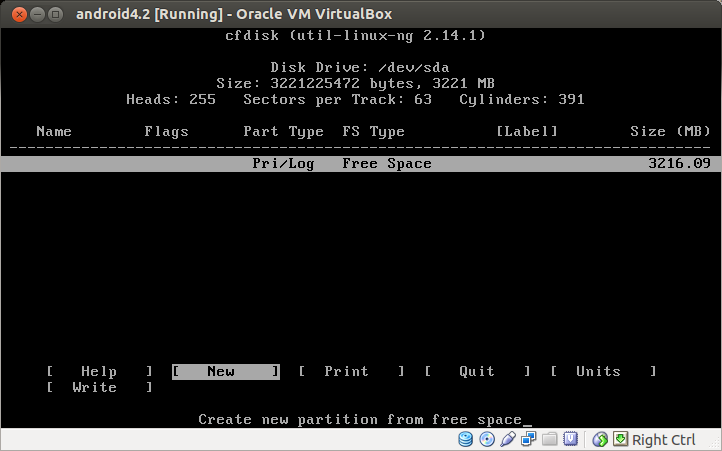
On disk partitioning menu, select New and press Enter.
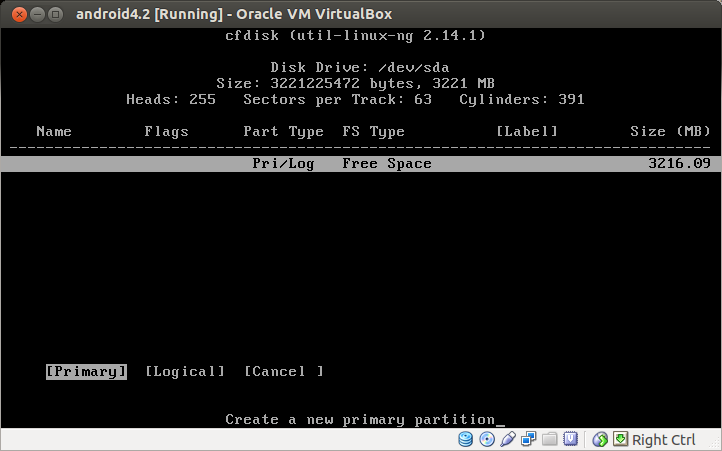
Choose Primary as disk partition type.
Select Bootable to make the partition bootable, and then choose Write to write your change. Once change is written, choose Quit.
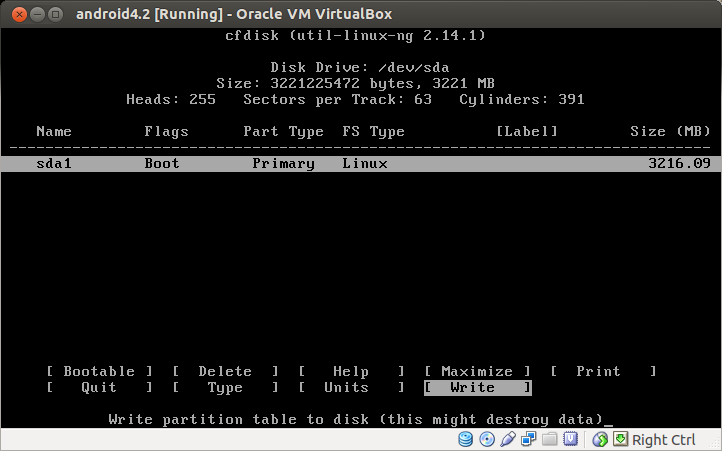
You are back to the earlier disk partitioning menu, but you will notice that there is a new menu at the top which says sda1 Linux. This is the new partition that you just created. Choose this partition.
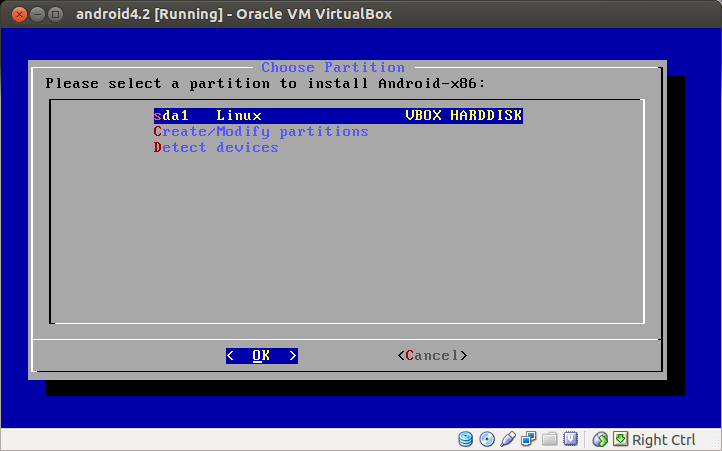
Select ext3 filesystem to format the partition as EXT3 type.

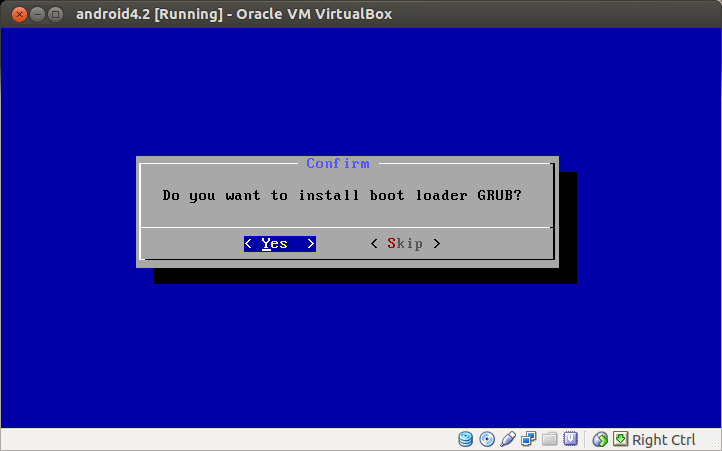
Choose Yes to install boot loader GRUB.
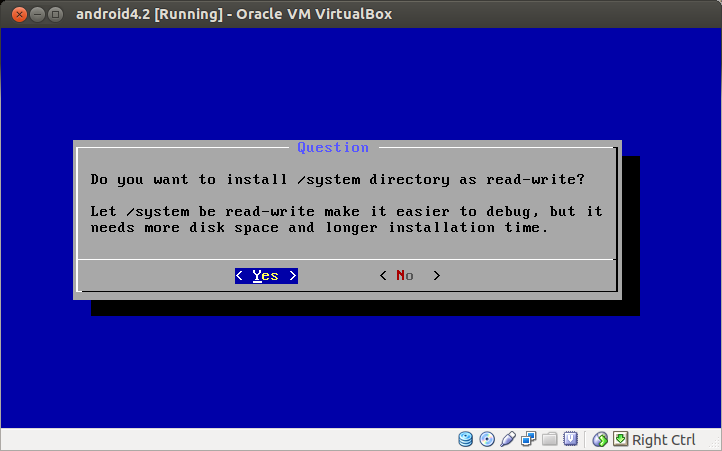
Choose Yes to install /system directory as read-write. Mounting /system as read-write is necessary when you need to update any system configuration on Android later.
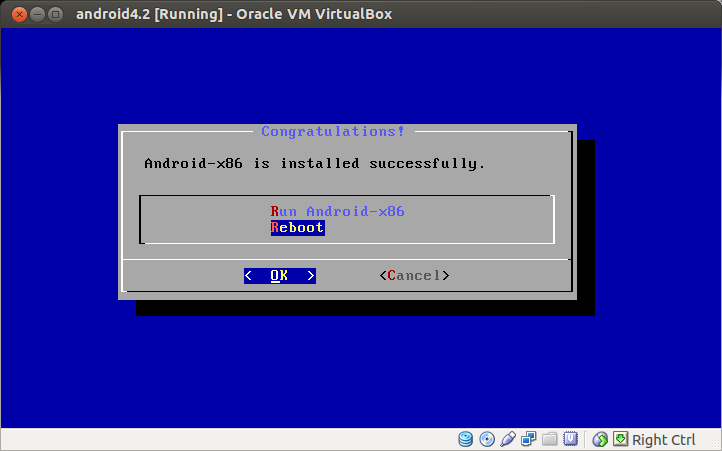
Once installation is completed successfully, you will see the following message. Now reboot the VM.
On Android-x86 live and installation GUI, choose Live CD - Run Android-x86 without installation option at the top.
Upon booting, you will see the Android welcome screen. If mouse does not work inside Android-x86 VM, go to Machine and choose Disable Mouse Integration on VirtualBox menu. You can press right-Control key to move mouse cursor out of the Android-x86 VM.

During initial setup, you will be asked to provide your Google account login. Once initial configuration is done, you can fully access Android as follows.
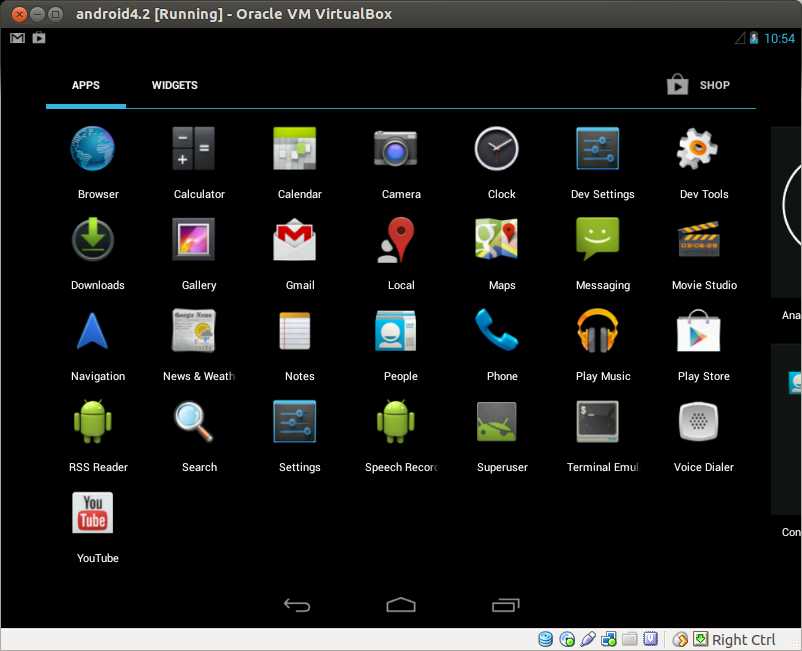
By default, Android-x86 is set up to access the Internet via eth0 wired interface. Android-x86 version 4.2 comes with Google apps such as Play Store, Gmail and Google Maps. You can also install Android apps via Play Store as you would do with real Android devices.
However, note that if an Android app uses any ARM-native library in it, you won't be able to install and run it on Android-x86, unless the library has been ported to Android-x86 or ARM binary translator (e.g., Houdini) is used.
Support Xmodulo
This website is made possible by minimal ads and your gracious donation via PayPal or credit card
Please note that this article is published by Xmodulo.com under a Creative Commons Attribution-ShareAlike 3.0 Unported License. If you would like to use the whole or any part of this article, you need to cite this web page at Xmodulo.com as the original source.
Xmodulo © 2021 ‒ About ‒ Write for Us ‒ Feed ‒ Powered by DigitalOcean

