How to install XenServer on VMware Player
Last updated on July 15, 2013 by Dan Nanni
XenServer (now renamed Citrix Hypervisor) is a commercial virtualization product built on the open-source bare-metal hypervisor Xen. While Xen itself is a standalone hypervisor, XenServer is a full virtualization suite that includes built-in console, tools and APIs. The free edition of XenServer is available at no charge with annually renewed free license.
If you want to try out XenServer without sparing bare-metal hardware, you can actually install XenServer as a virtual machine (VM). In this tutorial, I will describe how to install XenServer on VMware Player as a guest VM.
Requirements for Installing XenServer on VMware Player
In order to be able to create a XenServer VM on VMware Player, the underlying host where VMware Player is installed must have 64-bit CPU processor(s), since XenServer can only be installed on 64-bit architecture.
Limitation of XenServer Running on VMware Player
If you run XenServer on VMware Player, you will not be able to create Windows guests on top of XenServer. This is because Windows guests require hardware support for virtualization (HVM) (e.g., Intel VT-x or AMD-V) from XenServer dom0, but HVM of the VMware Player's host machine does not pass on to the XenServer instance running on VMware Player.
Create XenServer Guest VM on VMware Player
First download the ISO image of the free edition of XenServer from Citrix website. Then use the following guest profile for XenServer VM.
- Guest Operating System: Linux
- Guest Operating System Version: Red Hat Enterprise Linux 6 64-bit
- Disk Size: 20 GB
- Memory: 2048 MB
- Processors: 1
- Network Adapter: NAT
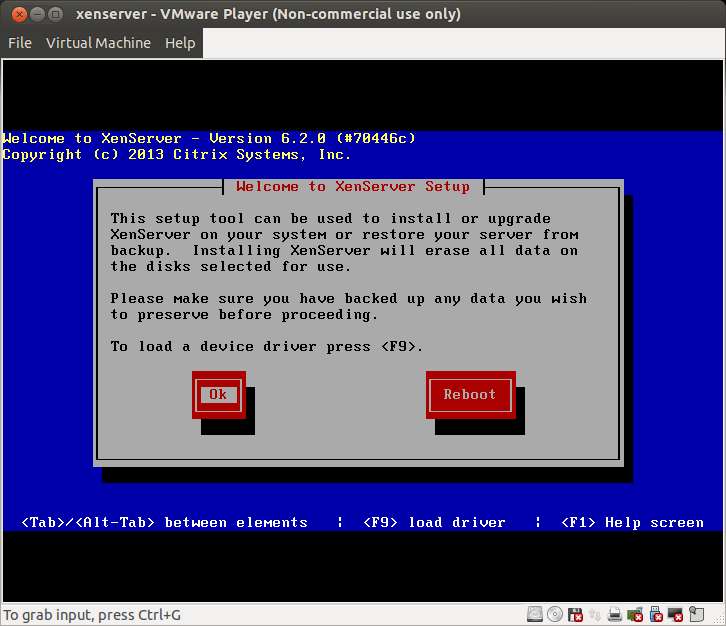
Now power on the XenServer guest. You will see the following XenServer setup screen. Click on Ok to proceed.
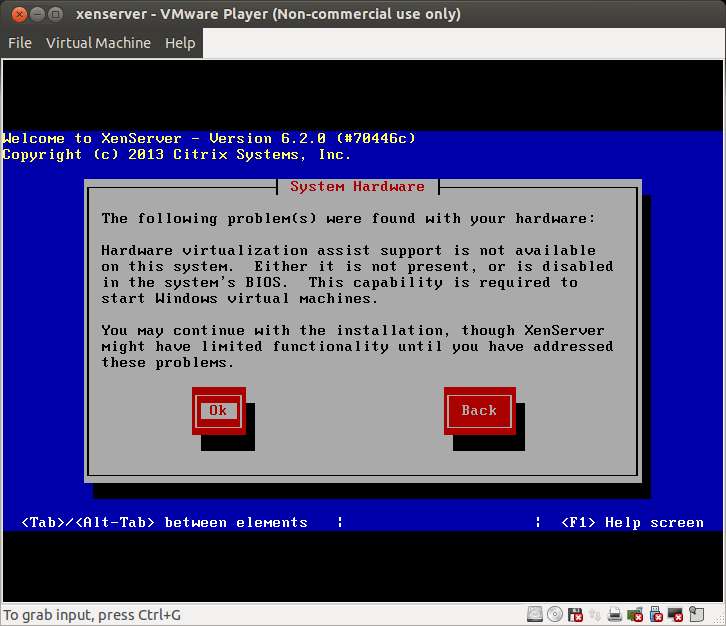
On the next screen, you will see a warning saying that hardware virtualization assist support is not available on this system. Therefore you can only create Linux guests, but not Windows guests on this XenServer instance. Ignore the warning and proceed.
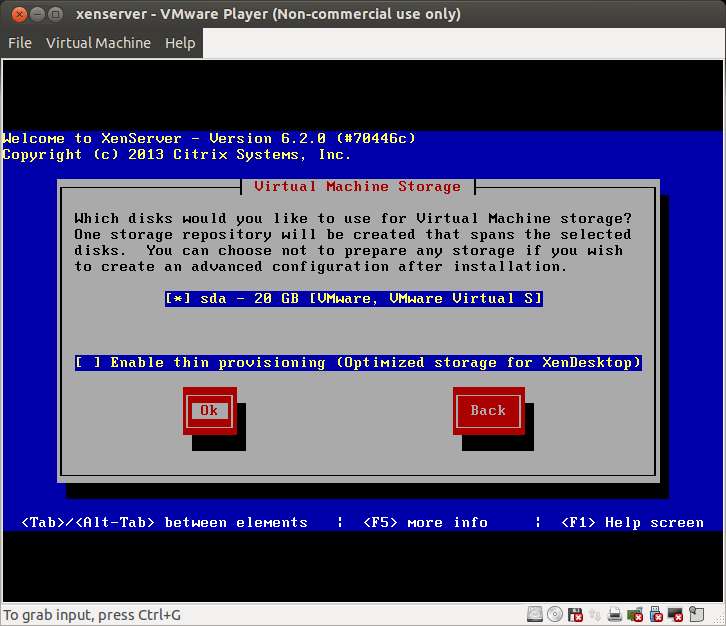
Next, decide which disk to use for virtual machine storage. Since you have only one disk, accept the default disk (e.g., sda), and proceed.
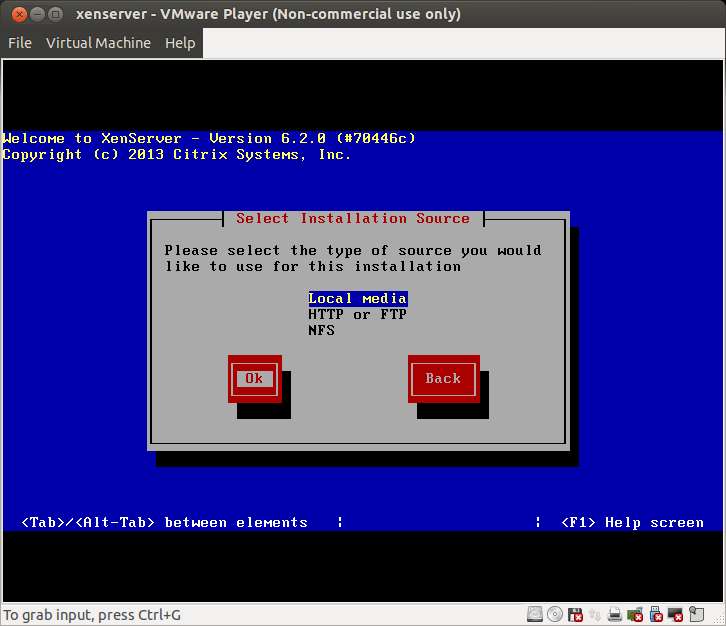
Next, select "local media" as installation source.
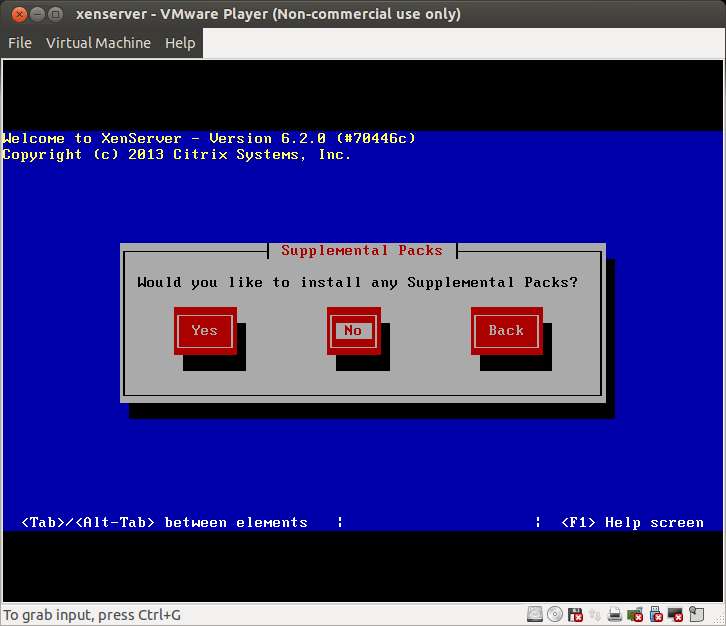
When asked whether to install supplemental packs, choose No. The XenServer supplemental packs contain additional management tools and the latest device drivers. You can download and install supplemental packs later.
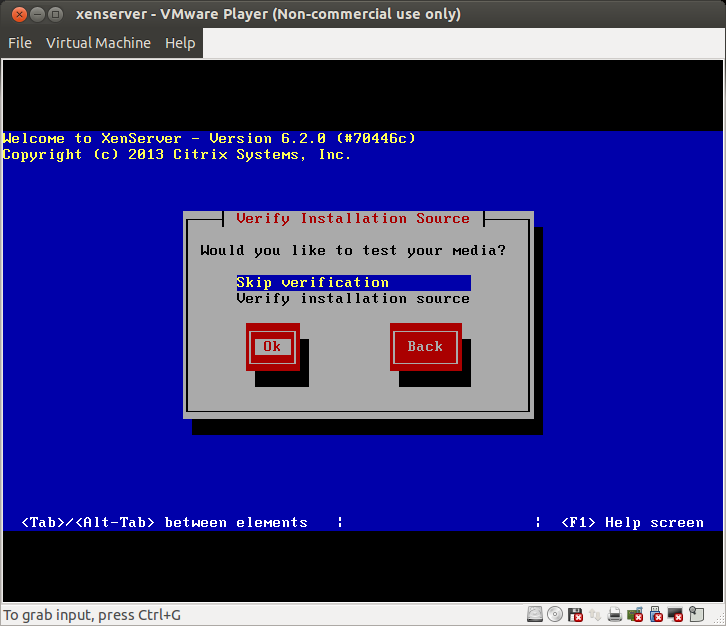
Next, skip the media verification step.
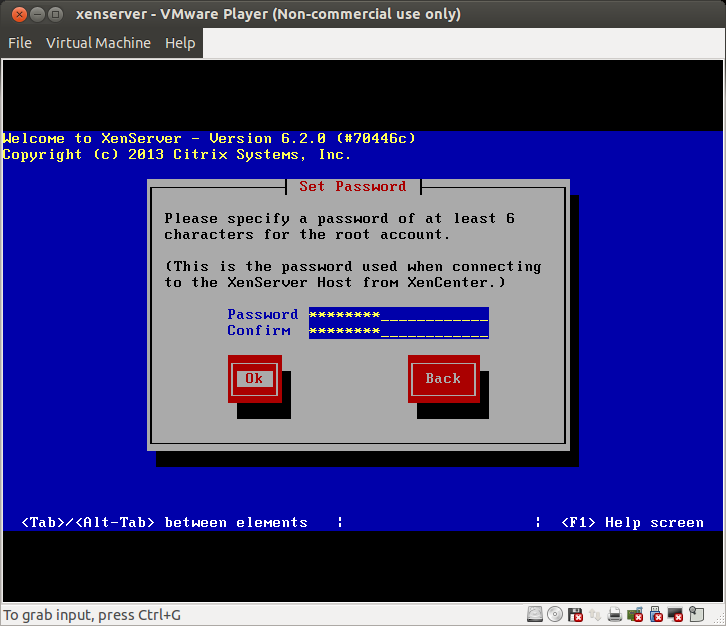
Next, set the initial root password.
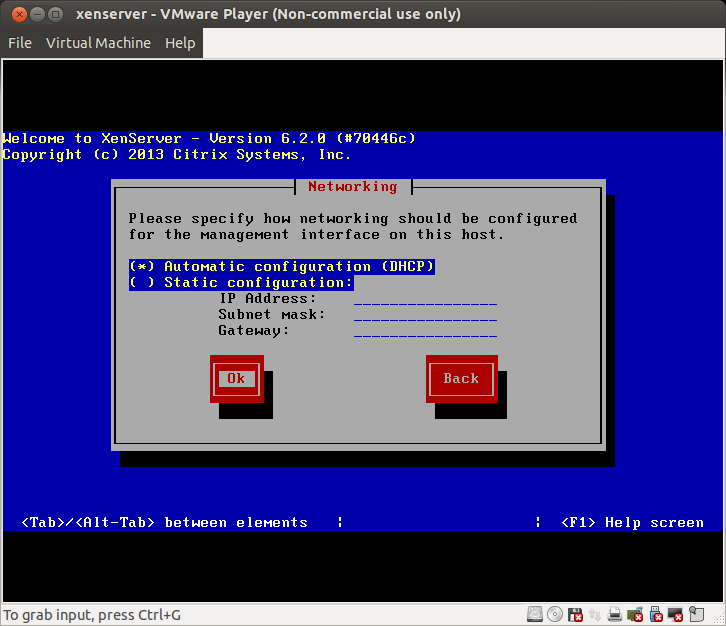
Next, choose the networking configuration for XenServer's management interface (eth0). You can use either DHCP or static IP address.
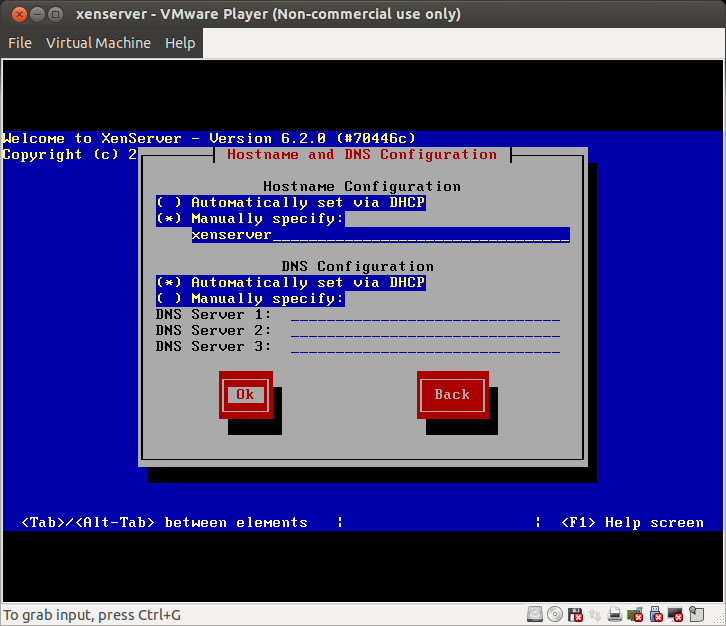
Next, set the XenServer hostname and DNS configuration.
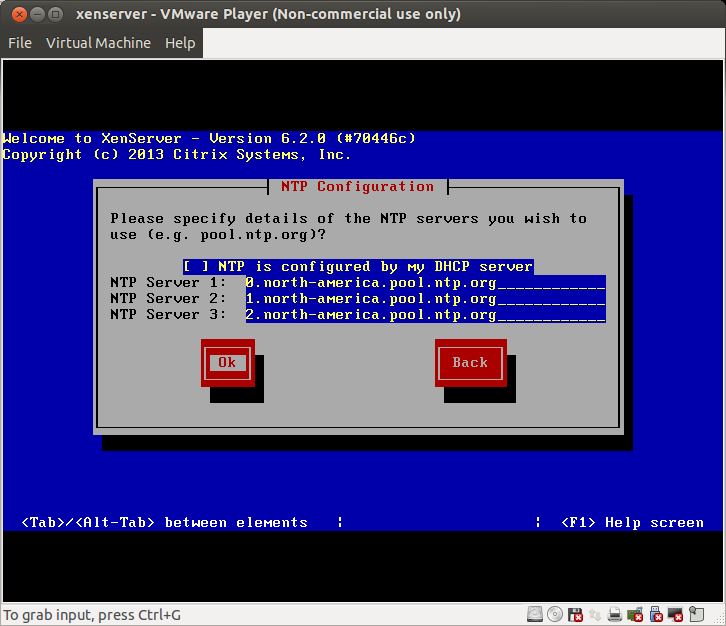
Use NTP for time synchronization. You can find public NTP servers from https://www.ntppool.org/ or use your own NTP servers.
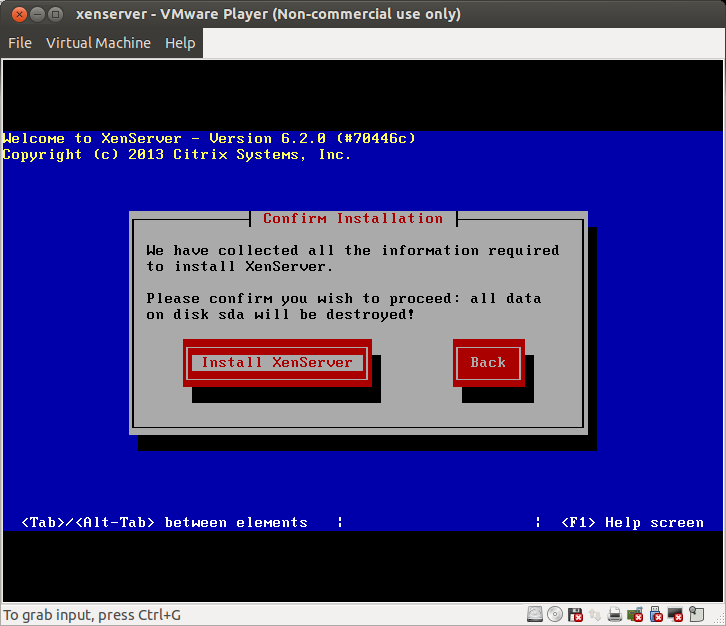
Finally, confirm installation.
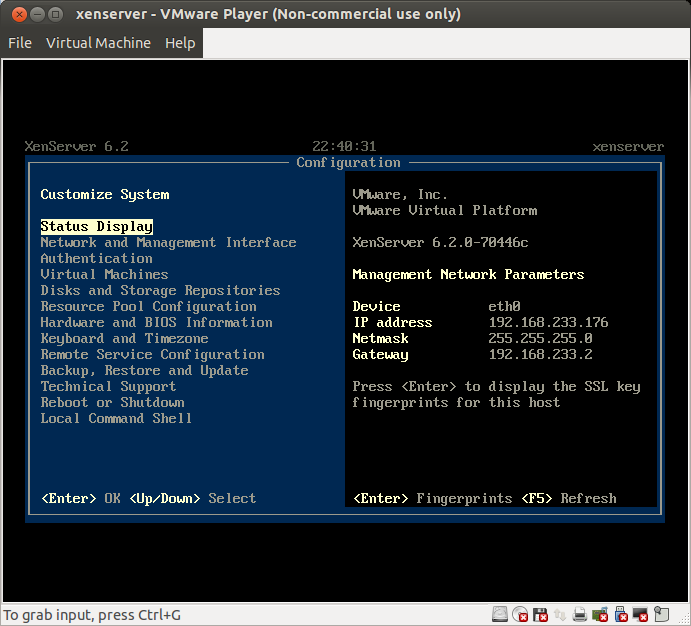
After the installation process is over, XenServer will reboot. If you see the following XenServer console screen, it means that XenServer is successfully installed. An optional step after installation is to apply any existing XenServer update patches.
Support Xmodulo
This website is made possible by minimal ads and your gracious donation via PayPal or credit card
Please note that this article is published by Xmodulo.com under a Creative Commons Attribution-ShareAlike 3.0 Unported License. If you would like to use the whole or any part of this article, you need to cite this web page at Xmodulo.com as the original source.

Xmodulo © 2021 ‒ About ‒ Write for Us ‒ Feed ‒ Powered by DigitalOcean