How to set up web-based database management system with Adminer
Last updated on September 10, 2020 by Dan Nanni
A web-based database management system offers several advantages for any business operating databases. It allows databases to be administered from anywhere in the world, which increases productivity and efficiency of database administration. Also, having a web-based management interface means you don't need to install a separate database client, but use a cross-platform web browser. Security may be simplified with web-based access, as security is now delegated to a web server.
There are several web-based database management tools available on Linux (e.g., MySQL Workbench, phpMyAdmin). In this tutorial, I present Adminer which is a PHP-based database management tool. Adminer can fully support the administration of various databases including MySQL, MariaDB, MongoDB, PostgreSQL, SQLite, and Oracle. Its feature set is more complete than phpMyAdmin.
In the following I describe how to set up a web-based management system with Adminer, and how to manage databases in web interface. I will be using MySQL as a backend database.
Main Features of Adminer
Let me first highlight Adminer's full features.
- Basic database management functions (add/remove/edit database/table schema/data).
- Editing of database objects (e.g., views, triggers, events, procedures, user permissions, etc.).
- Execution of user-typed SQL commands.
- Import and export of databases and tables.
- Multi-language support.
- Extensible functionality via plugins.
Install Adminer on Linux
Assuming that you already have a MySQL server up and running with remote access enabled, you can install Adminer as follows.
For Ubuntu, Debian or Linux Mint:
To install Adminer on Ubuntu, Debian or Linux Mint, use the commands below. This will install Adminer as well as Apache2 web server (which Adminer depends on).
$ sudo apt-get install adminer
Restart Apache2:
$ sudo service apache2 restart
Or:
$ sudo systemctl restart apache2
For CentOS, Fedora or RHEL:
To install Adminer on Red Hat based system, set up Apache first, and download and provision Adminer from the official website as follows.
$ sudo yum install httpd php php-mysql
$ git clone https://github.com/vrana/adminer.git
$ sudo cp -r adminer/* /var/www/html
Restart Apache server:
$ sudo service httpd start
Or:
$ sudo systemctl restart httpd
Web-based Database Management of Adminer
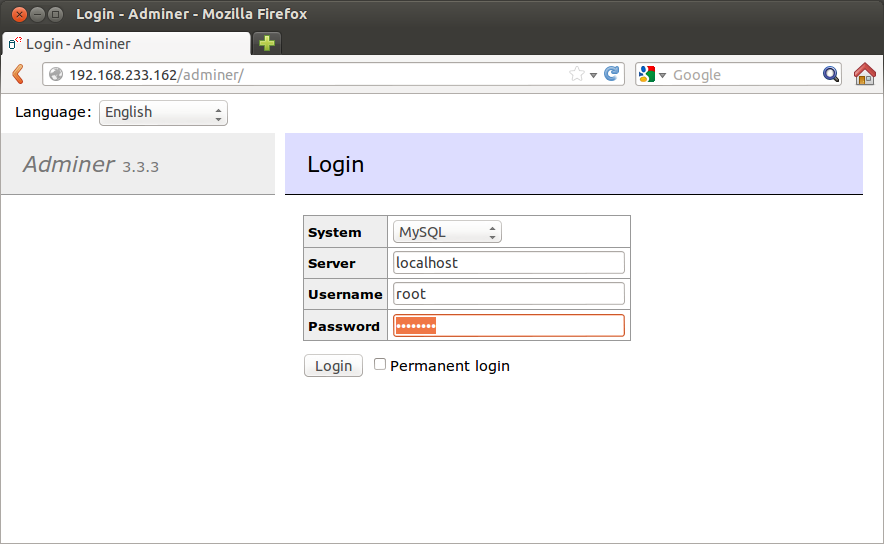
Once Apache web server with Adminer is up and running, go to http://<ip-address-of-mysql-server>/adminer on your web browser.
You will see the Adminer's web interface, where you can log in to a remote database server. Enter localhost for Server field. The Database field is optional. If you leave this field empty, you can view all available databases after logging in.
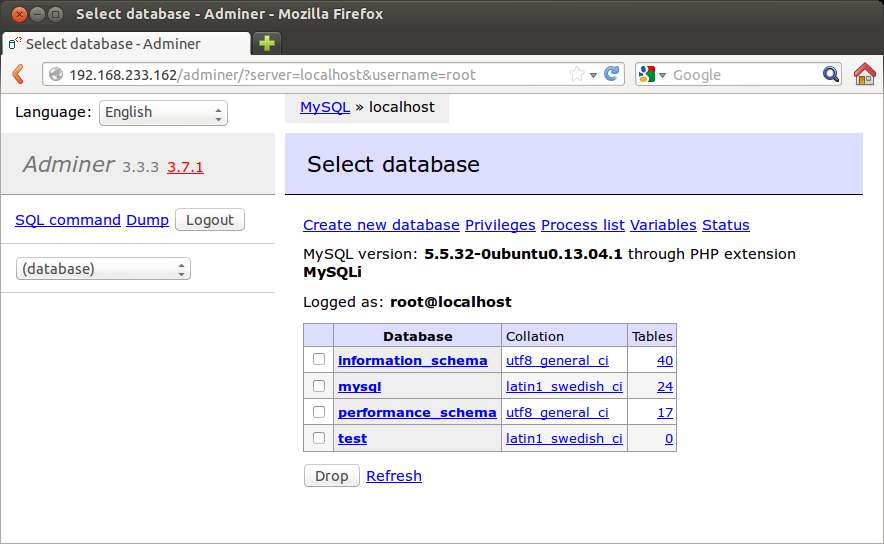
Once logged in, you can perform common database management operations via web interface.
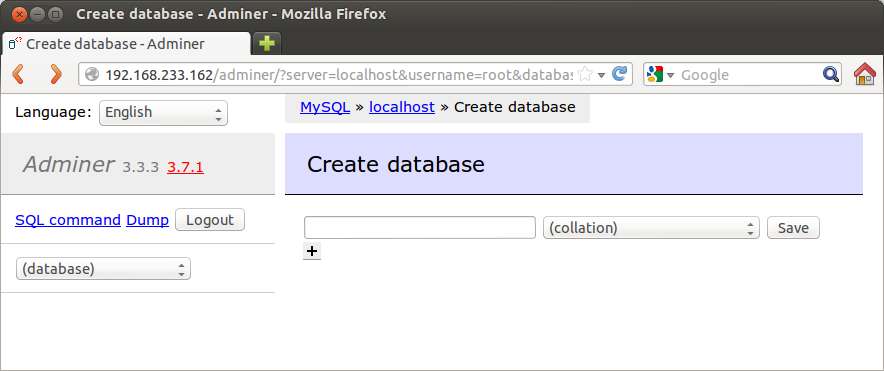
Create a new database.
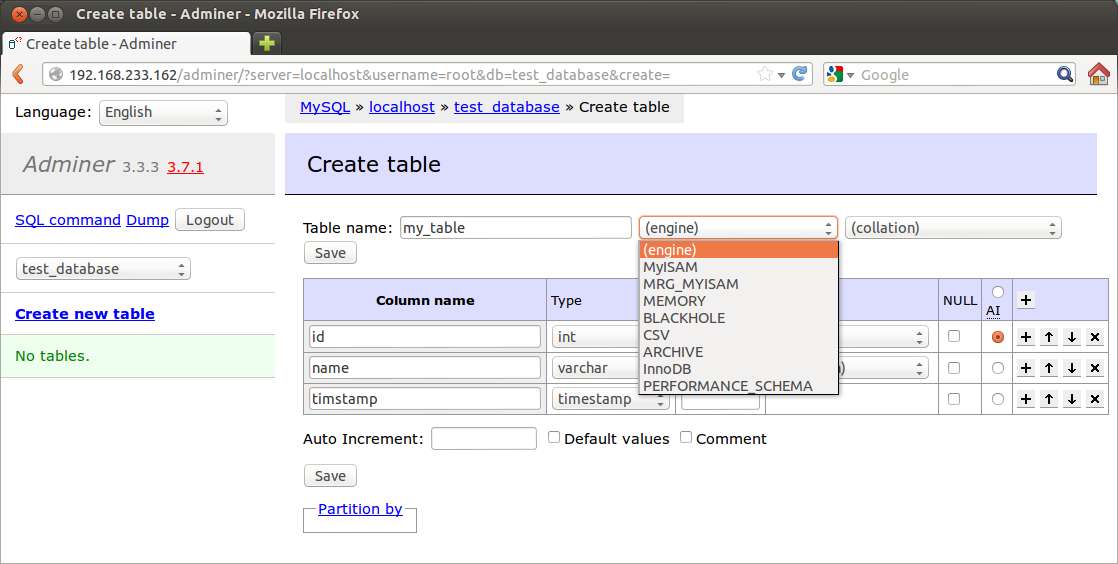
Add a new table to a database.
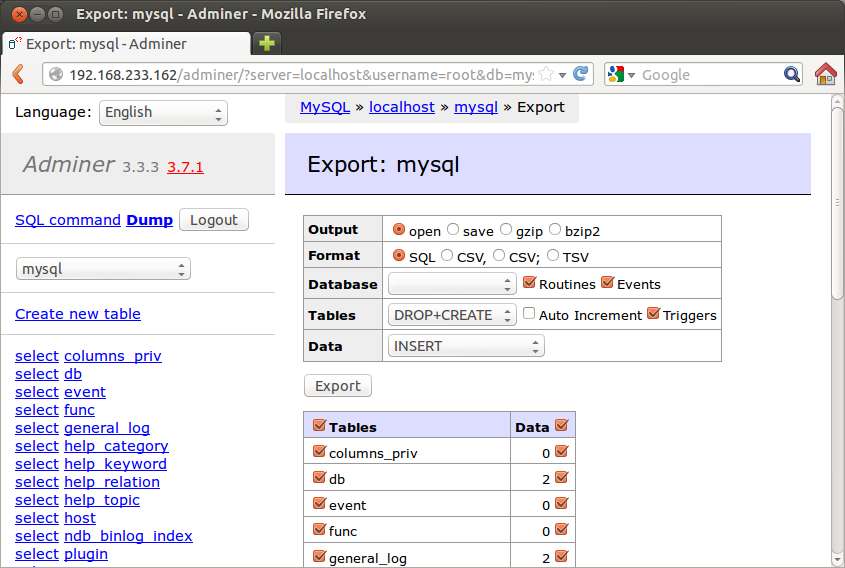
Export a database to a file.
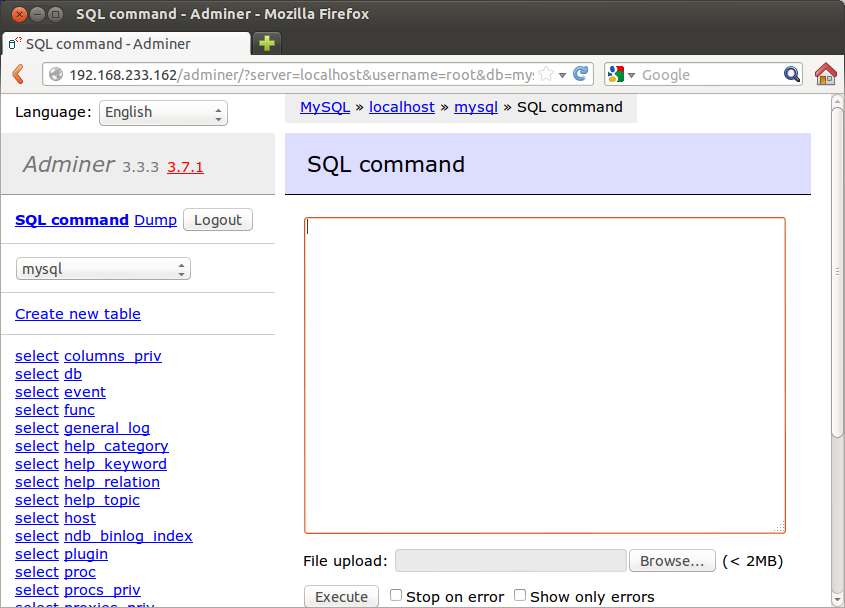
Run a SQL command.
Support Xmodulo
This website is made possible by minimal ads and your gracious donation via PayPal or credit card
Please note that this article is published by Xmodulo.com under a Creative Commons Attribution-ShareAlike 3.0 Unported License. If you would like to use the whole or any part of this article, you need to cite this web page at Xmodulo.com as the original source.
Xmodulo © 2021 ‒ About ‒ Write for Us ‒ Feed ‒ Powered by DigitalOcean

