How to remote control Raspberry Pi
Last updated on November 12, 2020 by Kristophorus Hadiono
Once you have a fully working Raspberry Pi system, it may not be convenient for you to continue to access Raspberry Pi directly via a keyboard and HDMI/TV cable connector dedicated to Raspberry Pi. Instead, you will want to remote control headless Raspberry Pi from another computer.
In this tutorial, I will show you how to remote control your Raspberry Pi in several different ways. Here I assume that you are running Raspbian on your Raspberry Pi. Also, note that you are not required to run desktop on Raspbian when trying any of the methods presented in this tutorial.
Method One: Command Line Interface (CLI) over SSH
The first time you boot Raspberry Pi after writing a Raspbian image into SD Card, it will show raspi-config based configuration screen, where you can activate SSH service for auto-start. If you do not know how to configure SSH service, refer to this tutorial.
Once SSH service is activated on Raspbian, you can access your Raspberry Pi remotely by using SSH client from elsewhere.
To install SSH client on a separate Linux system, follow the instruction below.
For CentOS, RHEL or Fedora:
# yum -y install openssh-clients
For Ubuntu or Debian:
$ sudo apt-get install openssh-client
For OpenSUSE:
# zypper in openssh
After SSH client is installed, connect to your Raspberry Pi over SSH as follows.
$ ssh pi@[rasberrypi_ip_address]

Method Two: X11 Forwarding for GUI Application over SSH
You can also run a Raspbian's native GUI application remotely through SSH session. You only need to set up the SSH server on Raspbian to forward X11 sessions. To enable X11 forwarding, you need xauth, which is already installed on Rasbian. Just re-configure the SSH server of Rasbian as follows.
Open /etc/ssh/sshd_config configuration file with a text editor.
$ sudo nano /etc/ssh/sshd_config
Add the following line in the bottom line of the configuration file.
X11Forwarding yes
Restart sshd.
$ sudo /etc/init.d/ssh restart
Then on a separate host, connect to Raspberry Pi over SSH with -X option.
$ ssh -X [email protected]
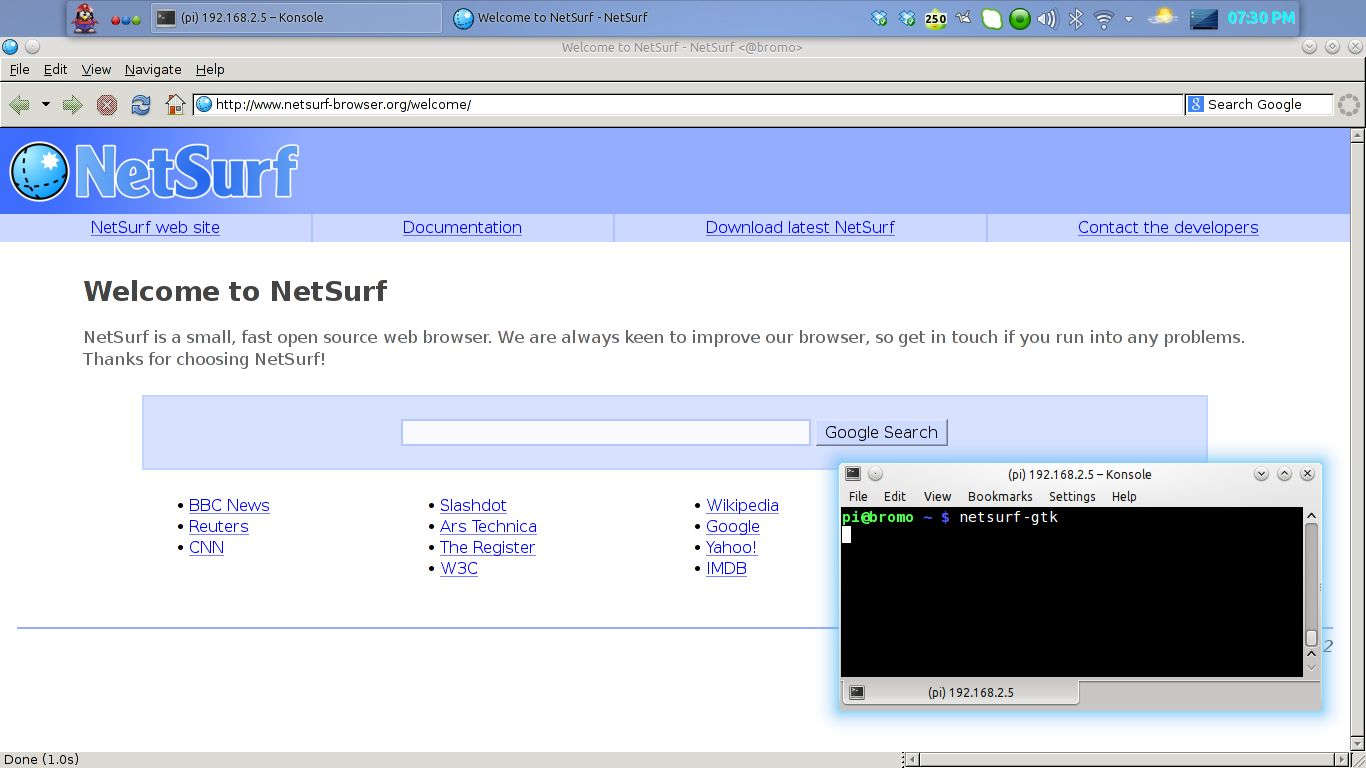
Finally, launch a GUI application (e.g., NetSurf GTK web browser) by entering its command over the SSH session. The GUI application will pop up on your own desktop.
$ netsurf-gtk
Method Three: X11 Forwarding for Desktop over SSH
With X11+SSH forwarding, you can actually run the entire desktop of Raspberry Pi remotely, not just standalone GUI applications.
Here I will show how to run the remote RPi desktop in the second virtual terminal (i.e., virtual terminal 8) via X11 forwarding. Your Linux desktop is running by default on the first virtual terminal, which is virtual terminal #7. Follow instructions below to get your RPi desktop to show up in your second virtual terminal.
Open your konsole or terminal, and change to root user.
$ sudo su
Type the command below, which will activate xinit in virtual terminal 8. Note that you will be automatically switched to virtual terminal 8. You can switch back to the original virtual terminal 7 by pressing Ctrl+Alt+F7.
# xinit -- :1 &
After switching to virtual terminal 8, execute the following command to launch the RPi desktop remotely. Type pi user password when asked (see picture below).
# DISPLAY=:1 ssh -X [email protected] lxsession
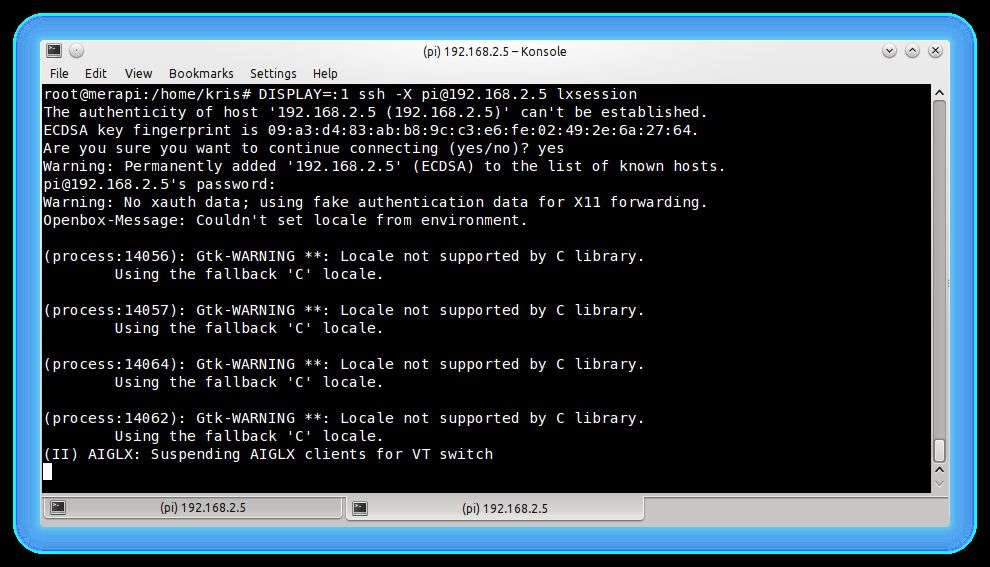
You will bring to your new virtual terminal 8 the remote RPi desktop, as well as a small terminal launched from your active virtual terminal 7 (see picture below).
Remember, do not close that terminal. Otherwise, your RPi desktop will close immediately.
You can move between first and second virtual terminals by pressing Ctrl+Alt+F7 or Ctrl+Alt+F8.

To close your remote RPi desktop over X11+SSH, you can either close a small terminal seen in your active virtual terminal 8 (see picture above), or kill su session running in your virtual terminal 7.
Method Four: VNC Service
Another way to access the entire Raspberry Pi desktop remotely is to install VNC server on Rasberry Pi. Then access the desktop remotely via VNC viewer. Follow instructions below to install VNC server on your Raspberry Pi.
$ sudo apt-get install tightvncserverAfter the VNC server is installed, run this command to start the server.
$ vncserver :1

This command will start VNC server for display number 1, and will ask for a VNC password. Enter a password (of up to 8 characters). If you are asked to enter a view-only password, just answer it no (n). The VNC server will make a configuration file in the current user's home directory. After that, kill the VNC server process with this command.
$ vncserver -kill :1
Next, create a new init.d script for VNC (e.g., /etc/init.d/vncserver), which will auto-start the VNC server upon boot.
$ sudo nano /etc/init.d/vncserver
### BEGIN INFO
# Provides: vncserver
# Short-Description: Start VNC Server at boot time
# Description: Start VNC Server at boot time.
### END INIT INFO

#! /bin/sh
# /etc/init.d/vncserver
export USER='pi'
eval cd ~$USER
case "$1" in
start)
   su -c 'vncserver :1 -geometry 1024x768' $USER
   echo "Starting vnc server for $USER";;
stop)
   pkill xtightvnc
   echo "vnc server stopped";;
*)
   echo "usage /etc/init.d/vncserver (start|stop)"
   exit 1 ;;
esac
exit 0
Modify the file permission so it can be executed.
$ sudo chmod 755 /etc/init.d/vncserver
Run the following command to install the init.d script with default run-level.
$ sudo update-rc.d vncserver defaults
Reboot your Raspberry Pi to verify that VNC server auto-starts successfully.
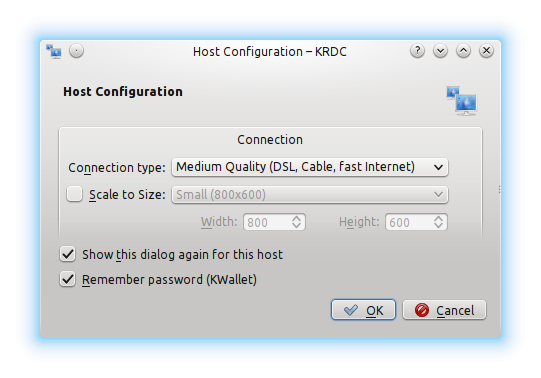
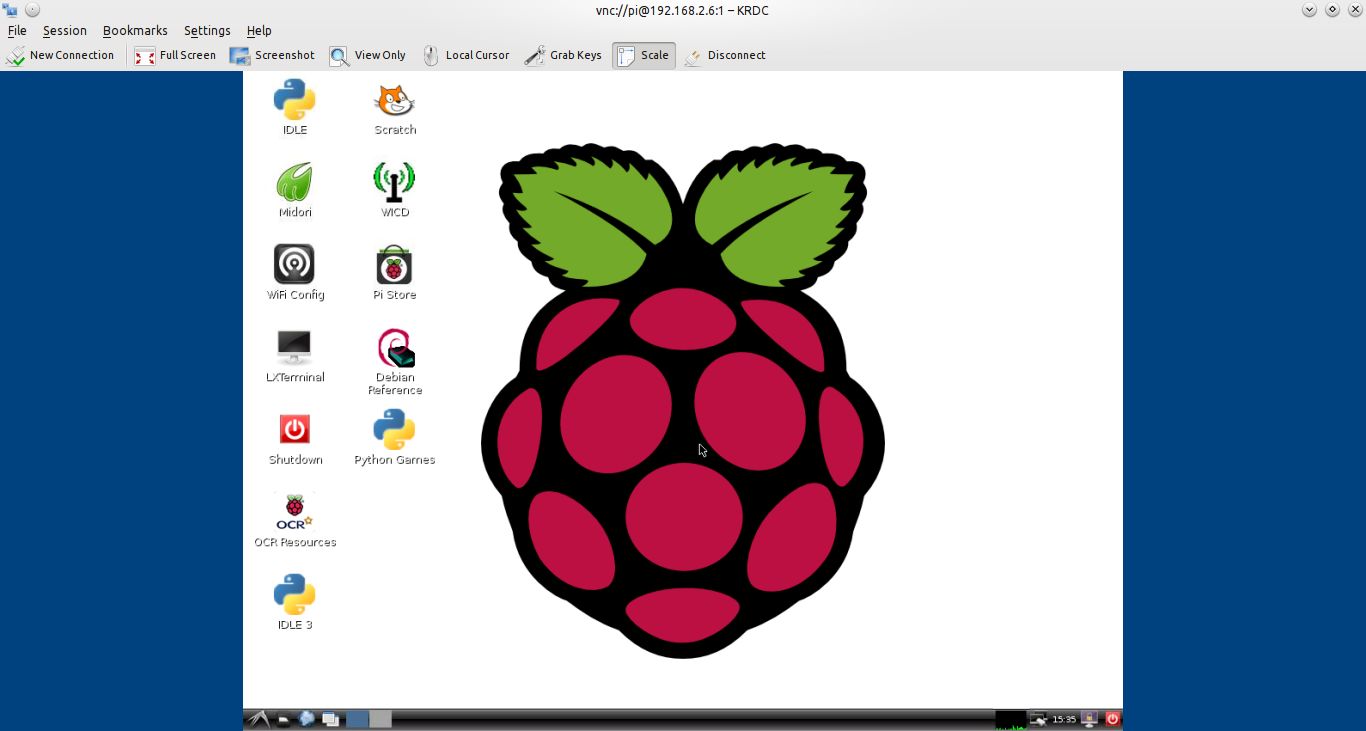
To access Raspberry Pi via VNC, you can run any VNC client from another computer. I use a VNC client called KRDC, provided by KDE desktop. If you use GNOME desktop, you can install vinagre VNC client. To install those VNC clients, follow the commands below.
For CentOS, RHEL or Fedora:
# yum -y install vinagre (for GNOME)
# yum -y krdc (for KDE)
For Ubuntu or Debian:
$ sudo apt-get install vinagre (for GNOME)
$ sudo apt-get install krdc (for KDE)
For OpenSUSE:
# zypper in vinagre (for GNOME)
# zypper in krdc (for KDE)

Support Xmodulo
This website is made possible by minimal ads and your gracious donation via PayPal or credit card
Please note that this article is published by Xmodulo.com under a Creative Commons Attribution-ShareAlike 3.0 Unported License. If you would like to use the whole or any part of this article, you need to cite this web page at Xmodulo.com as the original source.

Xmodulo © 2021 ‒ About ‒ Write for Us ‒ Feed ‒ Powered by DigitalOcean