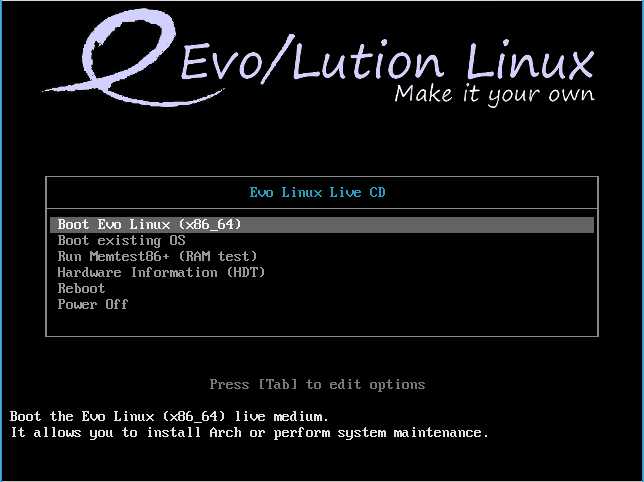
How to install Arch Linux the easy way with Evo/Lution
Last updated on September 23, 2020 by Dan Nanni
The one who ventures into an install of Arch Linux and has only experienced installing Linux with Ubuntu or Mint is in for a steep learning curve. The number of people giving up halfway is probably higher than the ones that pull it through. Arch Linux is somewhat cult in the way that you may call yourself a weathered Linux user if you succeed in setting it up and configuring it in a useful way.
Even though there is a helpful wiki to guide newcomers, the requirements are still too high for some who set out to conquer Arch. You need to be at least familiar with commands like fdisk or mkfs in a terminal and have heard of mc, nano or chroot to make it through this endeavour. It reminds me of a Debian install 10 years ago.
For those ambitious souls that still lack some knowledge, there is an installer in the form of an ISO image called Evo/Lution Live ISO to the rescue. Even though it is booted like a distribution of its own, it does nothing but assist with installing a barebone Arch Linux. Evo/Lution is a project that aims to diversify the user base of Arch by providing a simple way of installing Arch as well as a community that provides comprehensive help and documentation to that group of users. In this mix, Evo is the (non-installable) live CD and Lution is the installer itself. The project's founders see a widening gap between Arch developers and users of Arch and its derivative distributions, and want to build a community with equal roles between all participants.
The software part of the project is the CLI installer Lution-AIS which explains every step of what happens during the installation of a pure vanilla Arch. The resulting installation will have all the latest software that Arch has to offer without adding anything from AUR or any other custom packages.
After booting up the ISO image, which weighs in at 422 MB, we are presented with a workspace consisting of a Conky display on the right with shortcuts to the options and a LX-Terminal on the left waiting to run the installer.
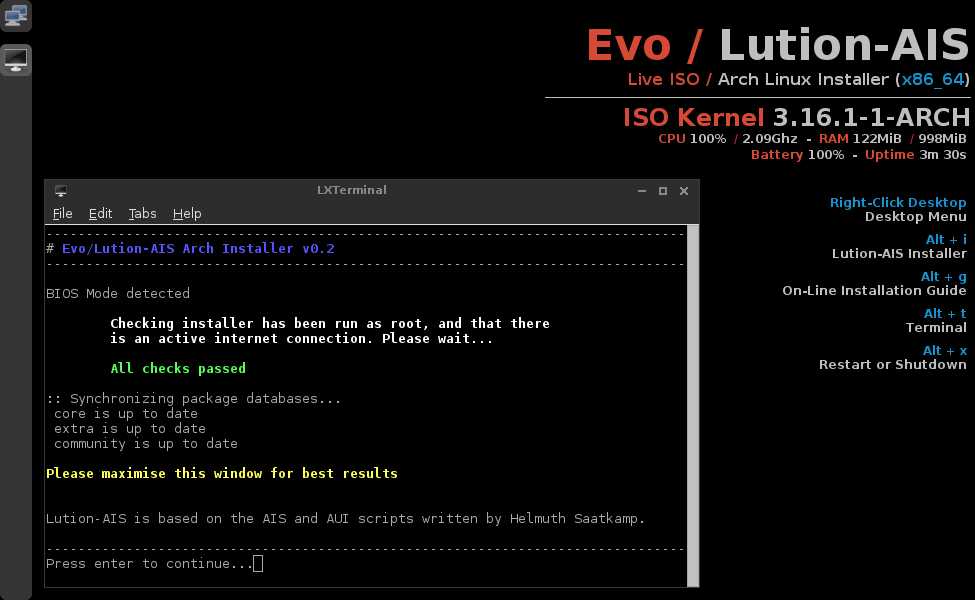
After setting off the actual installer by either right-clicking on the desktop or using ALT-i, you are presented with a list of 16 jobs to be run. It makes sense to run them all unless you know better. You can either run them one by one or make a selection like 1 3 6 or 1-4 or do them all at once by entering 1-16. Most steps need to be confirmed with a y for yes, and the next task waits for you to hit ENTER. This will allow time to read the installation guide which is hidden behind ALT-g or even walking away from it.

The 16 steps are divided in Base Install and Desktop Install. The first group takes care of localization, partitioning, and installing a bootloader.
The installer leads you through partitioning with gparted, gdisk, and cfdisk as options.
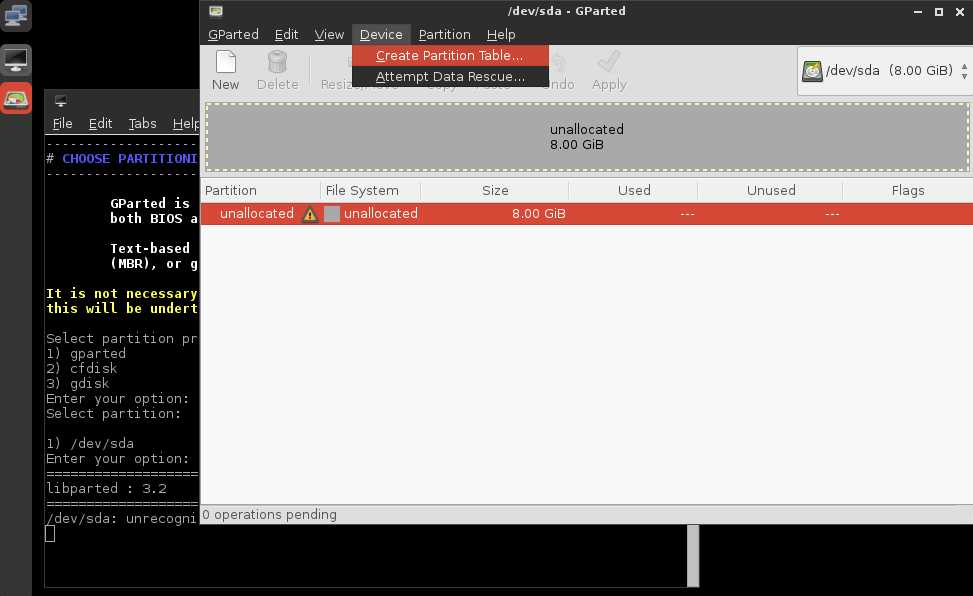
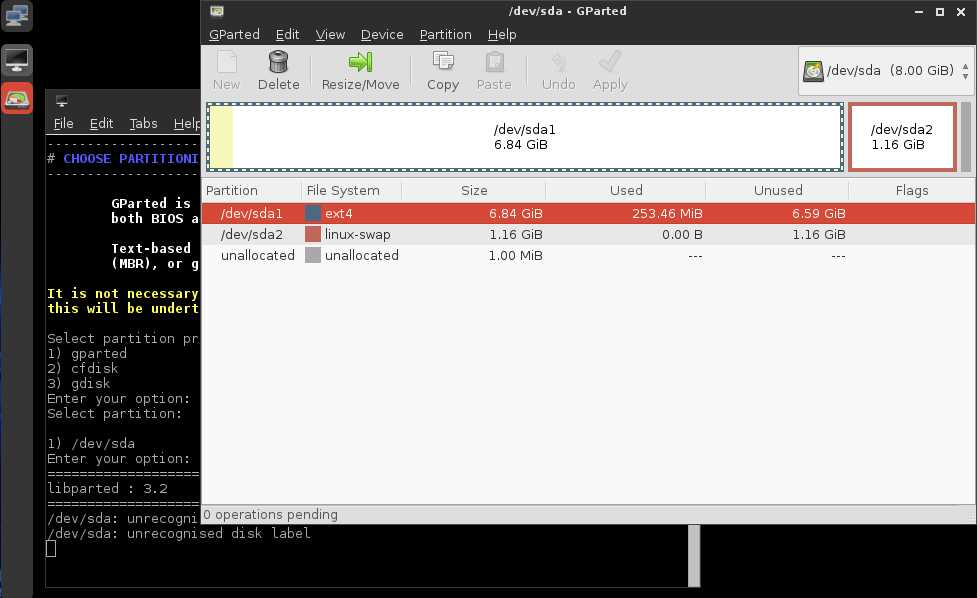
After you have created partitions (e.g., /dev/sda1 for root and /dev/sda2 for swap using gparted as shown in the screenshot), you can choose 1 out of 10 file systems. In the next step, you can choose your kernel (latest or LTS) and base system.

After installing the bootloader of your choice, the first part of the install is done, which takes approximately 12 minutes. This is the point where in plain Arch Linux you reboot into your system for the first time.
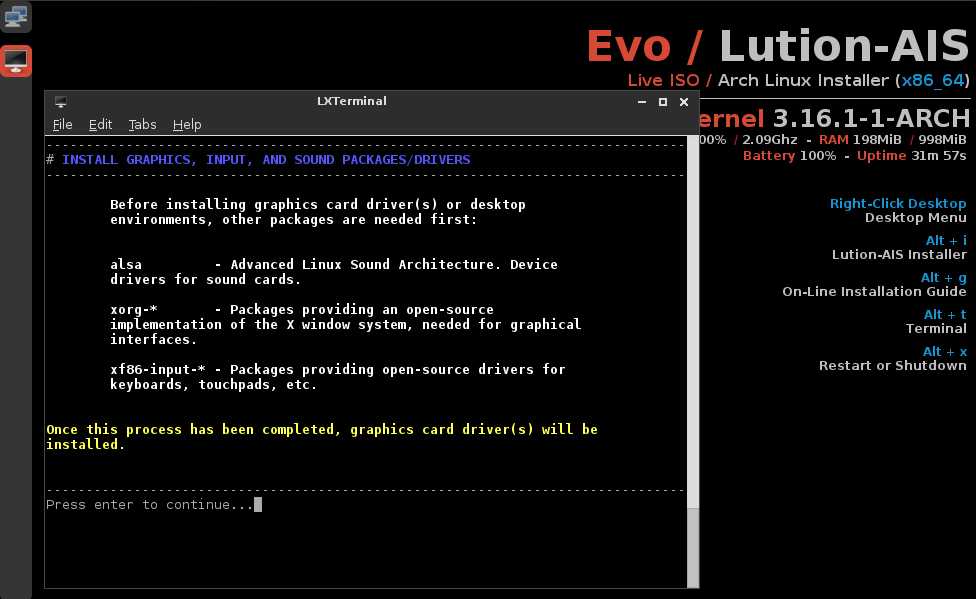
With Lution you just move on to the second part which installs Xorg, sound and graphics drivers, and then moves on to desktop environments.
The installer detects if an install is done in VirtualBox, and will automatically install and load the right generic drivers for the VM and sets up systemd accordingly.
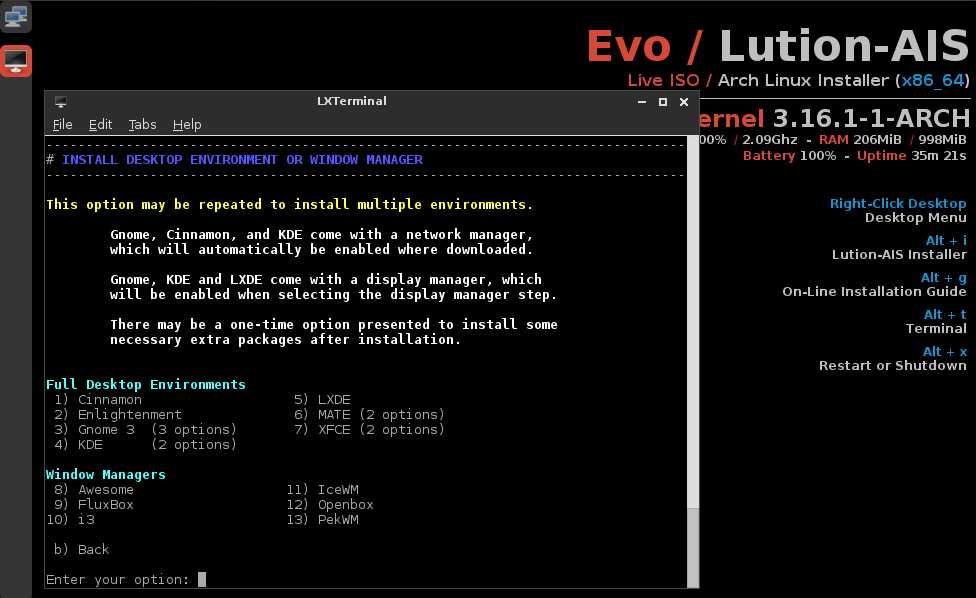
In the next step, you can choose between the desktop environments KDE, Gnome, Cinnamon, LXDE, Enlightenment, Mate or XFCE. Should you not be friends with the big ships, you can also go with a Window manager like Awesome, Fluxbox, i3, IceWM, Openbox or PekWM.
Part two of the installer will take under 10 minutes with Cinnamon as the desktop environment; however, KDE will take longer due to a much larger download.
Lution-AIS worked like a charm on two tries with Cinnamon and Awesome. After the installer was done and prompted me to reboot, it took me to the desired environments.

I have only two points to criticize: when the installer offered me to choose a mirror list and when it created the fstab file. In both cases it opened a second terminal, prompting me with an informational text. It took me a while to figure out I had to close the terminals before the installer would move on. When it prompts you after creating fstab, you need to close the terminal, and answer yes when asked if you want to save the file.

The second of my issues probably has to do with VirtualBox. When starting up, you may see a message that no network has been detected. Clicking on the top icon on the left will open wicd, the network manager that is used here. Clicking on Disconnect and then Connect and restarting the installer will get it automatically detected.
Evo/Lution seems a worthwhile project, where Lution works fine. Not much can be said on the community part yet. Share your experience or suggestion.
Support Xmodulo
This website is made possible by minimal ads and your gracious donation via PayPal or credit card
Please note that this article is published by Xmodulo.com under a Creative Commons Attribution-ShareAlike 3.0 Unported License. If you would like to use the whole or any part of this article, you need to cite this web page at Xmodulo.com as the original source.

Xmodulo © 2021 ‒ About ‒ Write for Us ‒ Feed ‒ Powered by DigitalOcean