How to configure Access Control Lists (ACLs) on Linux
Last updated on December 6, 2020 by Dan Nanni
Working with permissions on Linux is rather a simple task. You can define permissions for users, groups or others. This works really well when you work on a desktop PC or a virtual Linux instance which typically doesn't have a lot of users, or when users don't share files among themselves. However, what if you are a big organization where you operate NFS or Samba servers for diverse users. Then you will need to be nitpicky and set up more complex configurations and permissions to meet the requirements of your organization.
Linux (and other Unixes, that are POSIX compliant) has so-called Access Control Lists (ACLs), which are a way to assign permissions beyond the common paradigm. For example, by default you apply three permission groups: owner, group, and others. With ACLs, you can add permissions for other users or groups that are not simple "others" or any other group that the owner is not part of it. You can allow particular users A, B and C to have write permissions without letting their whole group to have writing permission.
ACLs are available for a variety of Linux filesystems including EXT2, EXT3, EXT4, XFS, Btfrs, etc. If you are not sure if the filesystem you are using supports ACLs, just read the documentation.
Install ACL Tools on Linux
First of all, we need to install the tools to manage ACLs.
On Ubuntu/Debian:
$ sudo apt-get install acl
On CentOS/Fedora/RHEL:
# yum -y install acl
On Arch Linux:
# pacman -S acl
Enable ACLs on your Filesystem
For demonstration purpose, I will use Ubuntu server, but other distributions should work the same way.
After installing ACL tools, it is necessary to enable ACL feature on our disk partitions so that we can start using it.
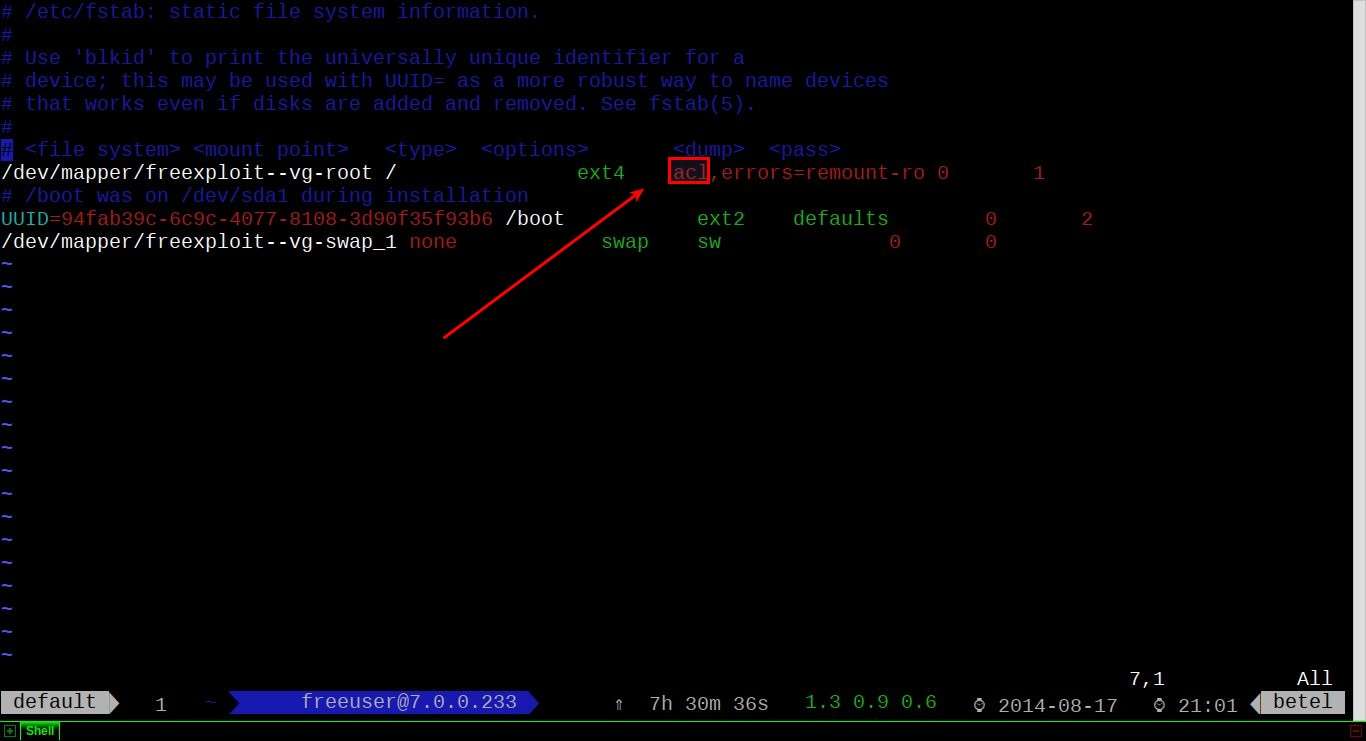
First, we can check if ACL feature is already enabled:
$ mount

As you noticed, my root partition has the ACL attribute enabled. In case yours doesn't, you need to edit your /etc/fstab file. Add acl flag in front of your options for the partition you want to enable ACL.
Now we need to re-mount the partition (I prefer to reboot completely, because I don't like losing data). If you enabled ACL for any other partitions, you have to remount them as well.
$ sudo mount / -o remount
Awesome! Now that we have enable ACL in our system, let's start to work with it.
ACL Examples
Basically ACLs are managed by two commands: setfacl which is used to add or modify ACLs, and getfacl which shows assigned ACLs. Let's do some testing.
I created a directory /shared owned by a hypothetical user named freeuser.
$ ls -lh /
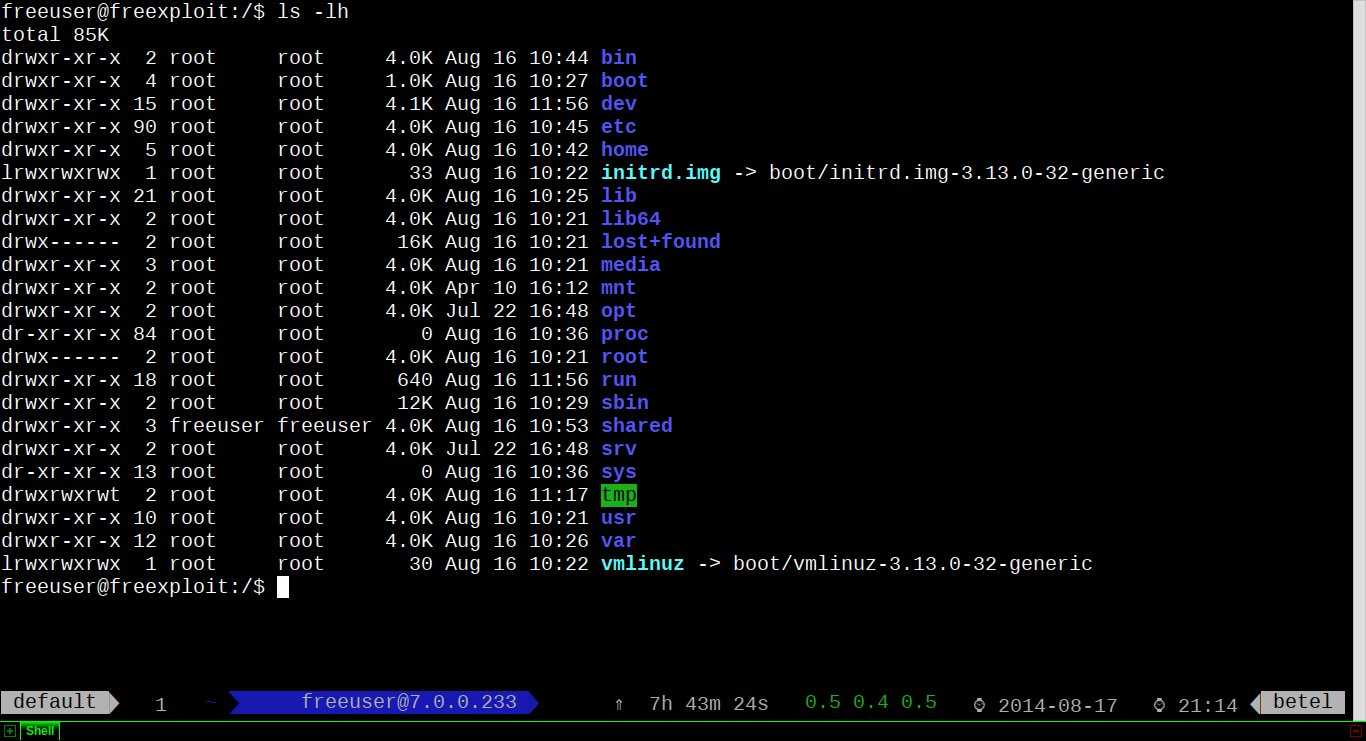
I want to share this directory with two other users test and test2, one with full permissions and the other with just read permission.
First, to set ACLs for user test:
$ sudo setfacl -m u:test:rwx /shared
Now user test can create directories, files, and access anything under /shared directory.

Now we will add read-only permission for user test2:
$ sudo setfacl -m u:test2:rx /shared
Note that execution permission is necessary so test2 can read directories.

Let me explain the syntax of setfacl command:
-mmeans modify ACL. You can add new, or modify existing ACLs.u:means user. You can use g to set group permissions.testis the name of the user.:rwxrepresents permissions you want to set.
Now let me show you how to read ACLs.
$ ls -lh /shared
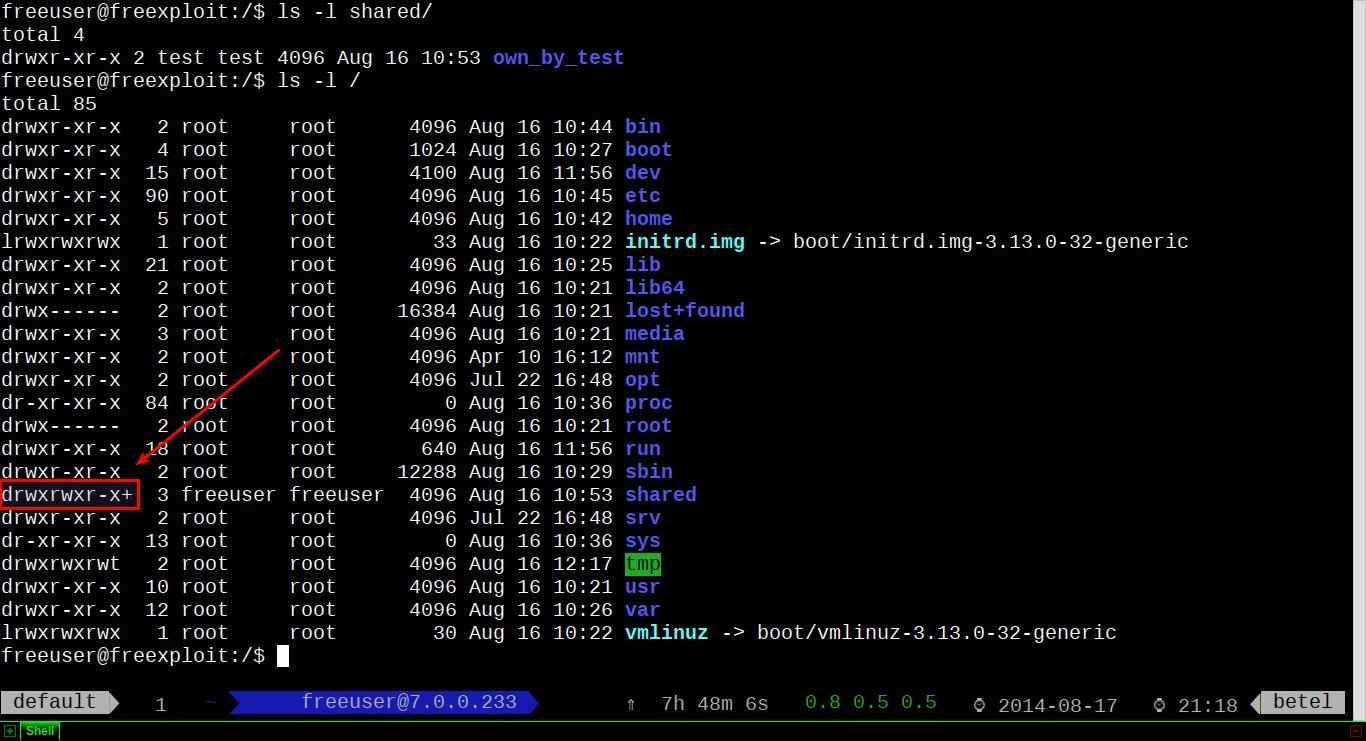
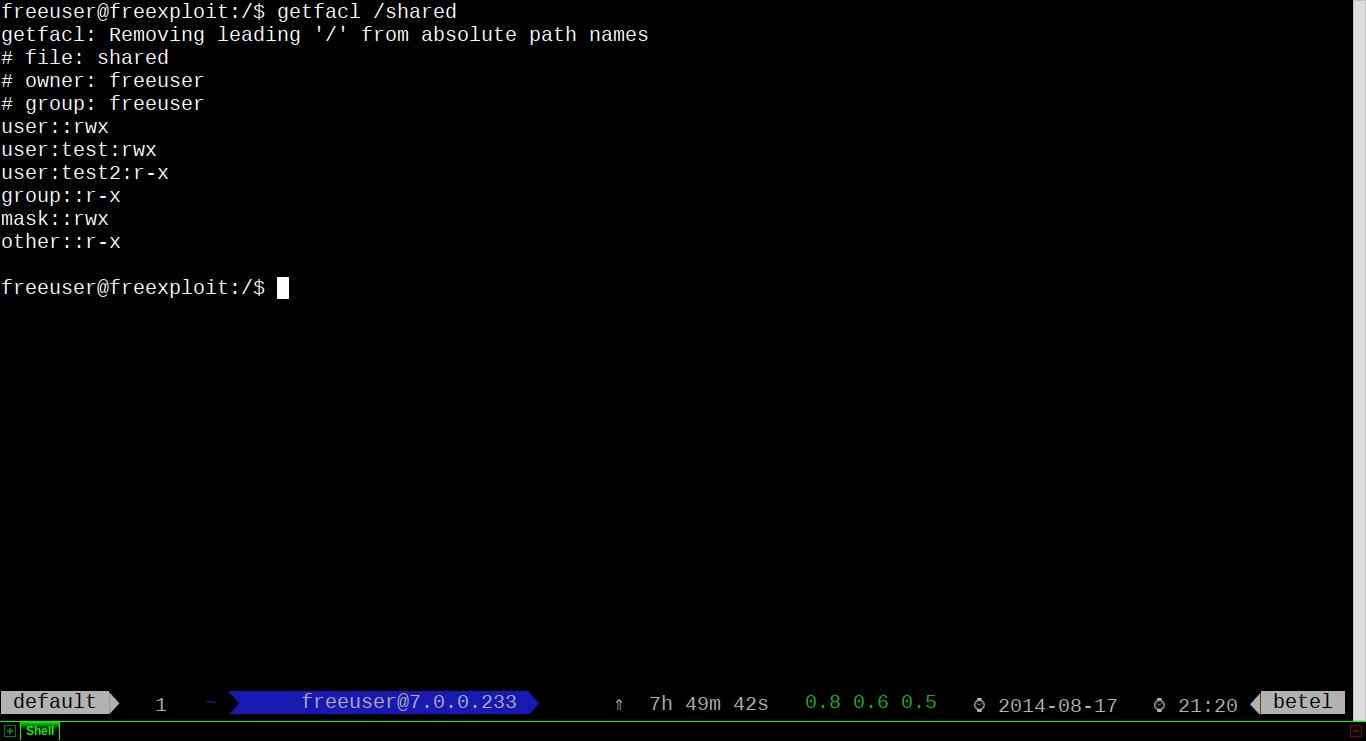
As you noticed, there is a + (plus) sign after normal permissions. It means that there are ACLs set up. To actually read ACLs, we need to run:
$ sudo getfacl /shared
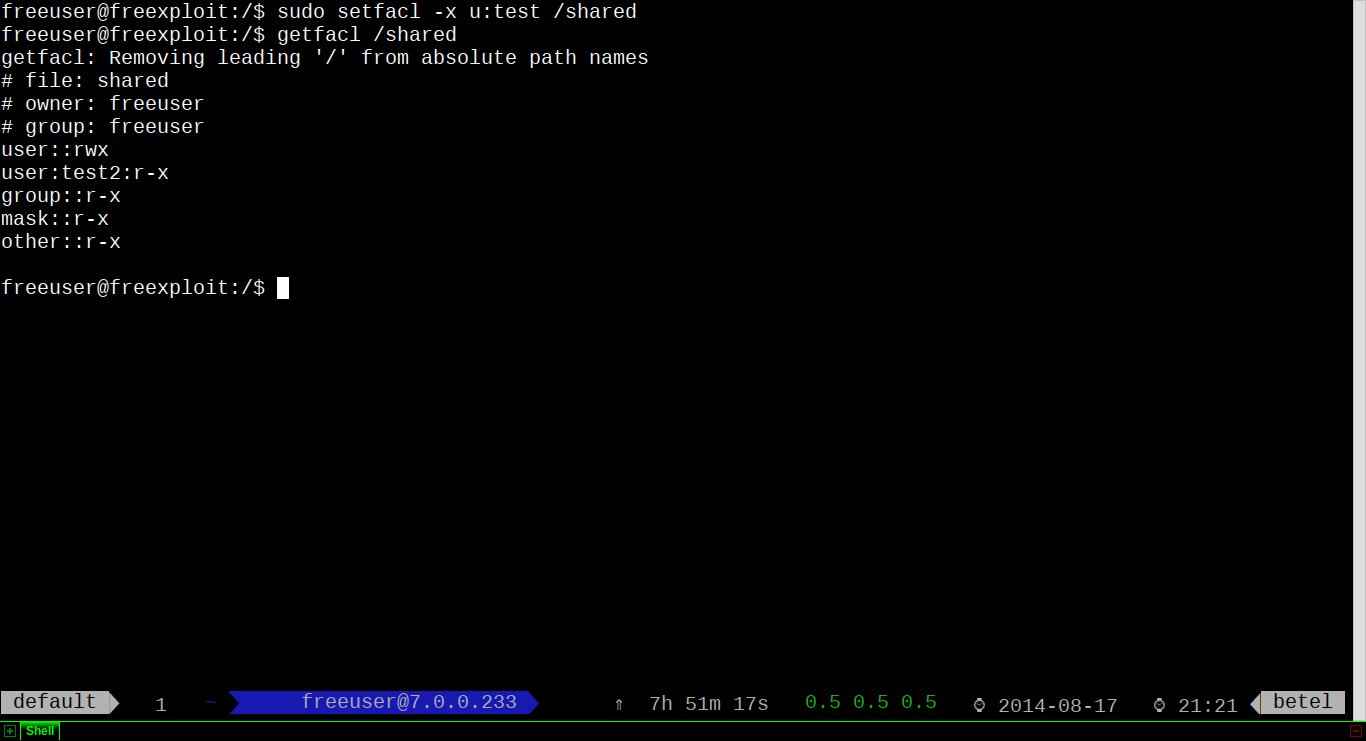
Finally if you want to remove ACL:
$ sudo setfacl -x u:test /shared
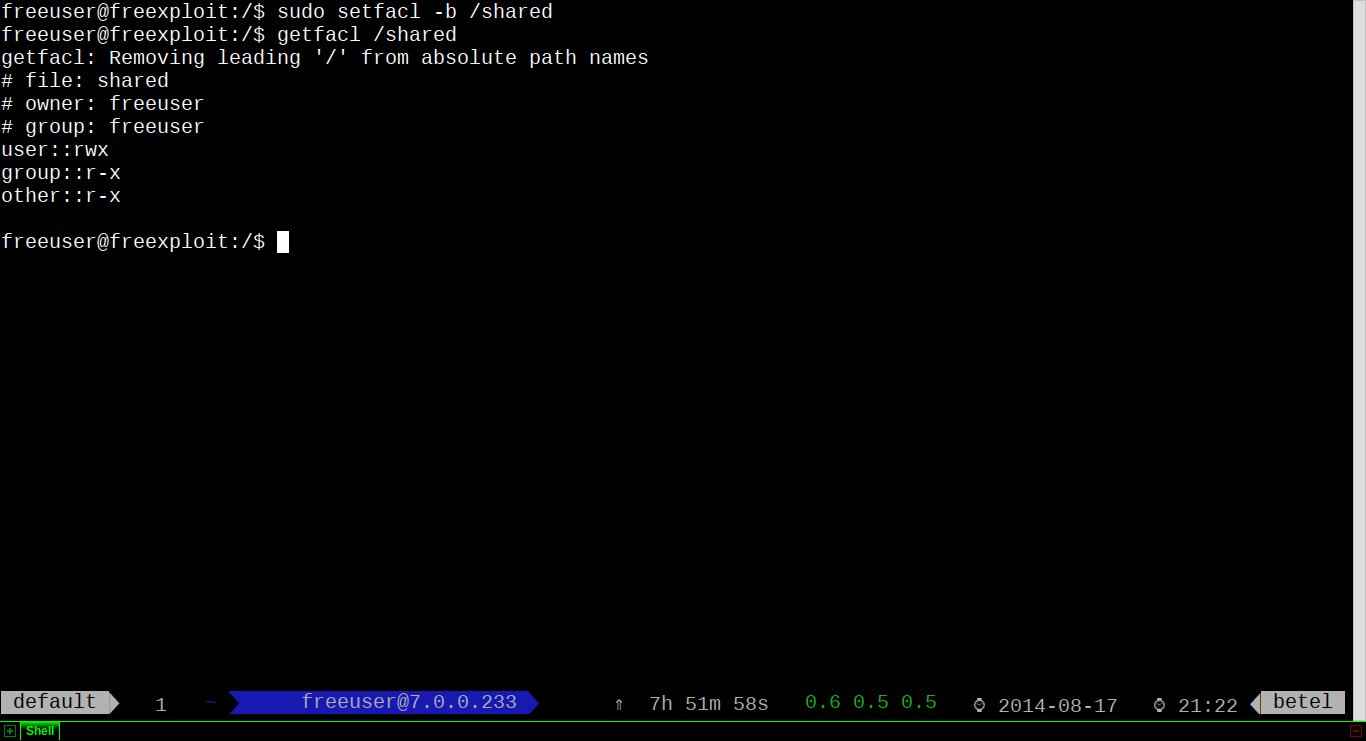
If you want to wipe out all ACL entries at once:
$ sudo setfacl -b /shared
One last thing. The commands cp and mv can change their behavior when they work over files or directories with ACLs. In the case of cp, you need to add the -p parameter to copy ACLs. If this is not posible, it will show you a warning. mv will always move the ACLs, and also if it is not posible, it will show you a warning.
Conclusion
Using ACLs gives you a tremendous power and control over files you want to share, especially on NFS/Samba servers. Moreover, if you administer shared hosting, this tool is a must have.
Support Xmodulo
This website is made possible by minimal ads and your gracious donation via PayPal or credit card
Please note that this article is published by Xmodulo.com under a Creative Commons Attribution-ShareAlike 3.0 Unported License. If you would like to use the whole or any part of this article, you need to cite this web page at Xmodulo.com as the original source.

Xmodulo © 2021 ‒ About ‒ Write for Us ‒ Feed ‒ Powered by DigitalOcean