How to create and start VirtualBox VM without GUI
Last updated on September 21, 2020 by Dan Nanni
Suppose you want to create and run virtual machines (VMs) on VirtualBox. However, a host machine does not support X11 environment, or you only have access to a terminal on a remote host machine. Then how can you create and run VMs on such a host machine without VirtualBox GUI? This can be a common situation for servers where VMs are managed from remotely.
In fact, VirtualBox comes with a suite of command line utilities, and you can use the VirtualBox command line interfaces (CLIs) to manage VMs on a remote headless server. In this tutorial, I will show you how to create and start a VM without VirtualBox GUI.
Prerequisite for starting VirtualBox VM without GUI
First, you need to install VirtualBox Extension Pack. The Extension Pack is needed to run a VRDE remote desktop server used to access headless VMs. Its binary is available for free. To download and install VirtualBox Extension Pack:
$ wget http://download.virtualbox.org/virtualbox/4.2.36/Oracle_VM_VirtualBox_Extension_Pack-4.2.36-104064a.vbox-extpack
$ sudo VBoxManage extpack install ./Oracle_VM_VirtualBox_Extension_Pack-4.2.36-104064a.vbox-extpack
Verify that the Extension Pack is successfully installed, by using the following command.
$ VBoxManage list extpacks
Extension Packs: 1
Pack no. 0:   Oracle VM VirtualBox Extension Pack
Version:      4.2.36
Revision:     84980
Edition:
Description:  USB 2.0 Host Controller, VirtualBox RDP, PXE ROM with E1000 support.
VRDE Module:  VBoxVRDP
Usable:       true
Why unusable:
Create a VirtualBox VM From the Command Line
I assume that the VirtualBox' VM directory is located in ~/VirtualBox VMs.
First create a VM. The name of the VM is testvm in this example.
$ VBoxManage createvm --name "testvm" --register
Specify the hardware configurations of the VM (e.g., Ubuntu OS type, 1024MB memory, bridged networking, DVD booting).
$ VBoxManage modifyvm "testvm" --memory 1024 --acpi on --boot1 dvd --nic1 bridged --bridgeadapter1 eth0 --ostype Ubuntu
Create a disk image (with size of 10000MB). Optionally, you can specify disk image format by using --format [VDI|VMDK|VHD] option. Without this option, VDI image format will be used by default.
$ VBoxManage createvdi --filename ~/VirtualBox VMs/testvm/testvm-disk01.vdi --size 10000
Add an IDE controller to the VM.
$ VBoxManage storagectl "testvm" --name "IDE Controller" --add ide
Attach the previously created disk image as well as CD/DVD drive to the IDE controller. Ubuntu installation ISO image (found in /iso/ubuntu-12.04.1-server-i386.iso) is then inserted to the CD/DVD drive.
$ VBoxManage storageattach "testvm" --storagectl "IDE Controller" --port 0 --device 0 --type hdd --medium ~/VirtualBox VMs/testvm/testvm-disk01.vdi
$ VBoxManage storageattach "testvm" --storagectl "IDE Controller" --port 1 --device 0 --type dvddrive --medium /iso/ubuntu-12.04.1-server-i386.iso
Start VirtualBox VM From the Command Line
Once a new VM is created, you can start the VM headless (i.e., without VirtualBox console GUI) as follows.
$ VBoxHeadless --startvm "testvm" &
The above command will launch the VM, as well as VRDE remote desktop server. The remote desktop server is needed to access the headless VM's console.
By default, the VRDE server is listening on TCP port 3389. If you want to change the default port number, use -e option as follows.
$ VBoxHeadless --startvm "testvm" -e "TCP/Ports=4444" &
If you don't need remote desktop support, launch a VM with --vrde off option.
$ VBoxHeadless --startvm "testvm" --vrde off &
Connect to Headless VirtualBox VM via Remote Desktop
Once a VM is launched with remote desktop support, you can access the VM's console via any remote desktop client (e.g., rdesktop).
To install rdesktop on Ubuntu or Debian:
$ sudo apt-get install rdesktop
To install rdesktop on CentOS, RHEL or Fedora, configure Repoforge on your system, and then run the following.
$ sudo yum install rdesktop
To access a headless VM on a remote host machine, run the following.
$ rdesktop -a 16 <IP_address_host_machine>
If you use a custom port number for a remote desktop server, run the following instead.
$ rdesktop -a 16 <IP_address_host_machine:port_number>
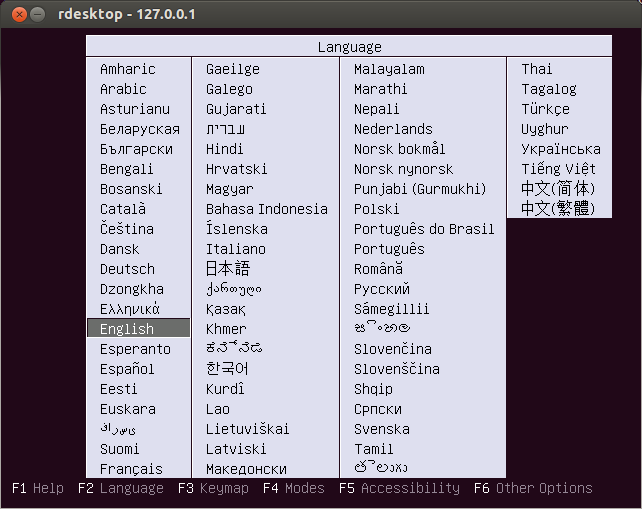
Once rdesktop is successfully connected to the VM via remote desktop, you will see the initial installation screen.
Support Xmodulo
This website is made possible by minimal ads and your gracious donation via PayPal or credit card
Please note that this article is published by Xmodulo.com under a Creative Commons Attribution-ShareAlike 3.0 Unported License. If you would like to use the whole or any part of this article, you need to cite this web page at Xmodulo.com as the original source.

Xmodulo © 2021 ‒ About ‒ Write for Us ‒ Feed ‒ Powered by DigitalOcean