How to synchronize time with NTP
Last updated on August 31, 2020 by Dan Nanni
NTP is a networking protocol which enables one to synchronize clock among different computers using IP packets. NTP is commonly used when you need to maintain a cluster of hosts as part of distributed compute and storage cloud, where clock synchrony is important for proper operations. NTP is capable of compensating for variable latency over networks, and can achieve clock synchronization with 1 millisecond accuracy under ideal conditions. If you would like to synchronize time on all hosts involved via NTP, you need to set up NTP client on each host, which is described as follows.
Install NTP Client on Fedora or CentOS/RHEL 7 or later
The latest CentOS/RHEL or Fedora comes with an NTP client called Chrony pre-installed. If Chrony is not installed for any reason, use yum command to install it:
$ sudo yum install chrony
After installation, chronyd should automatically be up and running. If this is not the case, you can set chronyd to auto-start as follows.
$ sudo systemctl start chronyd
$ sudo systemctl enable chronyd
Install NTP Client on CentOS/RHEL 6 or earlier
First, install ntp with yum:
$ sudo yum install ntp
After that, start ntpd service and enable it to auto-start:
$ sudo chkconfig ntpd on
$ sudo service ntpd start
Install NTP Client on Ubuntu, Debian or Linux Mint
Install ntp with apt-get:
$ sudo apt-get install ntp
After installing NTP, NTP daemon process ntpd should automatically start running, and auto-start upon boot. If not, you can manually start it as follows.
$ sudo /etc/init.d/ntp start
Or:
$ sudo systemctl start ntp.service
$ sudo systemctl enable ntp.service
Configure NTP Client
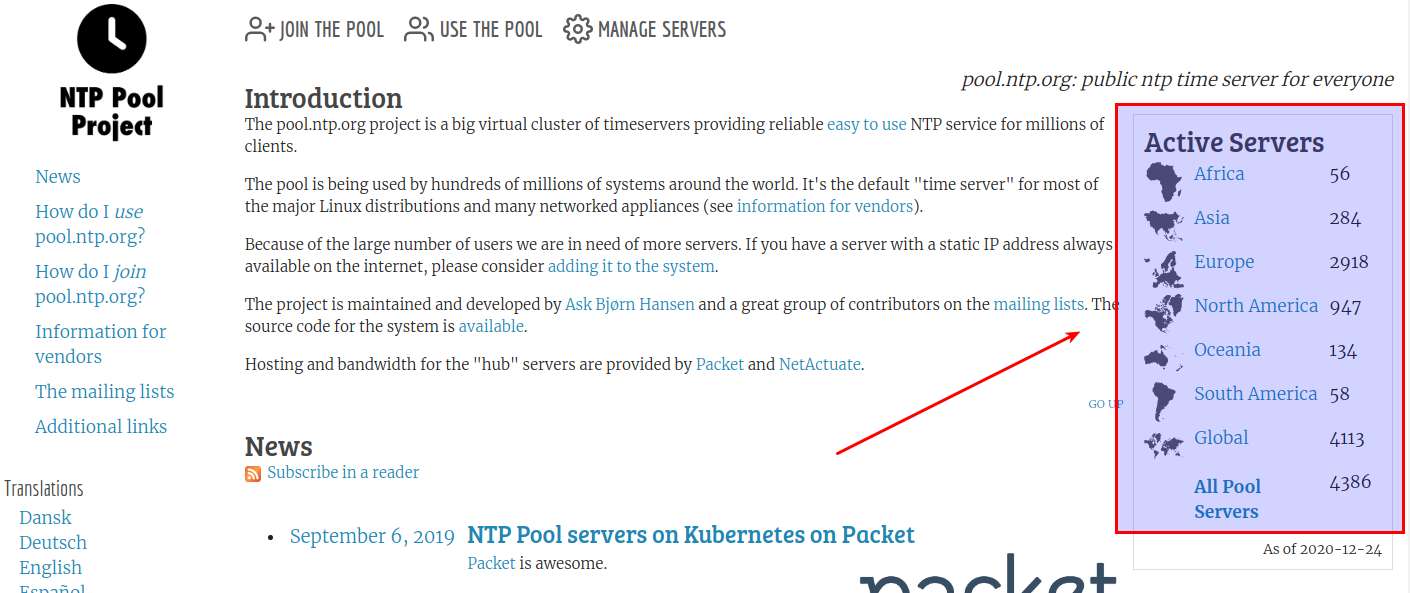
After you install Chrony or ntp as described above, edit /etc/chrony.conf or /etc/ntp.conf, respectively, to add NTP servers as needed. Depending on where you are located, you want to choose NTP servers that are located geographically close by from existing NTP pools.

For example, if you are located in North America, you can add the following to the NTP configuration file (either /etc/chrony.conf or /etc/ntp.conf).
server 0.north-america.pool.ntp.org
server 1.north-america.pool.ntp.org
server 2.north-america.pool.ntp.org
server 3.north-america.pool.ntp.org
Synchronize Time Manually with NTP Client
Note that in case the clock on your host is significantly out of sync against NTP servers, it may take a long time for the host to drift to the correct current time, as the NTP daemon process performs smooth clock adjustment over time. So if your clock is significantly incorrect, it is recommended that you synchronize time manually either with NTP client or by using date command. Note that for manual time sync with NTP client, you need to stop the background NTP daemon first.
For ntp:
$ sudo systemctl stop ntp
$ sudo ntpdate -u 0.north-america.pool.ntp.org
For Chrony:
$ sudo systemctl stop chronyd
$ sudo chronyd -q 'server 0.north-america.pool.ntp.org'
Use NTP Behind Proxy or Firewall
NTP uses UDP packets with port number 123. So if your host is behind a corporate proxy or firewall, and the proxy or firewall blocks that port number, the public NTP servers you specify in /etc/ntp.conf or /etc/chrony.conf won't be reachable to your host. So make sure that your host can reach the NTP servers on UDP port 123. When a corporate proxy or firewall is in place, typically internal NTP servers are set up by the company. So you should use those internal NTP servers instead.
Use NTP in the Virtual Machine (VM) Environment
If the host in question is a guest VM run by Xen or XenServer, you need to set up ntpd on Dom-0 host machine, not on the gust VM itself. You won't be able to synchronize clock with NTP on their VMs when clock on their Dom-0 is not up-to-date. Once you synchronize clock on Dom-0, time on guest VMs will automatically be sync-ed without setting up NTP daemon.
As far as VMware Server is concerned, host machine's clock and guest VM's clock can drift independently. So you need to set up NTP daemon on guest VMs, independent of the host machine.
Support Xmodulo
This website is made possible by minimal ads and your gracious donation via PayPal or credit card
Please note that this article is published by Xmodulo.com under a Creative Commons Attribution-ShareAlike 3.0 Unported License. If you would like to use the whole or any part of this article, you need to cite this web page at Xmodulo.com as the original source.
Xmodulo © 2021 ‒ About ‒ Write for Us ‒ Feed ‒ Powered by DigitalOcean

