How to upgrade the kernel on CentOS
Last updated on July 26, 2013 by Dan Nanni
You may want to upgrade the Linux kernel for various reasons. For example, you want to try a new kernel module or device driver which requires the latest kernel feature. Or, a new vulnerability has been uncovered in an existing Linux kernel. In other times, your Linux server may be unreliable with frequent system crashes. Whatever the reason is, upgrading the Linux kernel is an essential maintenance job for every Linux user.
In this tutorial, I will describe how to upgrade the Linux kernel on CentOS system. Here I will be upgrading the Linux kernel 2.6.32, which is the stock kernel in CentOS 6.4, to the Linux kernel 3.2.48 LTS.
First, verify the current kernel version:
$ uname -r
2.6.32-358.el6.x86_64
Before you start, install all necessary prerequisite software for building a kernel:
$ sudo yum groupinstall "Development Tools"
$ sudo yum install ncurses-devel
Also, install any existing updates on your system:
$ sudo yum update
Now you are ready to upgrade the kernel from 2.6.32 to 3.2.48 LTS.
Download the new kernel source from kernel.org, and install it on your system:
$ wget https://www.kernel.org/pub/linux/kernel/v3.x/linux-3.2.48.tar.xz
$ sudo tar xvfvJ linux-3.2.48.tar.xz -C /usr/src
$ cd /usr/src/linux-3.2.48
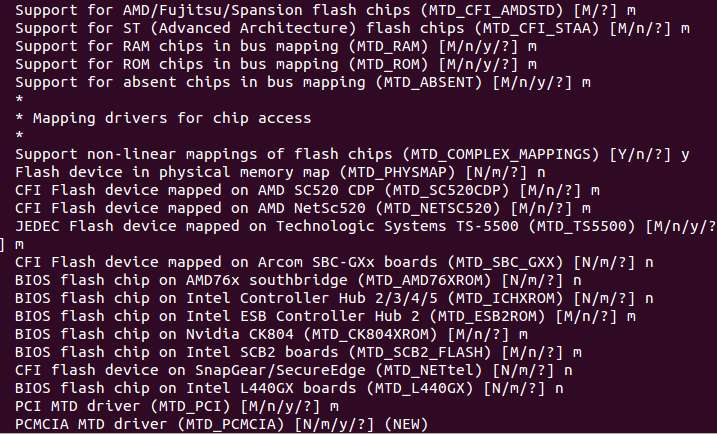
Before compiling a new kernel, you need to generate a kernel configuration.
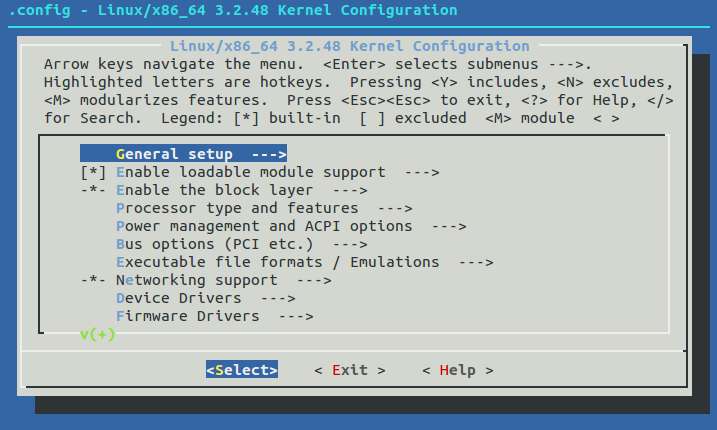
If you want to generate a kernel configuration via graphical user interface, run:
$ sudo make menuconfig
Alternatively, if you want to use the same kernel configuration as the currently running kernel, run the following command instead. You still need to set any newly added configuration options by manually answering questions. If you do not know the meaning of each option, just press enter to accept a default answer.
$ sudo make oldconfig
If you want to use the same old kernel configuration, and automatically accept default answers to every question, run the following command instead:
$ sudo sh -c 'yes "" | make oldconfig'
After kernel configuration is done, go ahead and compile a new kernel:
$ sudo make
The above step will take 30 minutes or more, depending on your CPU speed. After compilation is completed, go ahead and install the new kernel (and all kernel modules) as follows.
$ sudo make modules_install install
To use the newly built kernel in your system, you need to choose the new kernel on grub menu upon boot-up.
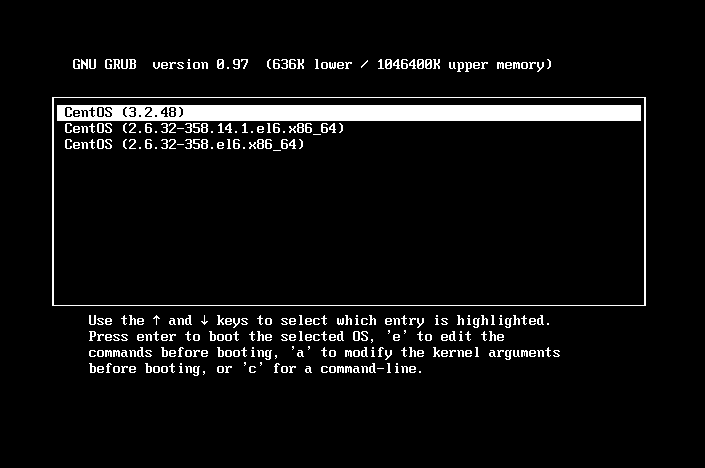
Alternatively, edit /boot/grub/grub.conf to specify the new kernel as the default kernel to load. In /boot/grub/grub.conf, change the "default" number to whichever position your new kernel information is in the kernel list (counting starts at 0).
$ sudo vi /boot/grub/grub.conf
default=1
Support Xmodulo
This website is made possible by minimal ads and your gracious donation via PayPal or credit card
Please note that this article is published by Xmodulo.com under a Creative Commons Attribution-ShareAlike 3.0 Unported License. If you would like to use the whole or any part of this article, you need to cite this web page at Xmodulo.com as the original source.

Xmodulo © 2021 ‒ About ‒ Write for Us ‒ Feed ‒ Powered by DigitalOcean