How to install and configure ownCloud on Debian
Last updated on October 14, 2020 by Gabriel Cánepa
According to its official website, ownCloud gives you universal access to your files through a web interface or WebDAV. It also provides a platform to easily view, edit and sync your contacts, calendars and bookmarks across all your devices. Even though ownCloud is very similar to the widely-used Dropbox cloud storage, the primary difference is that ownCloud is free and open-source, making it possible to set up a Dropbox-like cloud storage service on your own server. With ownCloud, only you have complete access and control over your private data, with no limits on storage space (except for hard disk capacity) or the number of connected clients.
ownCloud is available in Community Edition (free of charge) and Enterprise Edition (business-oriented with paid support). The pre-built package of ownCloud Community Edition is available for CentOS, Debian, Fedora openSUSE, SLE and Ubuntu. This tutorial will demonstrate how to install and configure ownCloud Community Edition on Debian Wheezy.
Installing ownCloud on Debian
Go to the official website: http://owncloud.org, and click on the Install button (upper right corner).

Now choose Packages for auto updates for the current version (v7 in the image below). This will allow you to easily keep ownCloud up to date using Debian's package management system, with packages maintained by the ownCloud community.

Then click on Continue on the next screen:
Select Debian 7 [Wheezy] from the list of available operating systems:
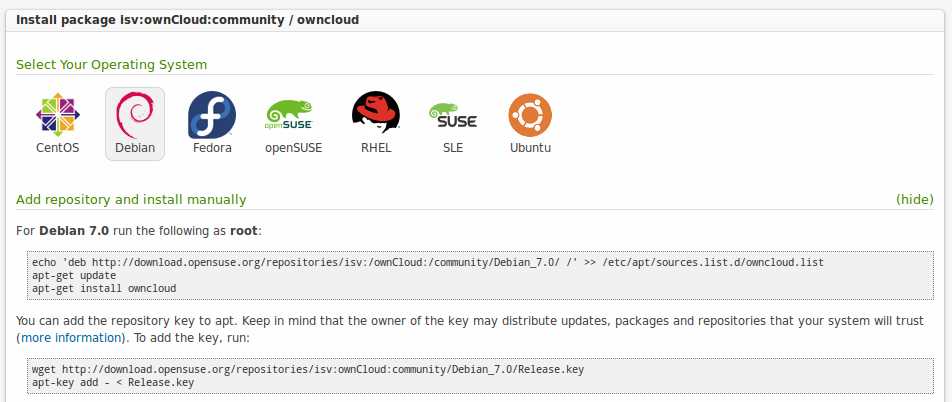
Add the ownCloud's official Debian repository:
# echo 'deb http://download.opensuse.org/repositories/isv:/ownCloud:/community/Debian_7.0/ /' >> /etc/apt/sources.list.d/owncloud.list
Add the repository key to apt:
# wget http://download.opensuse.org/repositories/isv:ownCloud:community/Debian_7.0/Release.key
# apt-key add - < Release.key
Go ahead and install ownCloud:
# aptitude update
# aptitude install owncloud
Open your web browser and navigate to your ownCloud instance, which can be found at http://<server-ip>/owncloud:
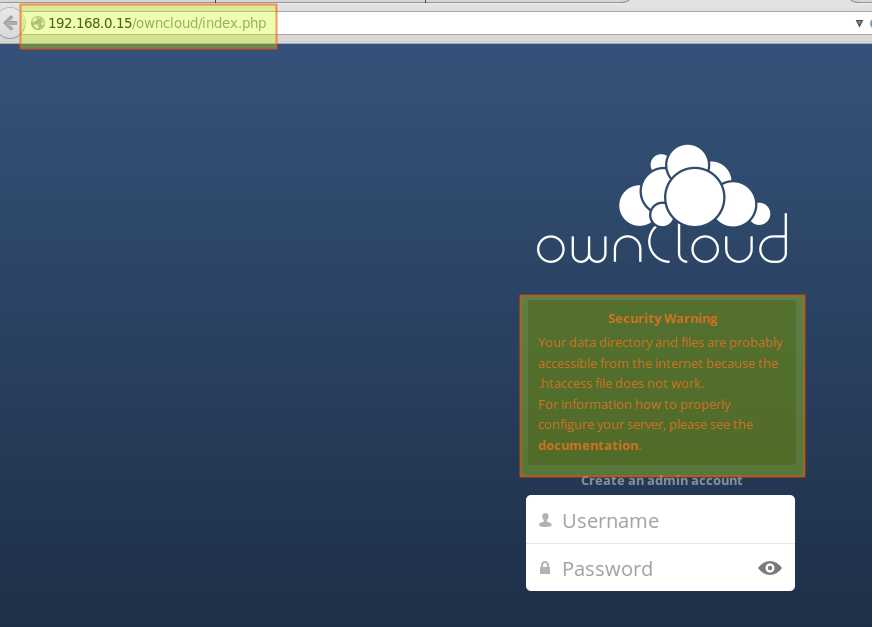
Note that ownCloud may be alerting about an Apache misconfiguration. Follow the steps below to solve this issue, and get rid of that error message.
a) Edit the /etc/apache2/apache2.conf file (set the AllowOverride directive to All):
<Directory /var/www/>
    Options Indexes FollowSymLinks
    AllowOverride All
    Order allow,deny
    Allow from all
</Directory>
b) Edit the /etc/apache2/conf.d/owncloud.conf file
<Directory /var/www/owncloud>
    Options Indexes FollowSymLinks MultiViews
    AllowOverride All
    Order allow,deny
    Allow from all
</Directory>
c) Restart the web server:
# service apache2 restart
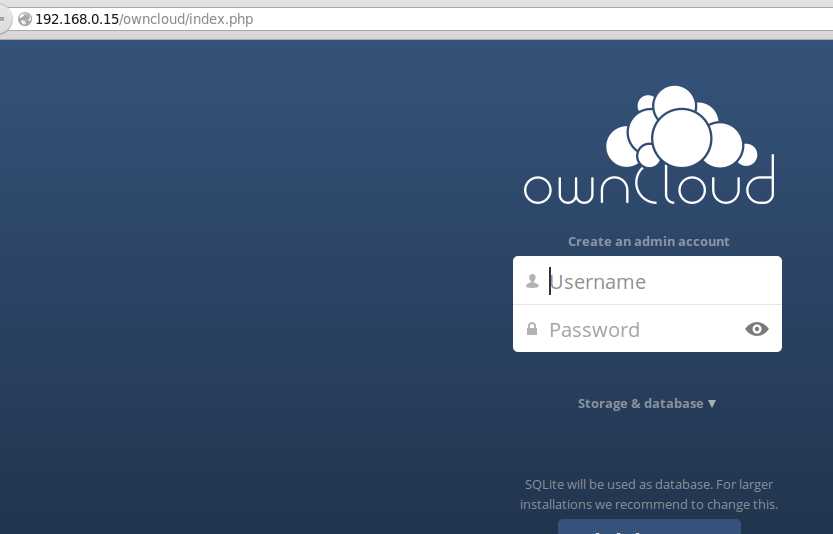
d) Refresh the web browser. Verify that the security warning has disappeared.
Setting up a Database
Now it's time to set up a database for ownCloud.
First, log in to the local MySQL/MariaDB server:
$ mysql -u root -h localhost -p
Create a database and user account for ownCloud as follows.
mysql> CREATE DATABASE owncloud_DB;
mysql> CREATE USER ‘owncloud-web’@'localhost' IDENTIFIED BY ‘whateverpasswordyouchoose’;
mysql> GRANT ALL PRIVILEGES ON owncloud_DB.* TO ‘owncloud-web’@'localhost';
mysql> FLUSH PRIVILEGES;
Go to ownCloud page at http://<server-ip>/owncloud, and choose the Storage & database section. Enter the rest of the requested information (MySQL/MariaDB user, password, database and hostname), and click on Finish setup.

Configuring ownCloud for SSL Connections
Before you start using ownCloud, it is strongly recommended to enable SSL support in ownCloud. Using SSL provides important security benefits such as encrypting ownCloud traffic and providing proper authentication. In this tutorial, a self-signed certificate will be used for SSL.
Create a new directory where we will store the server key and certificate:
# mkdir /etc/apache2/ssl
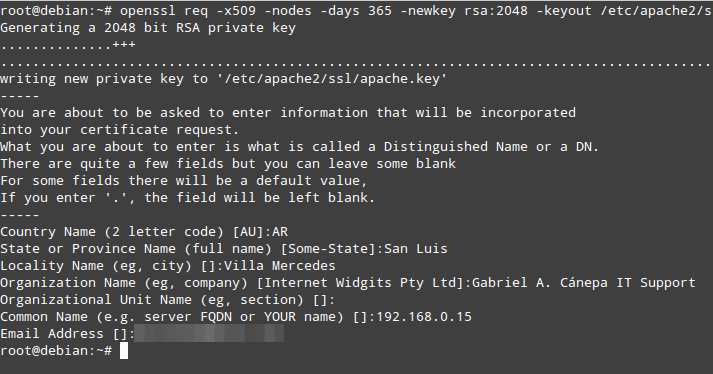
Create a certificate (and the key that will protect it) which will remain valid for one year.
# openssl req -x509 -nodes -days 365 -newkey rsa:2048 -keyout /etc/apache2/ssl/apache.key -out /etc/apache2/ssl/apache.crt
Edit the /etc/apache2/conf.d/owncloud.conf file to enable HTTPS. For details on the meaning of the rewrite rules NC, R, and L, you can refer to the Apache docs:
Alias /owncloud /var/www/owncloud

<VirtualHost 192.168.0.15:80>
    RewriteEngine on
    ReWriteCond %{SERVER_PORT} !^443$
    RewriteRule ^/(.*) https://%{HTTP_HOST}/$1 [NC,R,L]
</VirtualHost>

<VirtualHost 192.168.0.15:443>
    SSLEngine on
    SSLCertificateFile /etc/apache2/ssl/apache.crt
    SSLCertificateKeyFile /etc/apache2/ssl/apache.key
    DocumentRoot /var/www/owncloud/
<Directory /var/www/owncloud>
    Options Indexes FollowSymLinks MultiViews
    AllowOverride All
    Order allow,deny
    Allow from all
</Directory>
</VirtualHost>
Enable the rewrite module and restart Apache:
# a2enmod rewrite
# service apache2 restart
Open your ownCloud instance. Notice that even if you try to use plain HTTP, you will be automatically redirected to HTTPS.
Be advised that even having followed the above steps, the first time that you launch your ownCloud instance, an error message will be displayed stating that the certificate has not been issued by a trusted authority (that is because we created a self-signed certificate). You can safely ignore this message, but if you are considering deploying ownCloud in a production server, you may want to purchase a certificate from a trusted company.
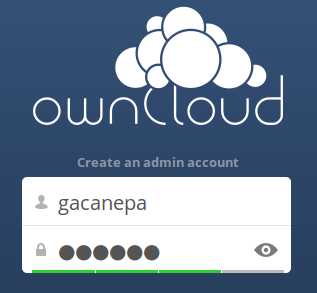
Create an Account
Now we are ready to create an ownCloud admin account.
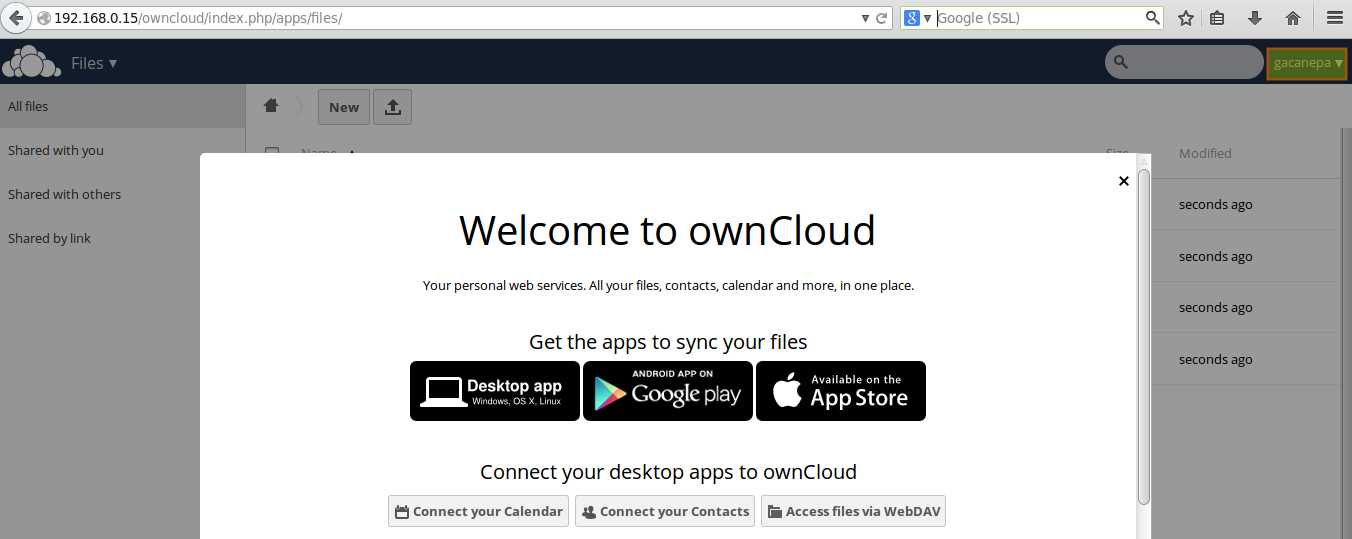
Welcome to your new personal cloud! Note that you can install a desktop or mobile client app to sync your files, calendars, contacts and more.
In the upper right corner, click on your user name, and a drop-down menu is displayed:
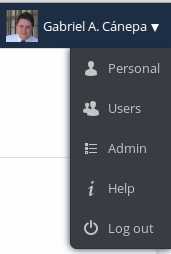
Click on Personal to change your settings, such as password, display name, email address, profile picture, and more.
ownCloud Use Case: Access Calendar
Let's start by adding an event to your calendar and later downloading it.
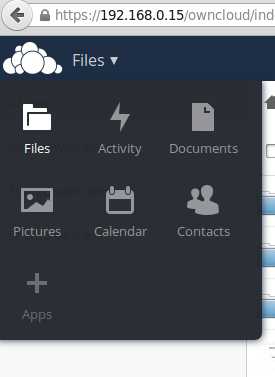
Click on the upper left corner drop-down menu and choose Calendar.
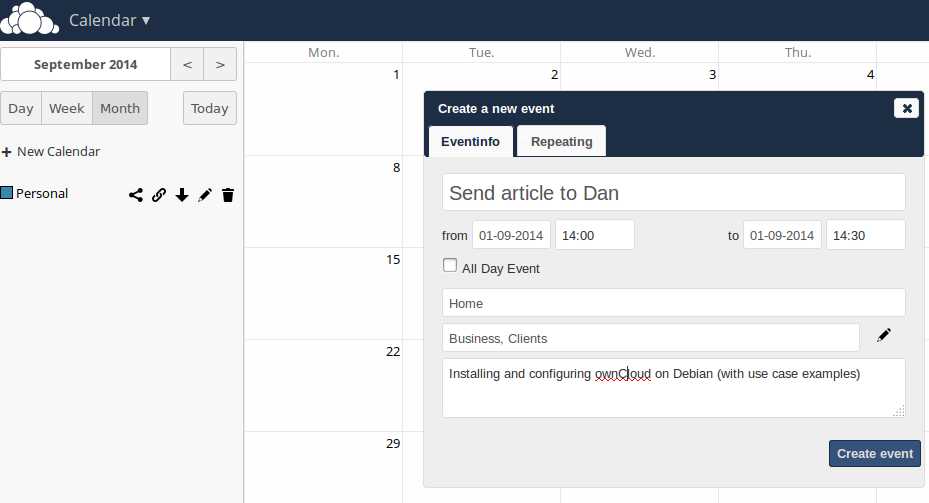
Add a new event and save it to your calendar.
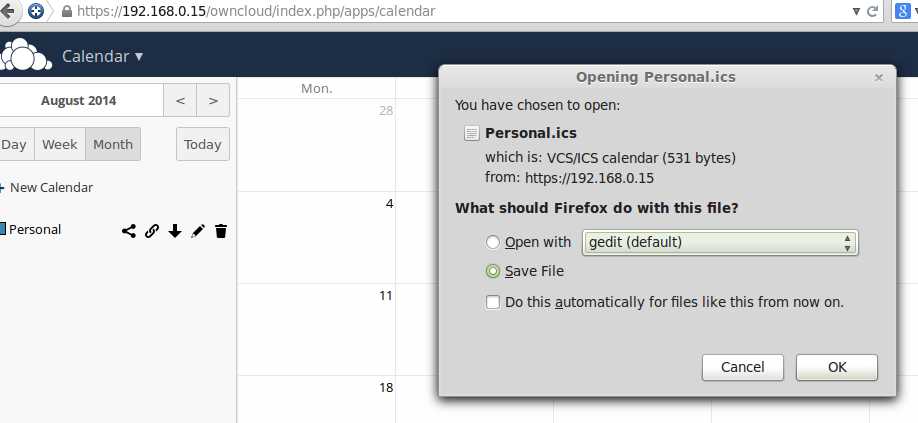
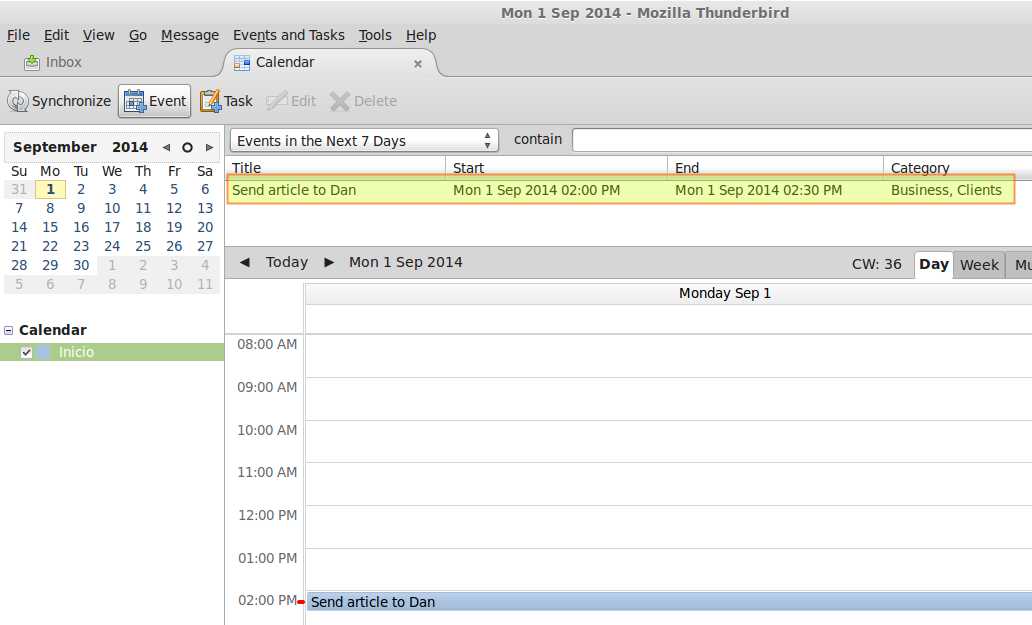
Download your calendar and add it to your Thunderbird calendar by going to Event and Tasks → Import... → Select file:
TIP: You also need to set your time zone in order to successfully import your calendar in another application (by default, the Calendar application uses the UTC +00:00 time zone). To change the time zone, go to the bottom left corner and click on the small gear icon. The Calendar settings menu will appear and you will be able to select your time zone:

ownCloud Use Case: Upload a File
Next, we will upload a file from the client computer.
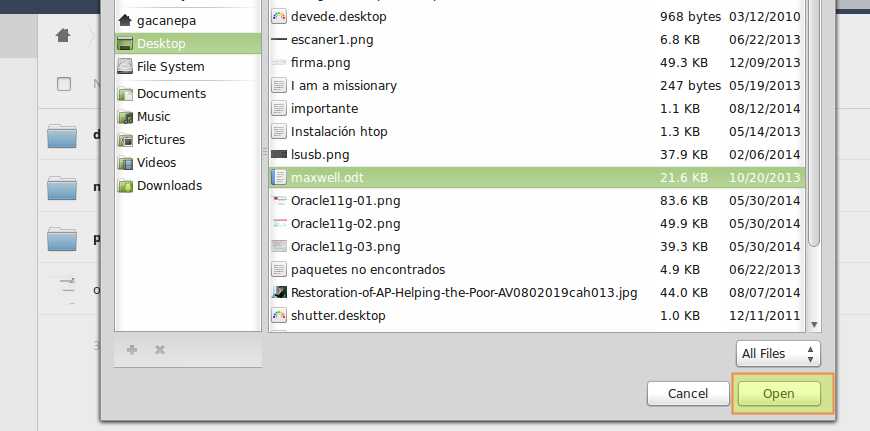
Go to the Files menu (upper left corner) and click on the up arrow to open a select-file dialog.

Select a file and click on Open.
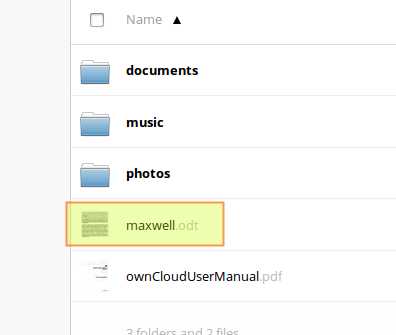
You can then open/edit the selected file, move it into another folder, or delete it.
Conclusion
ownCloud is a versatile and powerful cloud storage that makes the transition from another provider quick, easy, and painless. In addition, it is FOSS, and with little time and effort you can configure it to meet all your needs. For further information, you can always refer to the the official documentation.
Support Xmodulo
This website is made possible by minimal ads and your gracious donation via PayPal or credit card
Please note that this article is published by Xmodulo.com under a Creative Commons Attribution-ShareAlike 3.0 Unported License. If you would like to use the whole or any part of this article, you need to cite this web page at Xmodulo.com as the original source.

Xmodulo © 2021 ‒ About ‒ Write for Us ‒ Feed ‒ Powered by DigitalOcean