How to set up a self-hosted project management web app on Linux
Last updated on August 22, 2020 by Tatiana Kochedykova
When a group of employees collaborate on a project, there is need for handling all aspects and complexities of the project from start to finish, such as task assignment, scheduling, budget management, communication, documentation, and so on. Thus a good project management tool is a necessity for any kinds of businesses or organizations which are involved in a lot of collaborative projects.
Especially web-based online project management tools are the top choice for such environments as different project members can access and share the online tools wherever they are. If your organization requires good web-based project management software, you will find ONLYOFFICE a viable candidate.
ONLYOFFICE is a free and open source office suite that enables seamless project collaboration in the web-based environment. It offers different management tools for documents, emails, events, tasks and client relations. Using ONLYOFFICE, a project manager can schedule the workflow, lead discussions, monitor and coordinate the project progress using Gantt Chart and reports.
In this tutorial, I will describe the main project management features offered by ONLYOFFICE and give some tips to use them more efficiently.
Installing ONLYOFFICE using Docker on Linux
The easiest way to install ONLYOFFICE is by using Docker containers. The previous tutorial covers the Docker-based installation instructions for the whole ONLYOFFICE system with online editors integrated for real-time document collaboration.
If you want to install ONLYOFFICE without editors (called "community server"), simply execute the following command:
$ sudo docker run -i -t -d -p 80:80 -p 443:443 -p 5222:5222 onlyoffice/communityserver
The above command will download the official ONLYOFFICE Docker image with all dependencies needed for its correct work. For more installation and configuration tips, please refer to the ONLYOFFICE official documentation.
Running a Self-Hosted Web Office
To open your web office, enter in the address bar of your browser localhost (http://<IP-address>/) on which the docker is running. The Welcome page will open:
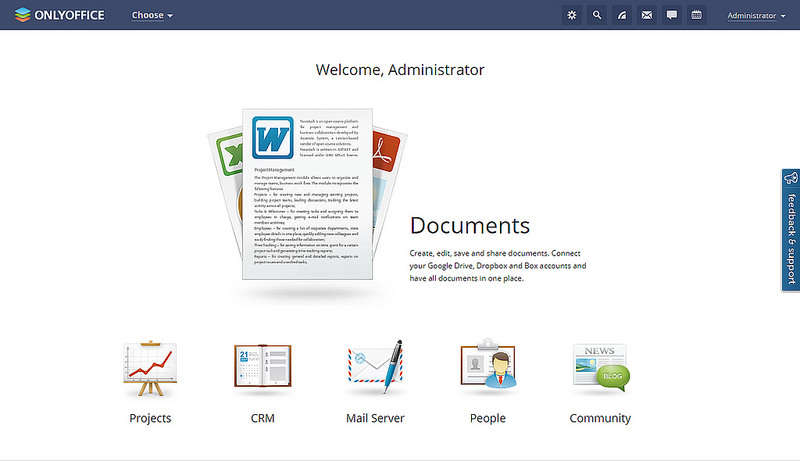
Enter a password and specify the email address you will use to access your office the next time.

Getting Started with a New Project
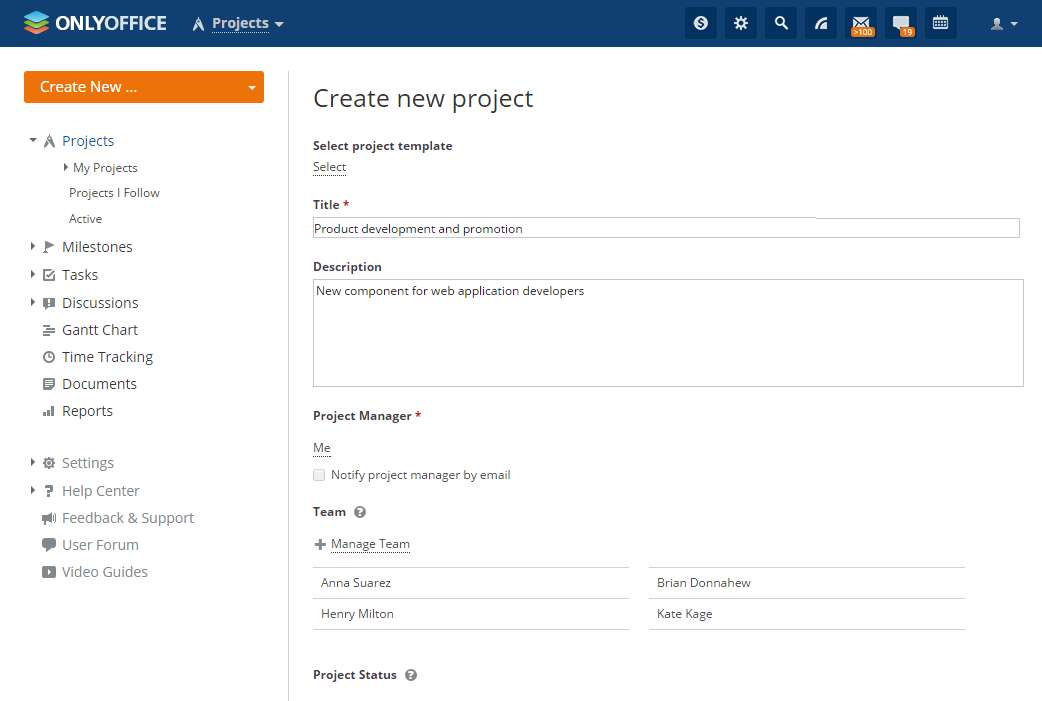
First, click the Projects link to open the project management tool. To start a new project, click on the "Create New..." button in the upper left corner and select the Project option from the drop-down list. Fill out the form: specify your project Title and enter a short Description. If necessary, assign a "Project Manager" and create a project Team.
To restrict access to the newly created project, check the "Save this project as private" box. Review the project settings and click on the Save button.
Note: to create a new portal, the full privilege administrator or projects management administrator rights are required.
Setting up Your Project Hierarchy
Once the project is started, the next step is to create the project hierarchy which involves the following:
- Set up project key points with milestones
- Distribute the whole amount of work among the team members using tasks
- Link tasks to determine the order in which they need to be performed
- Divide a task into subtasks if it requires several persons to perform several steps

Organize Project Documentation
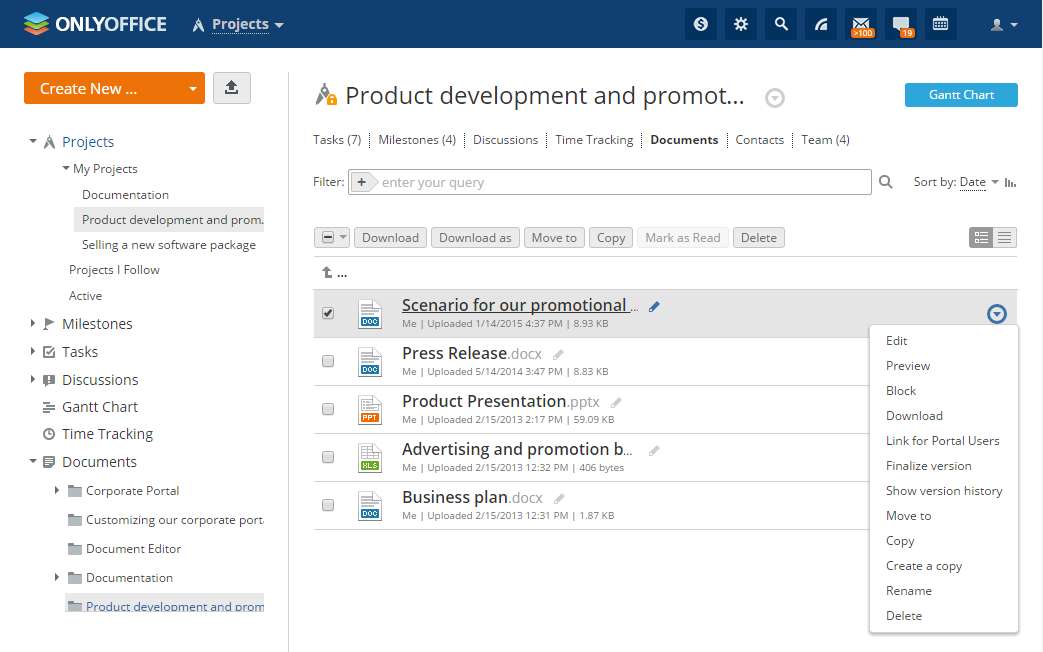
Keep all the documentation related to your project in one place to access it anytime anywhere. Switch to the Documents tab on your project page to:
- Upload documents from your hard disk drive
- Download an existing document to your hard disk drive
- Filter and sort documents to facilitate the search
- Copy or move documents to another folder
- Create a new document, spreadsheet or presentation, open and edit the existing ones if the online editors are installed
- Attach documents to the related tasks
Managing Access Rights
Being a project manager you can manage the project team, tasks, milestones, discussions, comments inside your project; change project status, edit its settings, and also set access rights to project team members for a private project.
By default, each member of your project team can add tasks, assign them to himself or other team members and manage them; start new discussions; add and remove documents; view all content inside your project: milestones, tasks, documents, discussions and contacts.
To restrict the access to an item, switch to the Team tab on your project page, select the team member you wish to set access rights for, and click on one of the links to the right: Discussions, Documents, All Tasks, Milestones, Contacts.
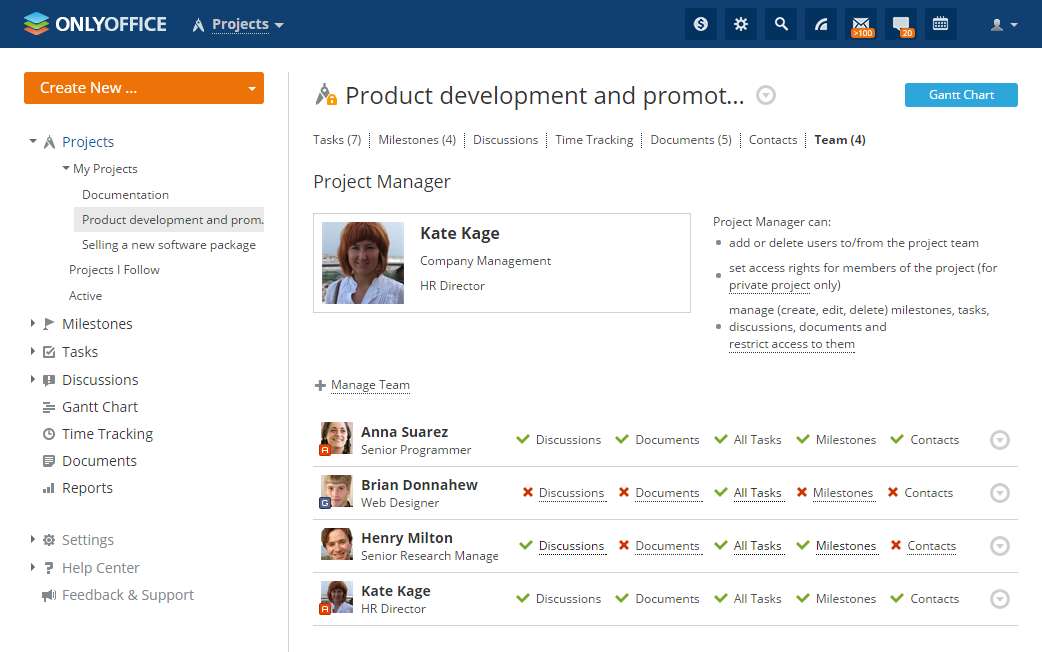
Note: you can set the access rights for each team member unless he/she does not have full privilege administrator or projects management administrator rights.
Monitoring Project using Gantt Chart
Making changes to your project once it is underway is both indispensable and inevitable part of its life cycle. The simplest way to do it with ONLYOFFICE, especially when you manage multiple related projects, is to use Gantt Chart, a bar chart used to illustrate a project schedule.
To open Gantt Chart, click on the "Gantt Chart" link on the left side panel, or click on the "Gantt Chart" button in the upper right corner of your project page.
Gantt Chart gives you a panoramic view of all your project activities and allows you to:
- Select one or several projects you wish to coordinate
- View and change the project activity status: open/closed, active/overdue
- Manage the project milestones and tasks: create, edit, close, reopen, delete, etc.
- Link the tasks within your project to show the task dependencies

Useful Tips
1. Leading discussions
To find a solution of problems occurred, you can start a project-related discussion and discuss the issue with your project team within the Discussion tab.
2. Using templates
To easily start a new project, you can use the previously created templates (click on the "Create New..." button and select the "Project Template" option to create one).
3. Reporting
To keep up with what each team member is doing, make use of the Reports system. Click on the corresponding link on the left-side panel and generate a report or set up needed parameters once and regularly receive automatic reports by email on certain date and time.
Support Xmodulo
This website is made possible by minimal ads and your gracious donation via PayPal or credit card
Please note that this article is published by Xmodulo.com under a Creative Commons Attribution-ShareAlike 3.0 Unported License. If you would like to use the whole or any part of this article, you need to cite this web page at Xmodulo.com as the original source.

Xmodulo © 2021 ‒ About ‒ Write for Us ‒ Feed ‒ Powered by DigitalOcean