How to set up a system status page of your infrastructure
Last updated on September 25, 2020 by Dan Nanni
If you are a system administrator who is responsible for critical IT infrastructure or services of your organization, you will understand the importance of effective communication in your day-to-day tasks. Suppose your production storage server is on fire. You want your entire team on the same page in order to resolve the issue as fast as you can. While you are at it, you don't want half of all users contacting you asking why they cannot access their documents. When a scheduled maintenance is coming up, you want to notify interested parties of the event ahead of the schedule, so that unnecessary support tickets can be avoided.
All these require some sort of streamlined communication channel between you, your team and people you serve. One way to achieve that is to maintain a centralized system status page, where the detail of downtime incidents, progress updates and maintenance schedules are reported and chronicled. That way, you can minimize unnecessary distractions during downtime, and also have any interested party informed and opt-in for any status update.
One good open-source, self-hosted system status page solution is Cachet. In this tutorial, I am going to describe how to set up a self-hosted system status page using Cachet.
Cachet Features
Before going into the detail of setting up Cachet, let me briefly introduce its main features.
- Full JSON API: The Cachet API allows you to connect any external program or script (e.g., uptime script) to Cachet to report incidents or update status automatically.
- Authentication: Cachet supports Basic Auth and API token in JSON API, so that only authorized personnel can update the status page.
- Metrics system: This is useful to visualize custom data over time (e.g., server load or response time).
- Notification: Optionally you can send notification emails about reported incidents to anyone who signed up to the status page.
- Multiple languages: The status page can be translated into 11 different languages.
- Two factor authentication: This allows you to lock your Cachet admin account with Google's two-factor authentication.
- Cross database support: You can choose between MySQL, SQLite, Redis, APC, and PostgreSQL for a backend storage.
In the rest of the tutorial, I explain how to install and configure Cachet on Linux.
Step One: Download and Install Cachet
Cachet requires a web server and a backend database to operate. In this tutorial, I am going to use the LAMP stack. Here are distro-specific instructions to install Cachet and LAMP stack.
For Debian, Ubuntu or Linux Mint:
$ sudo apt-get install curl git apache2 mysql-server mysql-client php5 php5-mysql
$ sudo git clone https://github.com/cachethq/Cachet.git /var/www/cachet
$ cd /var/www/cachet
$ sudo git checkout v1.1.1
$ sudo chown -R www-data:www-data .
For more detail on setting up LAMP stack on Debian-based systems, refer to this tutorial.
For Fedora, CentOS or RHEL:
On Red Hat based systems, you first need to enable REMI repository (to meet PHP version requirement). Then proceed as follows.
$ sudo yum install curl git httpd mariadb-server
$ sudo yum --enablerepo=remi-php56 install php php-mysql php-mbstring
$ sudo git clone https://github.com/cachethq/Cachet.git /var/www/cachet
$ cd /var/www/cachet
$ sudo git checkout v1.1.1
$ sudo chown -R apache:apache .
$ sudo firewall-cmd --permanent --zone=public --add-service=http
$ sudo firewall-cmd --reload
$ sudo systemctl enable httpd.service; sudo systemctl start httpd.service
$ sudo systemctl enable mariadb.service; sudo systemctl start mariadb.service
For more details on setting up LAMP on Red Hat-based systems, refer to this tutorial.
Configure a Backend Database for Cachet
The next step is to configure database backend.
Log in to MySQL/MariaDB server, and create an empty database called cachet.
$ sudo mysql -uroot -p
mysql> create database cachet;
mysql> quit
Now create a Cachet configuration file by using a sample configuration file.
$ cd /var/www/cachet
$ sudo mv .env.example .env
In .env file, fill in database information (i.e., DB_*) according to your setup. Leave other fields unchanged for now.
APP_ENV=production
APP_DEBUG=false
APP_URL=http://localhost
APP_KEY=SomeRandomString

DB_DRIVER=mysql
DB_HOST=localhost
DB_DATABASE=cachet
DB_USERNAME=root
DB_PASSWORD=<root-password>

CACHE_DRIVER=apc
SESSION_DRIVER=apc
QUEUE_DRIVER=database

MAIL_DRIVER=smtp
MAIL_HOST=mailtrap.io
MAIL_PORT=2525
MAIL_USERNAME=null
MAIL_PASSWORD=null
MAIL_ADDRESS=null
MAIL_NAME=null

REDIS_HOST=null
REDIS_DATABASE=null
REDIS_PORT=null
Step Three: Install PHP Dependencies and Perform DB Migration
Next, we are going to install necessary PHP dependencies. For that we will use composer. If you do not have composer installed on your system, install it first:
$ curl -sS https://getcomposer.org/installer | sudo php -- --install-dir=/usr/local/bin --filename=composer
Now go ahead and install PHP dependencies using composer.
$ cd /var/www/cachet
$ sudo composer install --no-dev -o
Next, perform one-time database migration. This step will populate the empty database we created earlier with necessary tables.
$ sudo php artisan migrate
Assuming the database config in /var/www/cachet/.env is correct, database migration should be completed successfully as shown below.

Next, create a security key, which will be used to encrypt the data entered in Cachet.
$ sudo php artisan key:generate
$ sudo php artisan config:cache
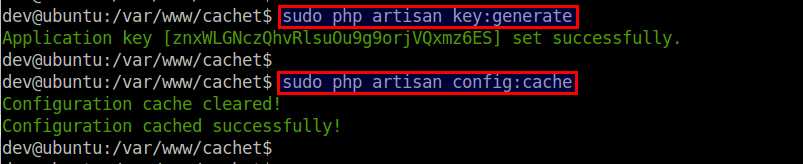
The generated app key will be automatically added to the APP_KEY variable of your .env file. No need to edit .env on your own here.
Step Four: Configure Apache HTTP Server
Now it's time to configure the web server that Cachet will be running on. As we are using Apache HTTP server, create a new virtual host for Cachet as follows.
For Debian, Ubuntu or Linux Mint:
$ sudo vi /etc/apache2/sites-available/cachet.conf
<VirtualHost *:80>
    ServerName cachethost
    ServerAlias cachethost
    DocumentRoot "/var/www/cachet/public"
    <Directory "/var/www/cachet/public">
        Require all granted
        Options Indexes FollowSymLinks
        AllowOverride All
        Order allow,deny
        Allow from all
    </Directory>
</VirtualHost>
Enable the new Virtual Host and mod_rewrite with:
$ sudo a2ensite cachet.conf
$ sudo a2enmod rewrite
$ sudo service apache2 restart
For Fedora, CentOS or RHEL:
On Red Hat based systems, create a virtual host file as follows.
$ sudo vi /etc/httpd/conf.d/cachet.conf
<VirtualHost *:80>
    ServerName cachethost
    ServerAlias cachethost
    DocumentRoot "/var/www/cachet/public"
    <Directory "/var/www/cachet/public">
        Require all granted
        Options Indexes FollowSymLinks
        AllowOverride All
        Order allow,deny
        Allow from all
    </Directory>
</VirtualHost>
Now reload Apache configuration:
$ sudo systemctl reload httpd.service
Step Five: Configure /etc/hosts for Testing Cachet
At this point, the initial Cachet status page should be up and running, and now it's time to test.
Since Cachet is configured as a virtual host of Apache HTTP server, we need to tweak /etc/hosts of your client computer to be able to access it. Here the client computer is the one from which you will be accessing the Cachet page.
Open /etc/hosts, and add the following entry.
$ sudo vi /etc/hosts
<cachet-server-ip-address> cachethost
In the above, the name cachethost must match with ServerName specified in the Apache virtual host file for Cachet.
Test Cachet Status Page
Now you are ready to access Cachet status page. Type http://cachethost in your browser address bar. You will be redirected to the initial Cachet setup page as follows.

Choose cache/session driver. Here let's choose File for both cache and session drivers.
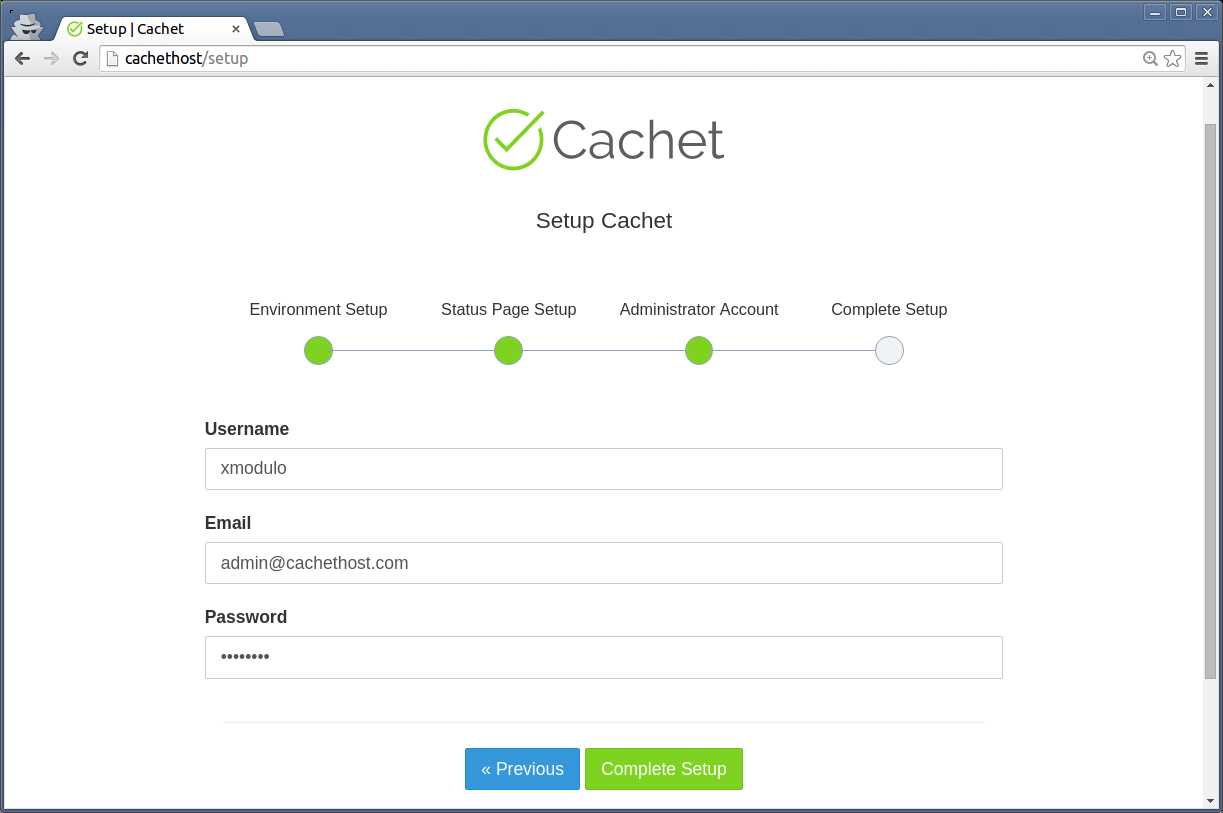
Next, type basic information about the status page (e.g., site name, domain, timezone and language), as well as administrator account.

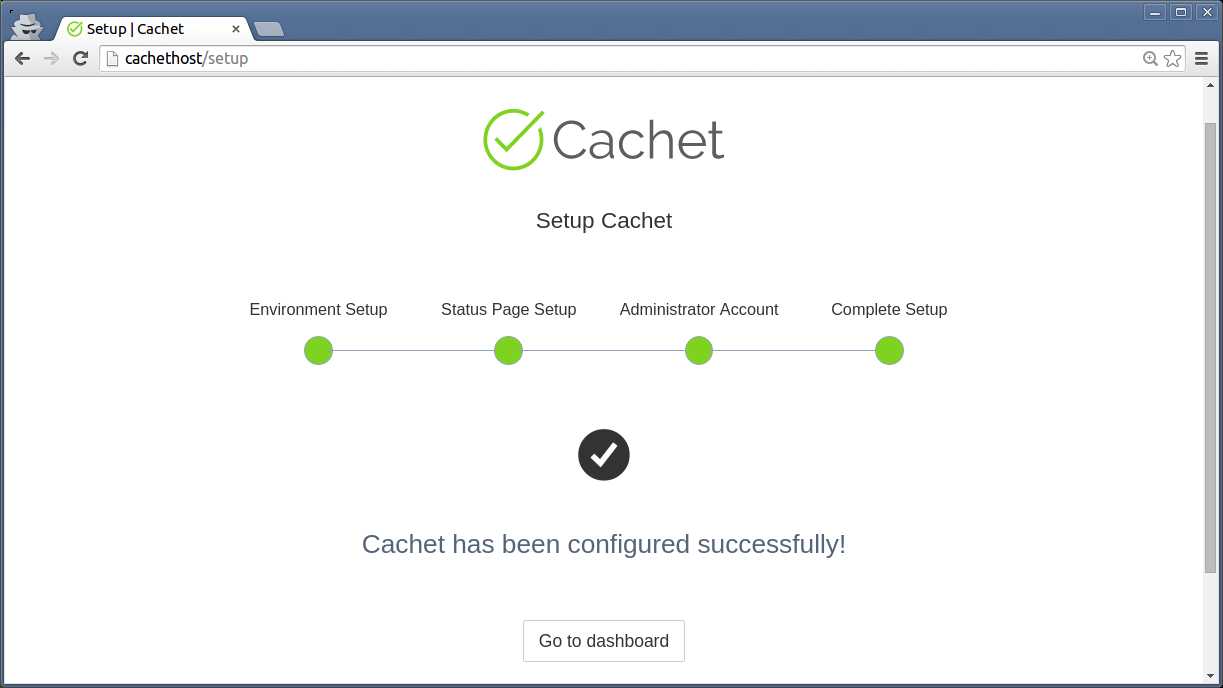
Your initial status page will finally be ready.
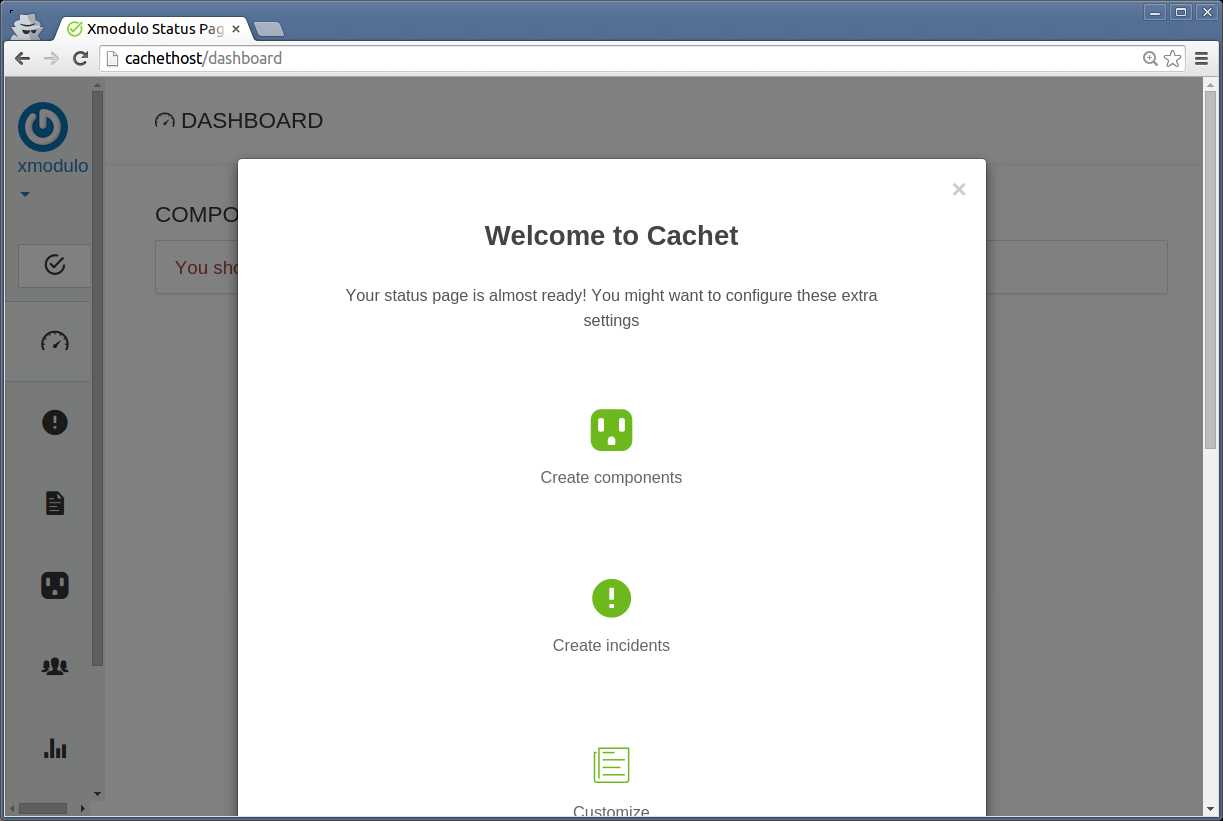
Go ahead and create components (units of your system), incidents or any scheduled maintenance as you want.
For example, to add a new component:
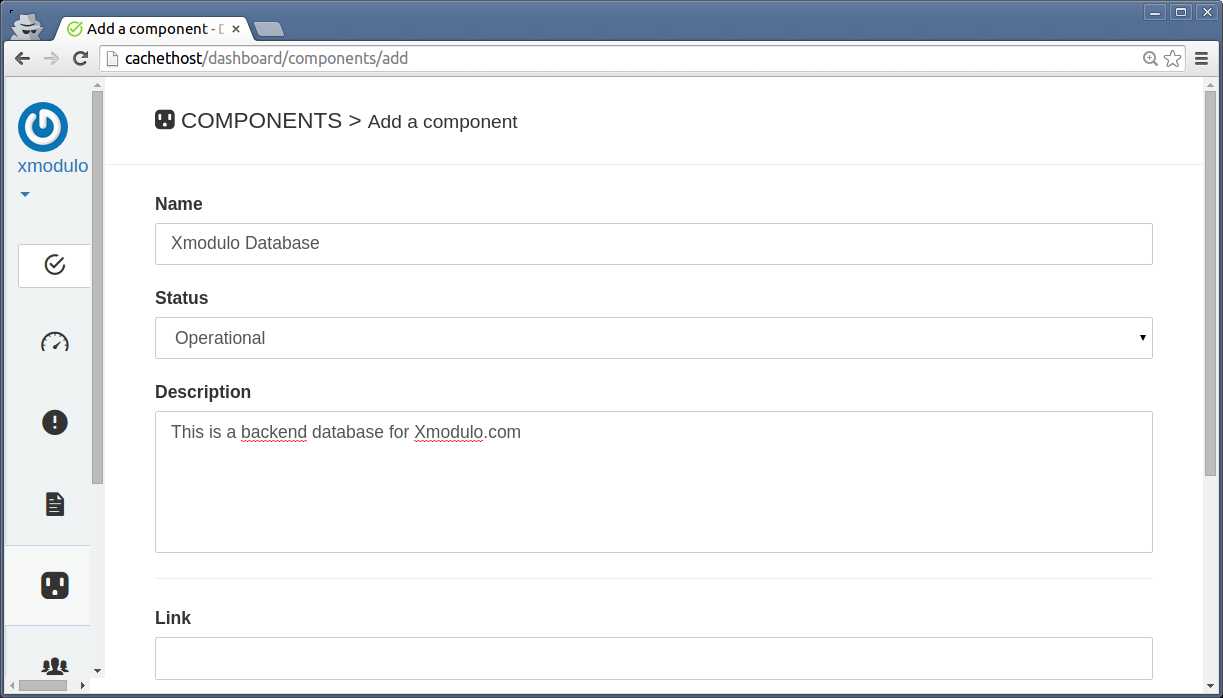
To add a scheduled maintenance:

This is what the public Cachet status page looks like:
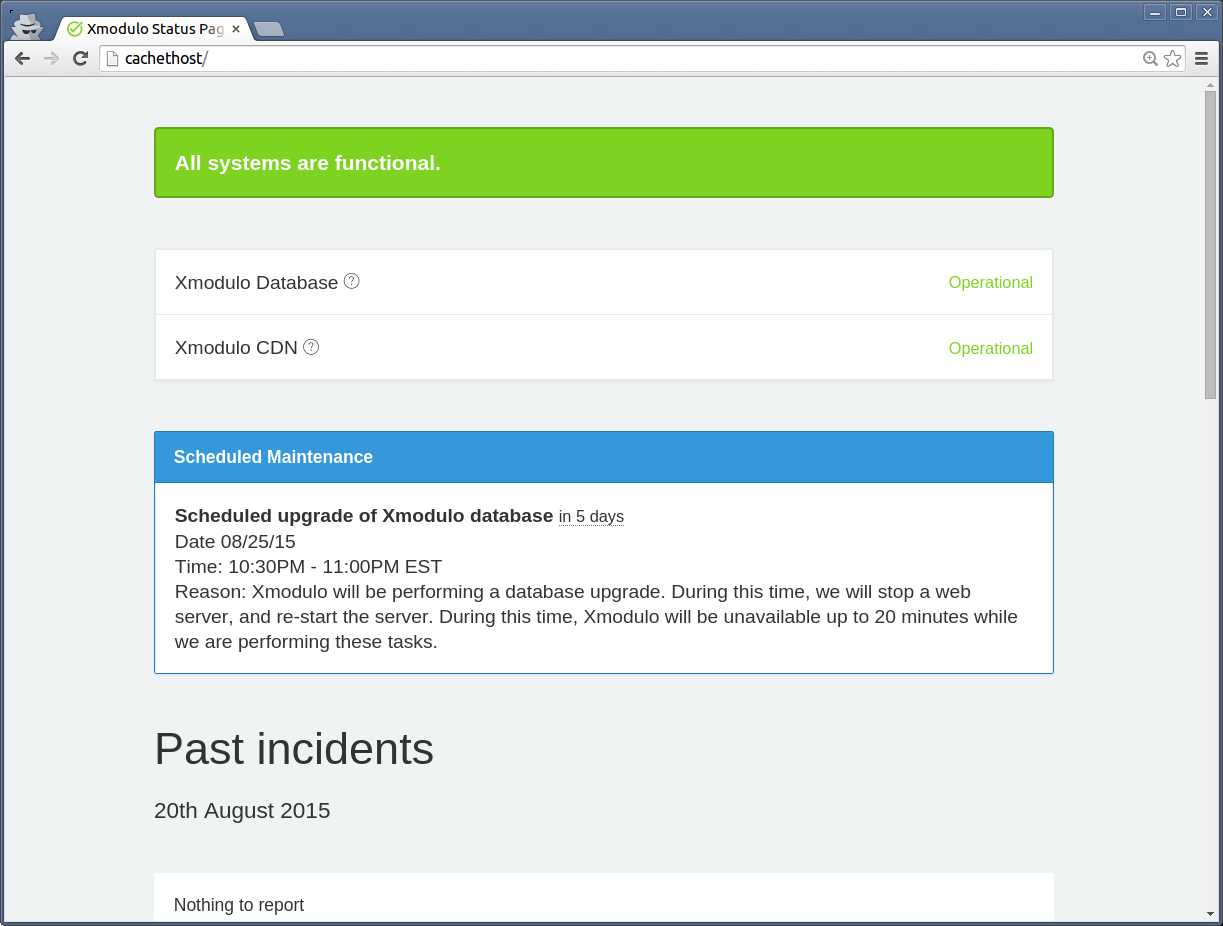
With SMTP integration, you can send out emails on status updates to any subscribers. Also, you can fully customize the layout and style of the status page using CSS and markdown formatting.
Conclusion
Cachet is pretty easy-to-use, self-hosted status page software. One of the nicest features of Cachet is its support for full JSON API. Using its RESTful API, one can easily hook up Cachet with separate monitoring backends (e.g., Nagios), and feed Cachet with incident reports and status updates automatically. This is far quicker and efficient than manually manage a status page.
As final words, I'd like to mention one thing. While setting up a fancy status page with Cachet is straightforward, making the best use of the software is not as easy as installing it. You need total commitment from the IT team on updating the status page in an accurate and timely manner, thereby building credibility of the published information. At the same time, you need to educate users to turn to the status page. At the end of the day, it would be pointless to set up a status page if it's not populated well, and/or no one is checking it. Remember this when you consider deploying Cachet in your work environment.
Troubleshooting
As a bonus, here are some useful troubleshooting tips in case you encounter problems while setting up Cachet.
1. The Cachet page does not load anything, and you are getting the following error.
production.ERROR: exception 'RuntimeException' with message 'No supported encrypter found. The cipher and / or key length are invalid.' in /var/www/cachet/bootstrap/cache/compiled.php:6695
Solution: Make sure that you create an app key, as well as clear configuration cache as follows.
$ cd /path/to/cachet
$ sudo php artisan key:generate
$ sudo php artisan config:cache
2. You are getting the following error while invoking composer command.
- danielstjules/stringy 1.10.0 requires ext-mbstring * -> the requested PHP extension mbstring is missing from your system.
- laravel/framework v5.1.8 requires ext-mbstring * -> the requested PHP extension mbstring is missing from your system.
- league/commonmark 0.10.0 requires ext-mbstring * -> the requested PHP extension mbstring is missing from your system.
Solution: Make sure to install the required PHP extension mbstring on your system which is compatible with your PHP. On Red Hat based system, since we installed PHP from REMI-56 repository, we install the extension from the same repository.
$ sudo yum --enablerepo=remi-php56 install php-mbstring
3. You are getting a blank page while trying to access Cachet status page. The HTTP log shows the following error.
PHP Fatal error: Uncaught exception 'UnexpectedValueException' with message 'The stream or file "/var/www/cachet/storage/logs/laravel-2015-08-21.log" could not be opened: failed to open stream: Permission denied' in /var/www/cachet/bootstrap/cache/compiled.php:12851
Solution: Try the following commands.
$ cd /var/www/cachet
$ sudo php artisan cache:clear
$ sudo chmod -R 777 storage
$ sudo composer dump-autoload
If the above solution does not work, try disabling SELinux:
$ sudo setenforce 0
Support Xmodulo
This website is made possible by minimal ads and your gracious donation via PayPal or credit card
Please note that this article is published by Xmodulo.com under a Creative Commons Attribution-ShareAlike 3.0 Unported License. If you would like to use the whole or any part of this article, you need to cite this web page at Xmodulo.com as the original source.

Xmodulo © 2021 ‒ About ‒ Write for Us ‒ Feed ‒ Powered by DigitalOcean