How to set up two-factor authentication for SSH login on Linux
Last updated on November 26, 2020 by Dan Nanni
With many high-profile password leaks nowadays, there is a lot of buzz in the industry on multi-factor authentication. In a multi-factor authentication system, users are required to go through two distinct authentication procedures: providing something they know (e.g., username/password), and leveraging something they have physical access to (e.g., one-time passcode generated by their mobile phone). This scheme is also commonly known as two-factor authentication or two-step verification.
To encourage the wide adoption of two-factor authentication, Google released Google Authenticator, an open-source application that can generate one-time passcode based on open standards (e.g., HMAP/time-based). It is available on multiple platforms including Linux, Android, iOS. Google also offers a pluggable authentication module (PAM) for Google Authenticator, allowing it to be integrated with other PAM-enabled applications such as OpenSSH.
In this tutorial, I will describe how to set up two-factor authentication for an SSH server by integrating Google Authenticator with OpenSSH. I am going to use a Android device to generate one-time passcode. In this tutorial, you will need two things: (1) a Linux host where OpenSSH server is running, and (2) an Android device.
Install Google Authenticator on Linux
The first step is to install Google Authenticator on the Linux host where OpenSSH server is running. Follow this guide to install Google Authenticator and its PAM module on your system.
Once Google Authenticator is ready, you need to go through one-time configuration which involves creating an authentication key from this Linux host, and registering it with an Android device. This will be explained next.
Generate an Authentication Key
To start, simply run Google Authenticator on the Linux server host.
$ google-authenticator
You will see a QR code, as well as a secret key underneath it. The displayed QR code simply represents the numeric secret key. You will need either information to finalize configuration with an Android device.
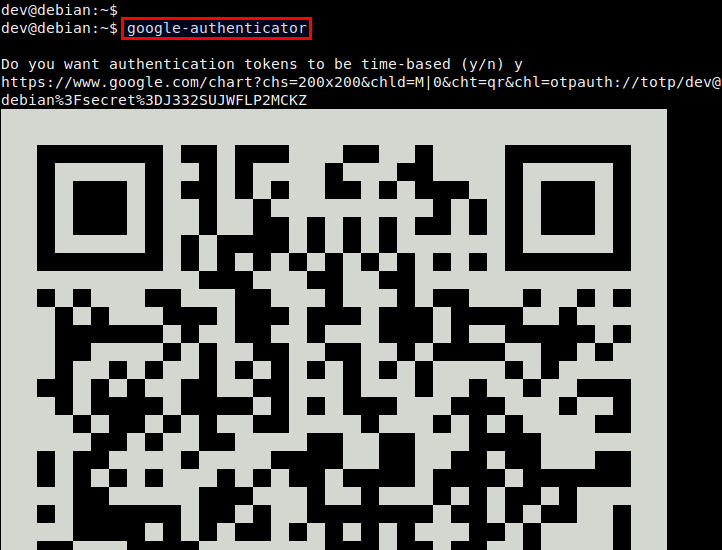

Google Authenticator will ask you several questions. If you are not sure, you an answer Yes to all questions. The emergency scratch codes can be used to regain access to the SSH server in case you lose your Android device, and so cannot generate one-time passcode. So it's better to write them down somewhere.
Run Google Authenticator on Android
As we are going to use an Android device for two-factor authentication, you will need to install Google Authenticator app on Android. Go to Google Play to install it on Android.
When you start Google Authenticator on Android, you will see the following configuration menu.

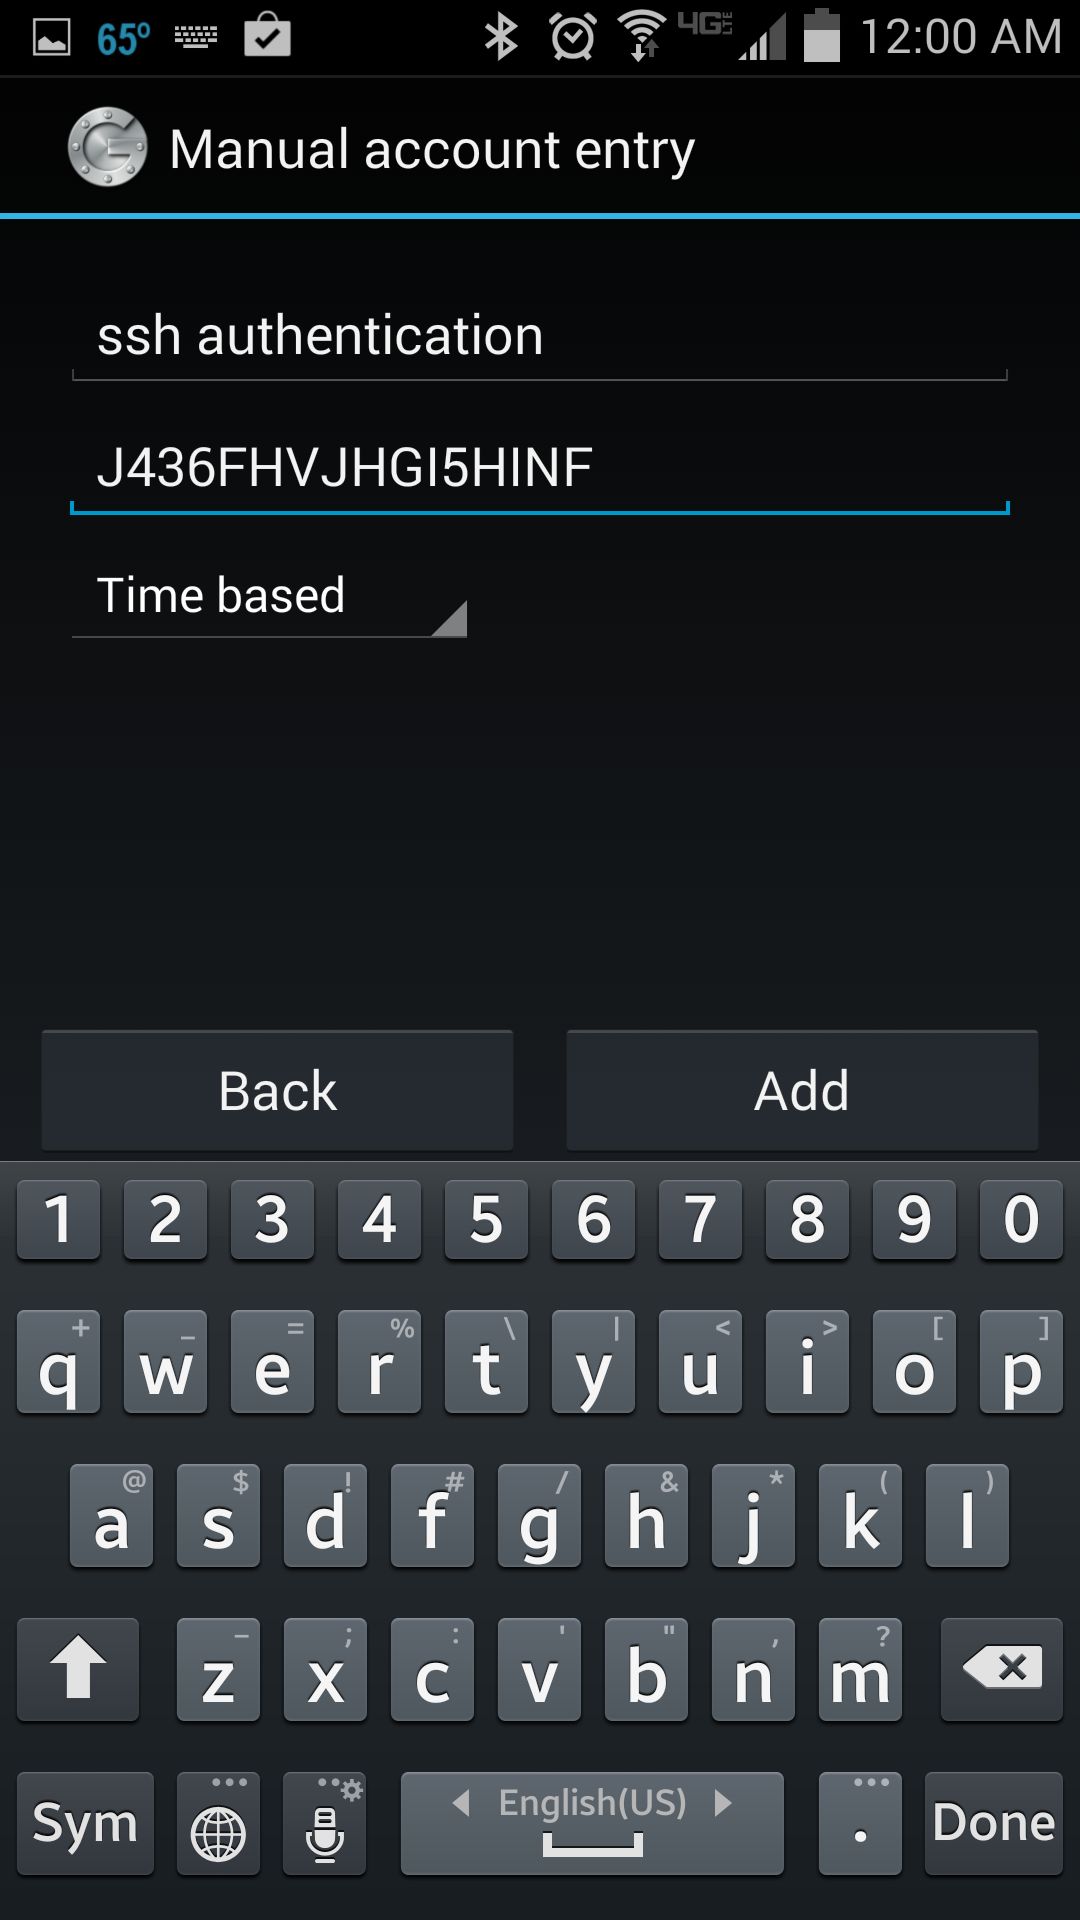
You can choose either Scan a barcode or Enter provided key option. The first option allows you to enter the security key, simply by scanning the generated QR code. In this case, you will need to install Barcode Scanner app first. If you choose the second option, you can type the security key using Android keyboard as follows.
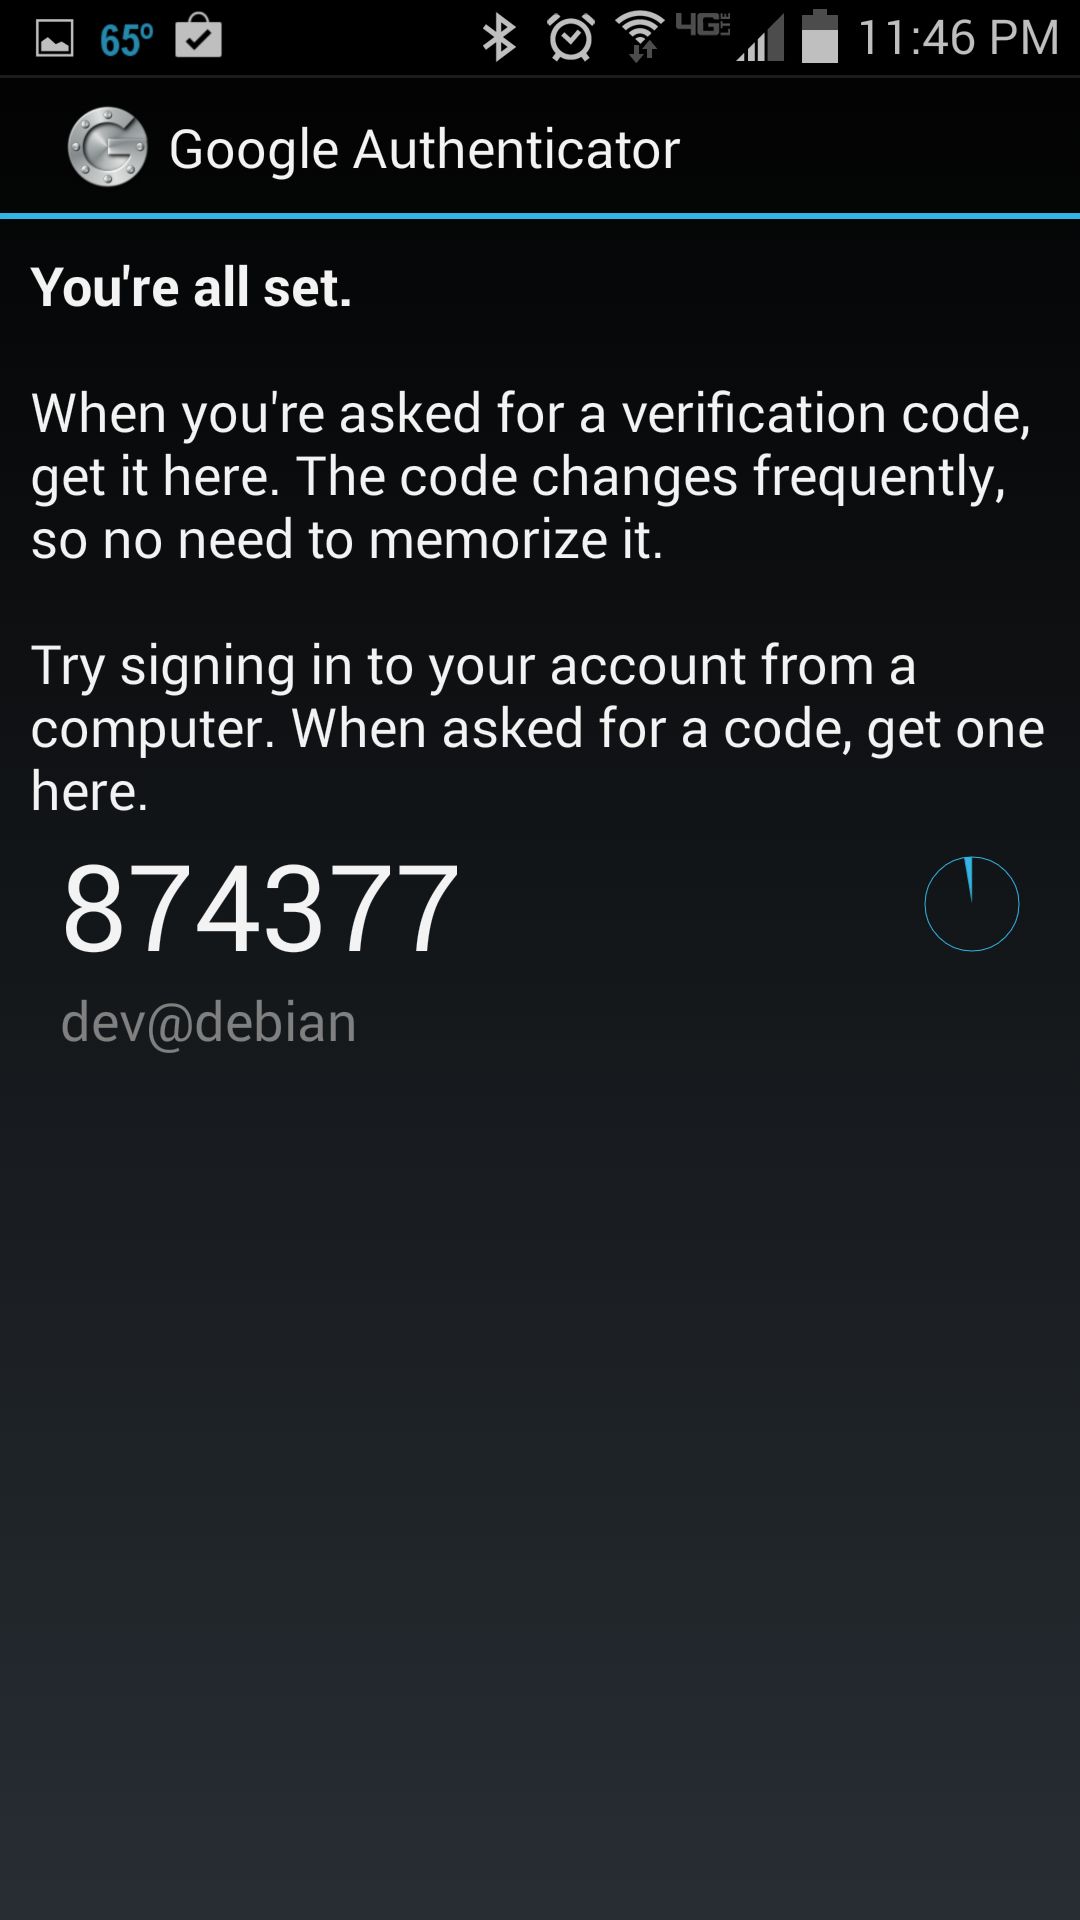
Once you register a secret key either way, you will see the following screen on Android.
Enable Google Authenticator on SSH Server
The final step is to integrate Google Authenticator with OpenSSH server. For that, you need to edit two files.
First, edit a PAM configuration file, and append the line below.
$ sudo vi /etc/pam.d/sshd
auth required pam_google_authenticator.so
Then open an SSH server config file, search for ChallengeResponseAuthentication, and enable it.
$ sudo vi /etc/ssh/sshd_config
ChallengeResponseAuthentication yes
Finally, restart SSH server.
On Ubuntu, Debian or Linux Mint:
$ sudo service ssh restart
On Fedora:
$ sudo systemctl restart sshd
On CentOS or RHEL:
$ sudo service sshd restart
Test Two-factor Authentication
Here is how you use two-factor authentication for SSH logins.
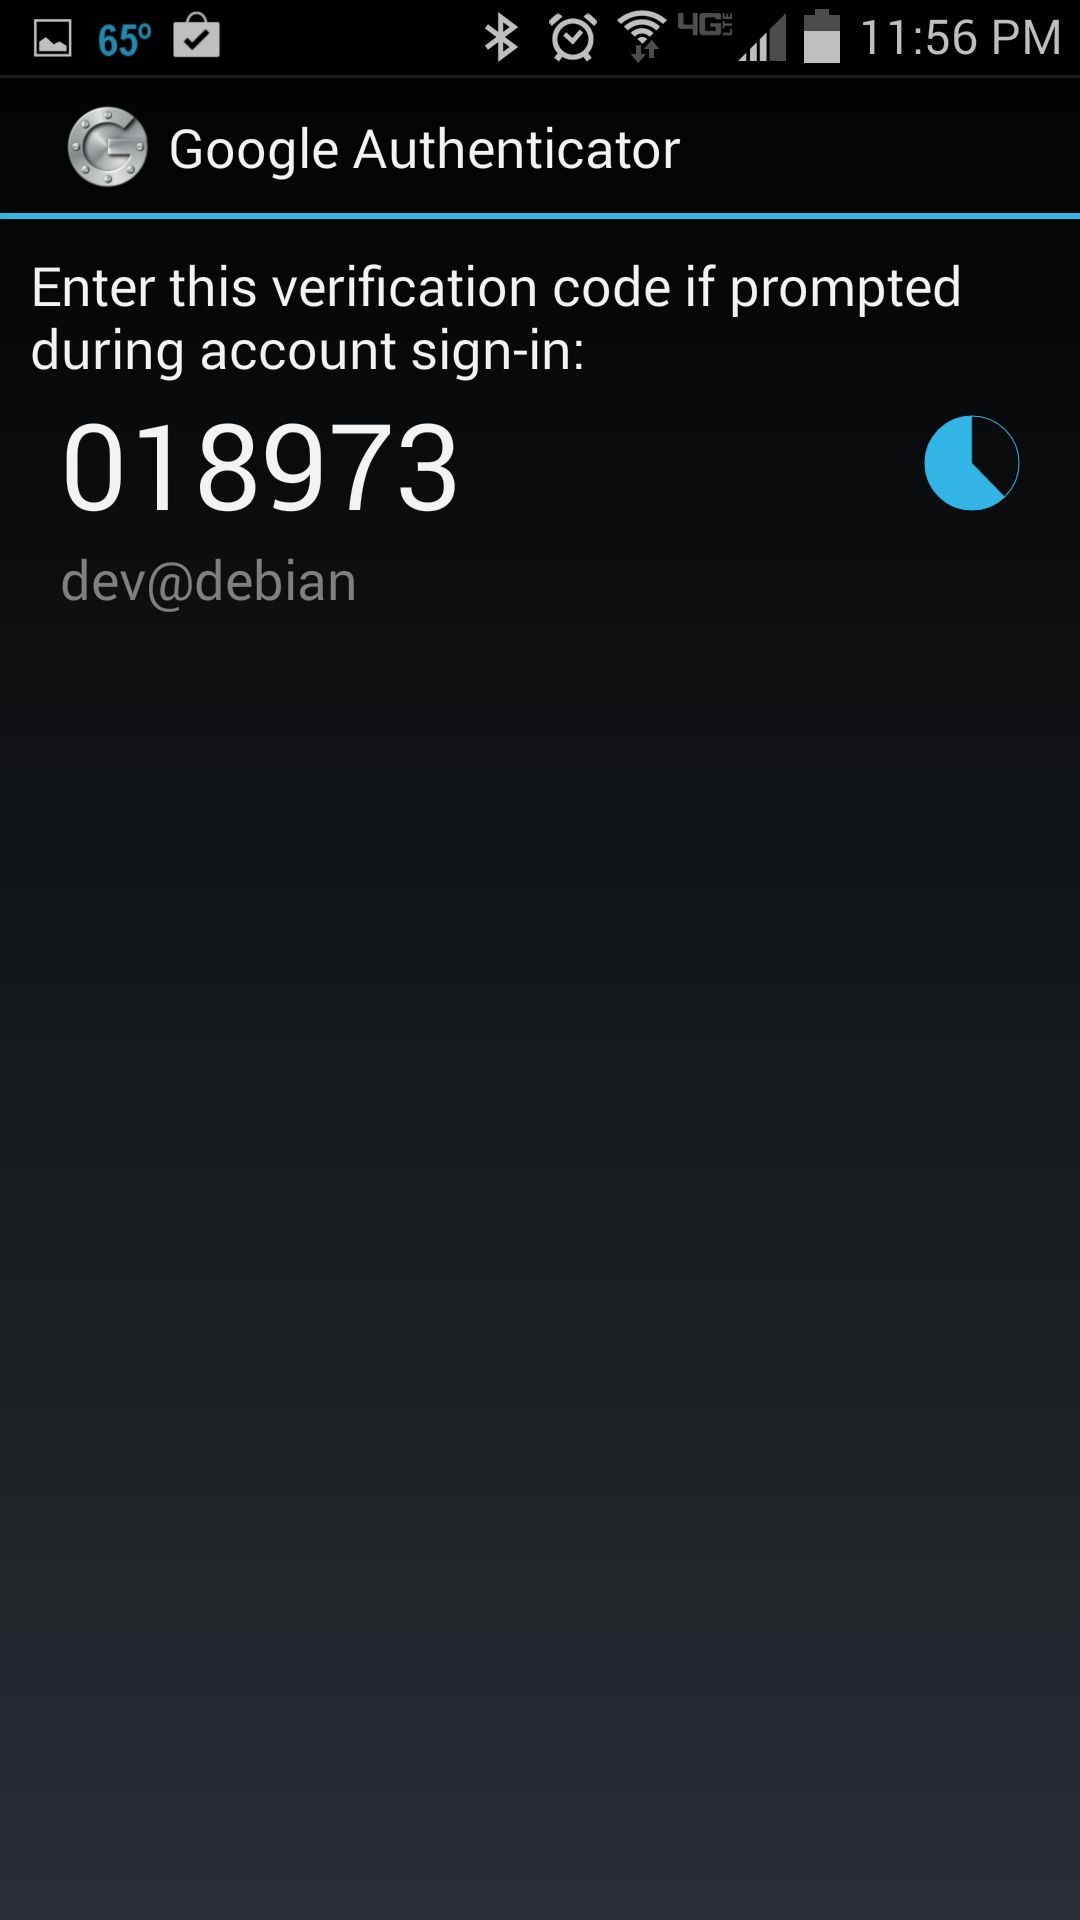
Run Google Authenticator app on Android to obtain one-time verification code. Once generated, a given passcode is valid for 30 seconds. Once it expires, Google Authenticator will automatically generate a new one.
Now log in to the SSH server as you normally do.
$ ssh user@ssh_server
When you are asked to enter Verification code, type in the verification code generated by Android. After successful verification, then you can type in your SSH login password.

To conclude, two-factor authentication can be an effective means to secure password authentication by adding an extra layer of protection. You can use Google Authenticator to secure other logins such as Google account, WordPress.com, Dropbox.com, Outlook.com, etc. Whether you decide to use it or not, it's up to you, but there is a clear industry trend towards the adoption of two-factor authentication.
Support Xmodulo
This website is made possible by minimal ads and your gracious donation via PayPal or credit card
Please note that this article is published by Xmodulo.com under a Creative Commons Attribution-ShareAlike 3.0 Unported License. If you would like to use the whole or any part of this article, you need to cite this web page at Xmodulo.com as the original source.

Xmodulo © 2021 ‒ About ‒ Write for Us ‒ Feed ‒ Powered by DigitalOcean