How to install Ubuntu desktop behind a proxy
Last updated on October 16, 2015 by Dan Nanni
Unlike Ubuntu server, installation of Ubuntu desktop is pretty much auto-pilot, not leaving much room for customization, such as custom disk partitioning, manual network settings, package selection, etc. While such simple, one-shot installation is considered user-friendly, it leaves much to be desired for those users looking for "advanced installation mode" to customize their Ubuntu desktop installation.
In addition, one big problem of the default installer for Ubuntu desktop, at least for 14.04 (Trusty Tahr), is the absense of proxy settings. If your computer is connected behind a proxy, you will notice that Ubuntu installation gets stuck while preparing to download files.
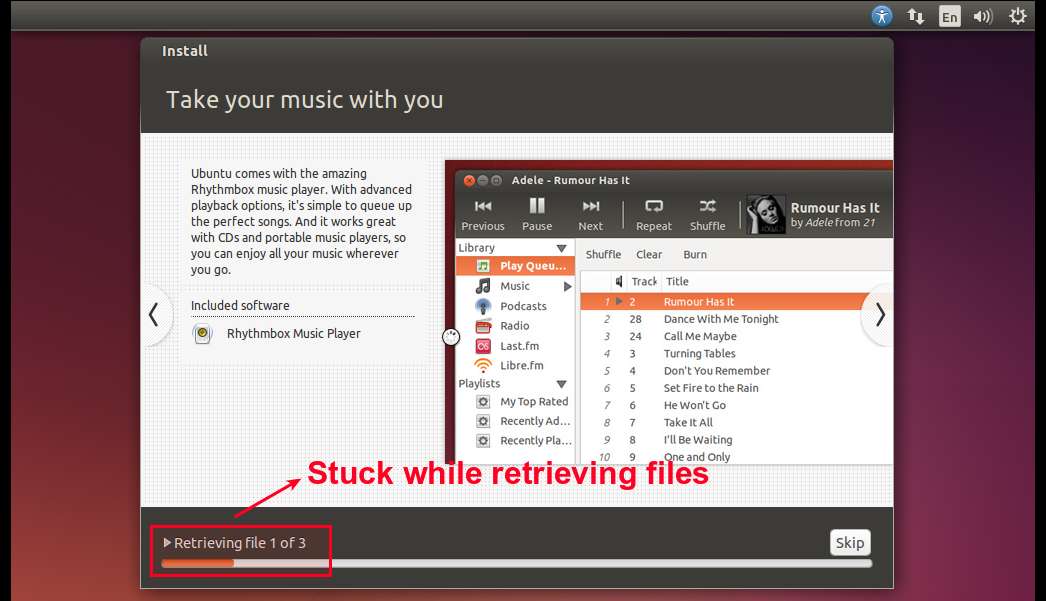
This post describes how to get around the limitation of Ubuntu installer and install Ubuntu desktop when you are behind a proxy.
The basic idea is as follows. Instead of starting with Ubuntu installer directly, boot into live Ubuntu desktop first, configure proxy settings, and finally launch Ubuntu installer manually from live desktop. The following is the step by step procedure.
After booting from Ubuntu desktop CD/DVD or USB, click on "Try Ubuntu" on the first welcome screen.
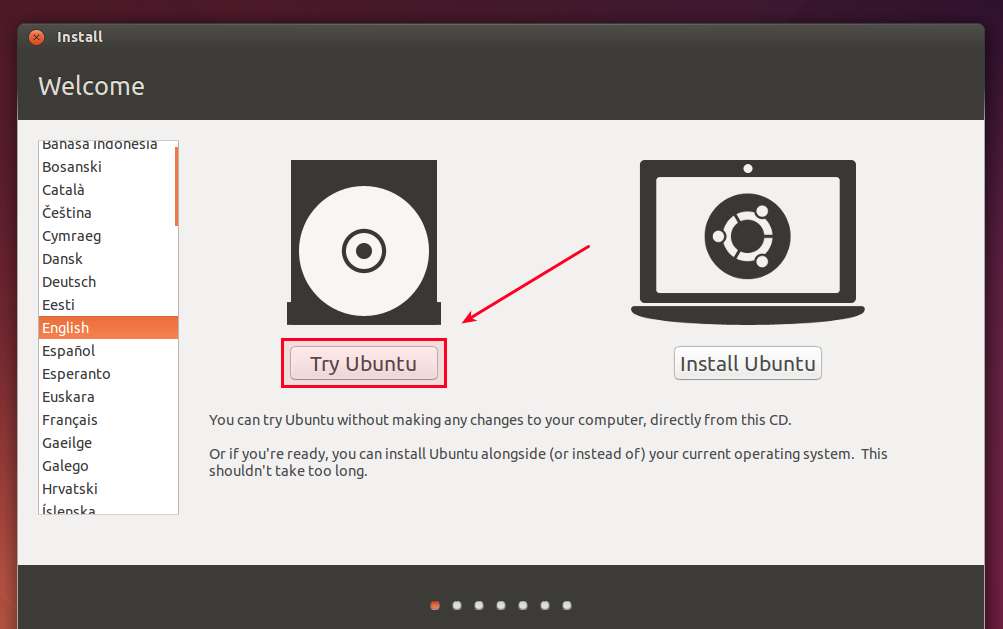
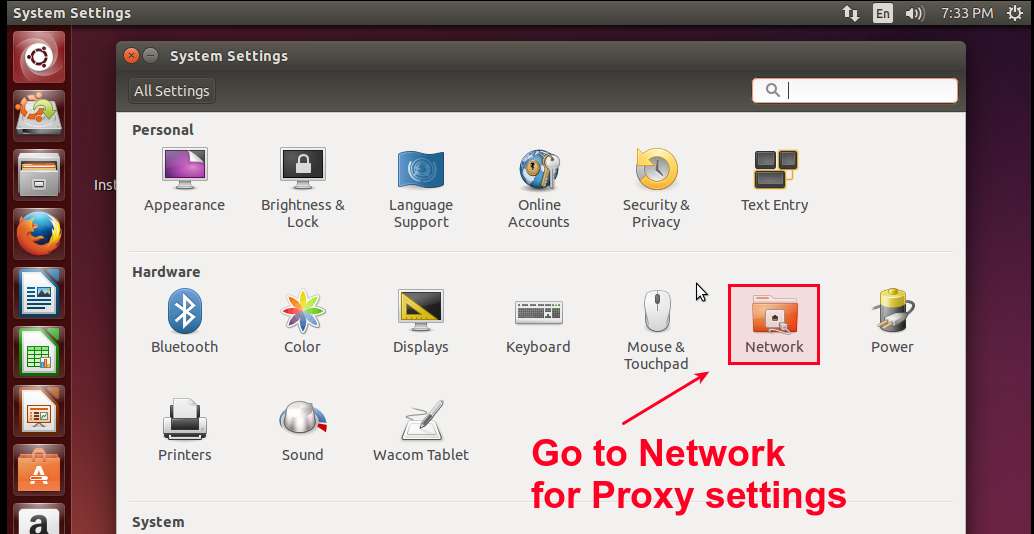
Once you boot into live Ubuntu desktop, click on Settings icon in the left.

Go to Network menu.
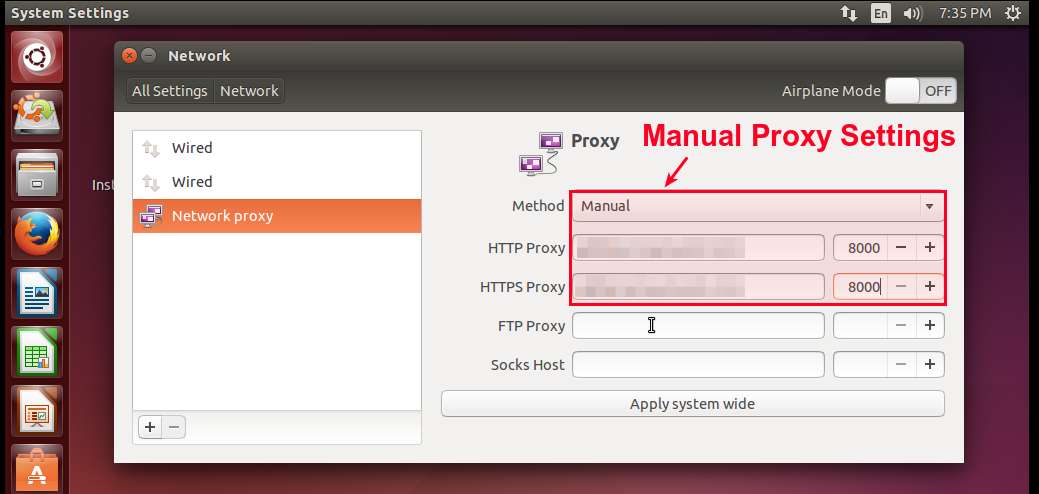
Configure proxy settings manually.
Next, open a terminal.
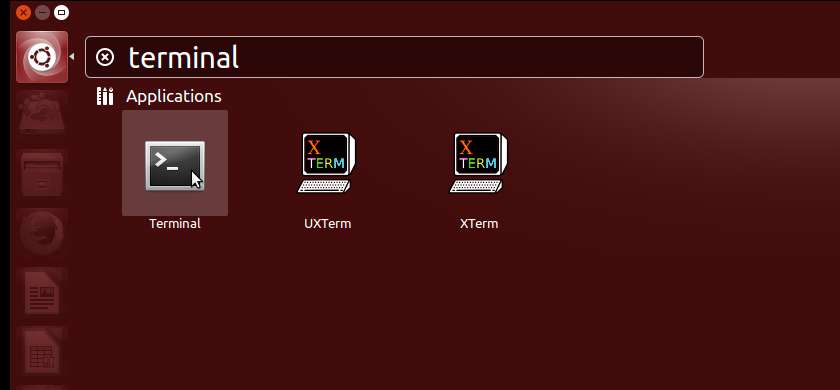
Enter a root session by typing the following:
$ sudo su
Finally, type the following command as the root.
# ubiquity gtk_ui
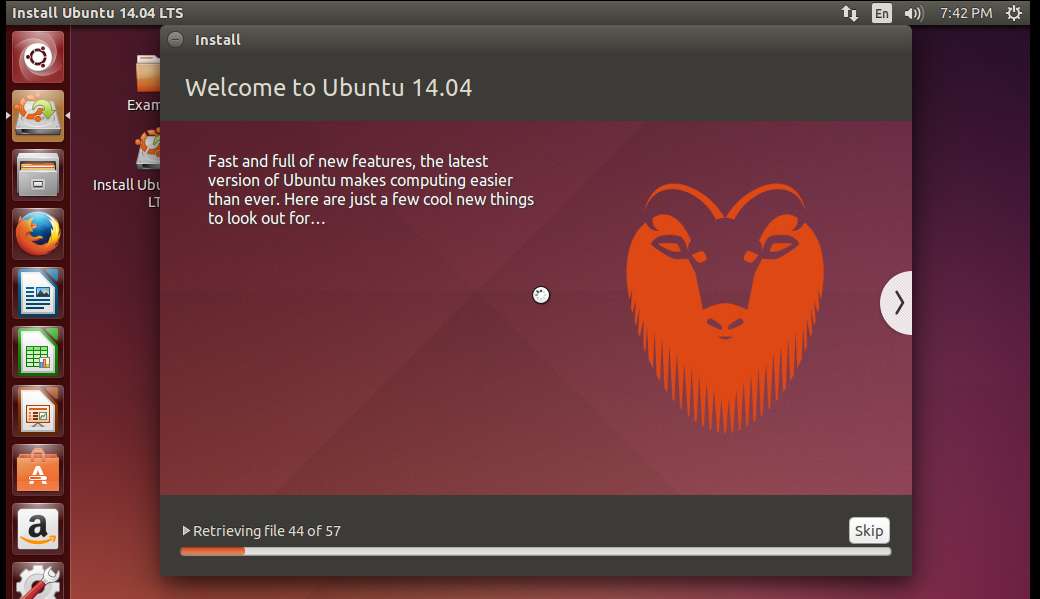
This will launch GUI-based Ubuntu installer as follows.
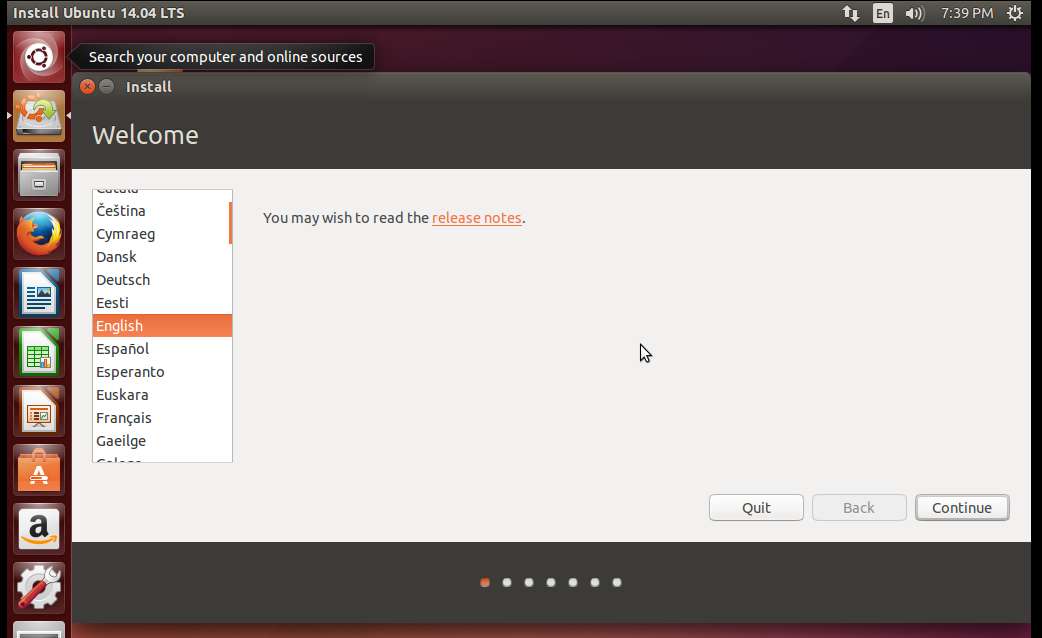
Proceed with the rest of installation.
Support Xmodulo
This website is made possible by minimal ads and your gracious donation via PayPal or credit card
Please note that this article is published by Xmodulo.com under a Creative Commons Attribution-ShareAlike 3.0 Unported License. If you would like to use the whole or any part of this article, you need to cite this web page at Xmodulo.com as the original source.
Xmodulo © 2021 ‒ About ‒ Write for Us ‒ Feed ‒ Powered by DigitalOcean

